Categories: AI Video Workflow, Creator Strategy, Production Process
Tags: seeddance, seedance 2.0, ai video workflow, content strategy, creator toolkit
Introduction
Ever wonder how a simple photograph can suddenly feel like it’s popping off the screen? This captivating visual trick has roots long before today's AI tools. This guide will show you how to transform static images into dynamic videos using AI 3D picture effects, focusing on practical tips and techniques within the Veo3 AI platform.
How AI Pulls Off the 3D Picture Illusion
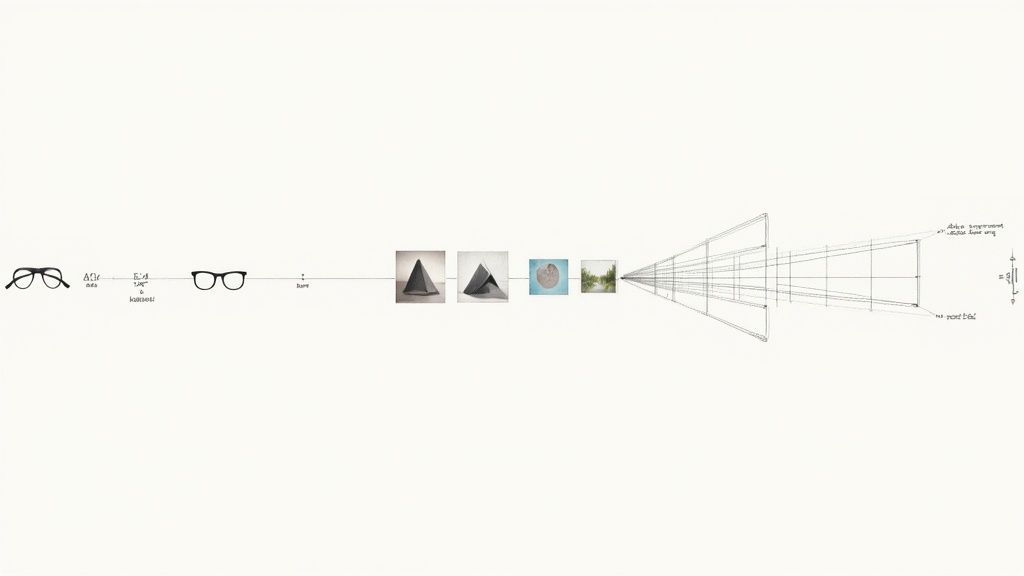
Today, AI handles the complex work of creating depth from a single image. Sophisticated algorithms analyze a photograph and generate a convincing 3D picture effect, eliminating the need for special glasses or multiple images. This process makes advanced visual effects accessible to everyone.

Choosing and Preparing the Perfect Image
The secret to a stunning 3D picture effect begins with selecting the right photo. A great starting image is half the battle. Look for photos that naturally convey depth, such as a portrait with a sharp subject against a softly blurred background.
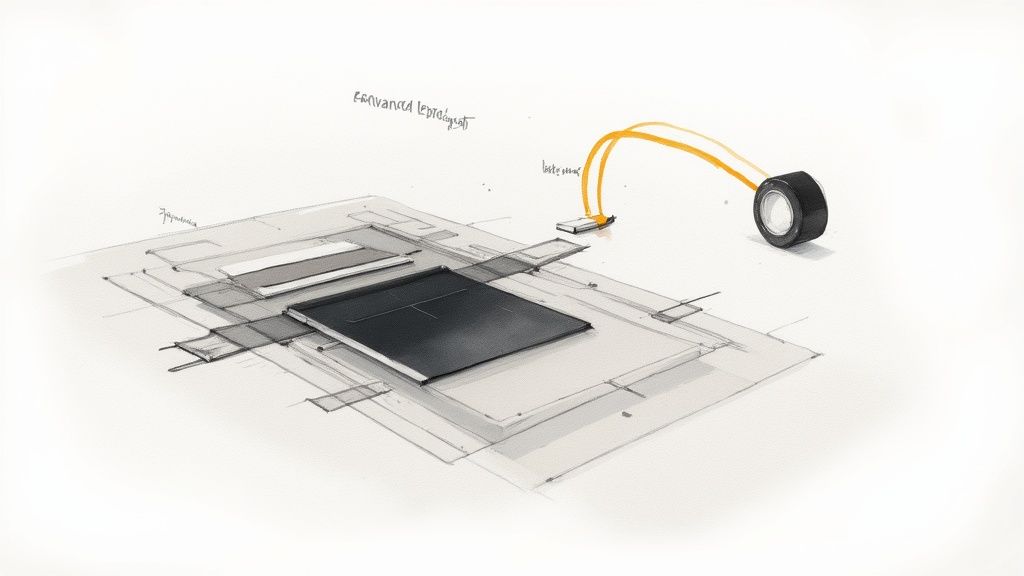
The technical foundation for this effect is the depth map. This grayscale image acts as a blueprint, informing the AI about the distance of each object from the camera. Lighter shades indicate closer objects, while darker shades represent those farther away.
Getting Your 3D Picture Effect in Veo3 AI
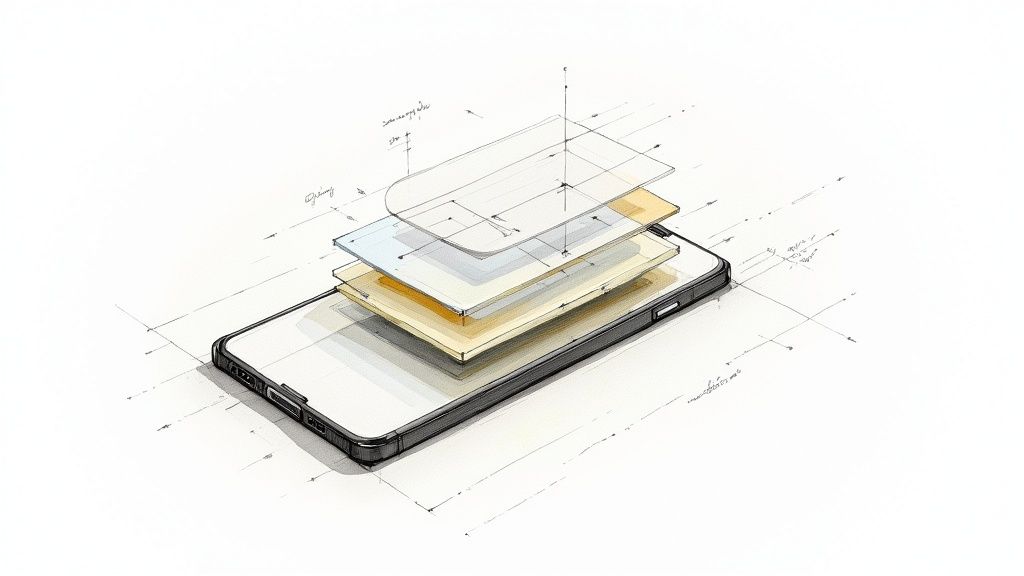
Once your image is ready, it's time to bring it to life within the Veo3 AI platform. This is where you transform your static photo into a video with a compelling 3D effect.
Crafting Text Prompts That Actually Work
Think like a film director when crafting your text prompt. This prompt instructs the AI on how the virtual "camera" should move. A well-crafted prompt differentiates a smooth, professional animation from a generic, wobbly one.
Picking the Right Animation Style
Veo3 AI offers various pre-set animation styles that act as powerful modifiers, altering the mood and feel of your final video. Consider these as filters that influence the animation's physics and energy.
Fine-Tuning and Exporting Your Animated Photo
While the initial animation is exciting, the real magic lies in fine-tuning. The video generated by Veo3 AI is your raw footage; the settings panel is where you refine its look and feel.
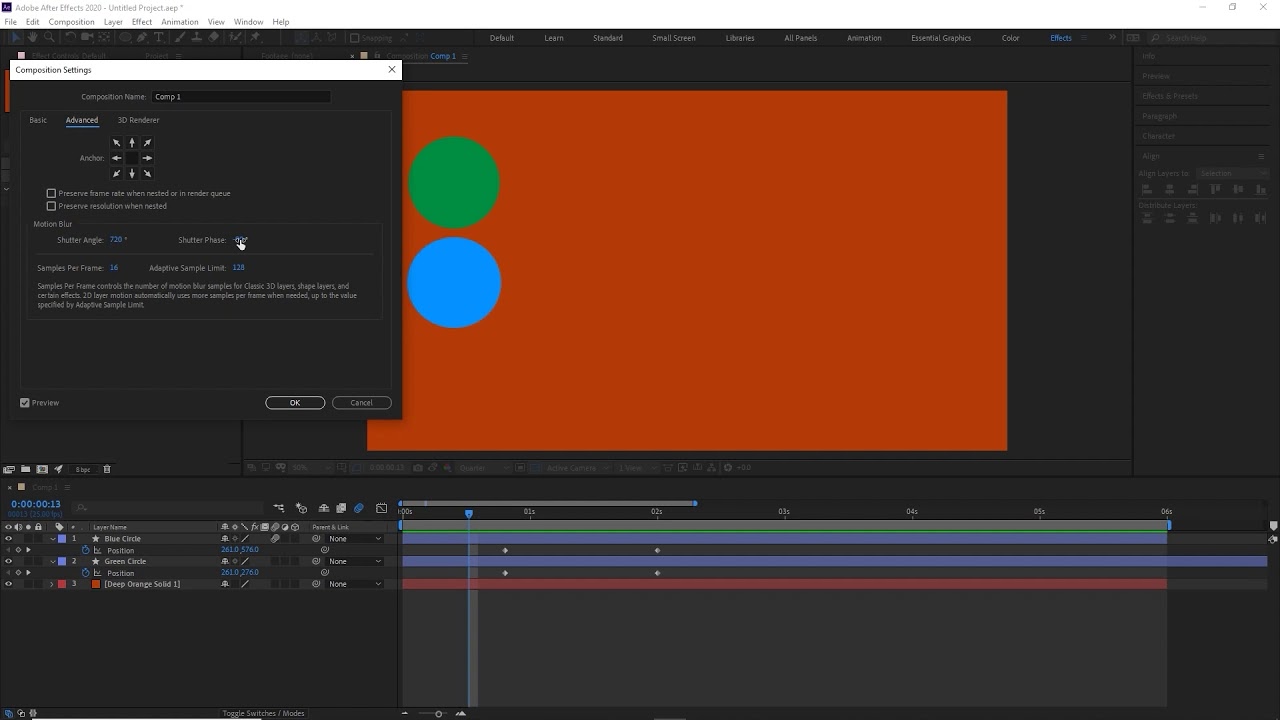
Dialing In the Perfect Animation Settings
Focus on animation strength and duration first. These two settings work together to establish the overall mood and pacing of your video.
Exporting for Maximum Impact on Social Media
The final step is exporting your animation for the world to see. Optimized export settings are crucial for ensuring your video is sharp and plays correctly across different platforms. Use the recommended settings below to maximize quality and performance on popular social media channels.
Recommended Export Settings for Social Media
This quick reference table will help you optimize your 3D picture effect video for popular social media platforms, ensuring the best possible quality and performance.
| Platform | Recommended Resolution | Aspect Ratio | Max File Size | Notes |
|---|---|---|---|---|
| Instagram Feed | 1080x1080 | 1:1 | 250MB | Square format for maximum visibility. |
| Instagram Reels | 1080x1920 | 9:16 | 250MB | Vertical format for full-screen viewing. |
| TikTok | 1080x1920 | 9:16 | 287.6MB | Vertical format, short and engaging. |
| YouTube Shorts | 1080x1920 | 9:16 | Unlimited | Vertical format, up to 60 seconds. |
| Facebook Feed | 1080x1350 | 4:5 | 4GB | Vertical or square for better engagement. |
| X (Twitter) | 1280x720 | 16:9 | 512MB | Landscape for general posts. |
Practical Weekly Workflow
- Select Objectives: Choose 2 to 3 key areas from this article to focus on each week.
- Draft Creation: Produce initial versions using Image to Video or Text to Video.
- Refinement: Improve structure and style with Video to Video.
- Audio Integration: Add audio layers using Video to Audio or Text to Music as needed.
- Publish & Analyze: Publish one polished variant and one experimental version, then compare their performance to identify successful strategies.
Conclusion
Standardizing your content production process is the most reliable way to scale output. Maintain a stable structure, iterate on specific sections, and only scale what consistently performs well.
Call to Action
- Start with Image to Video: https://seeddance.app/image-to-video
- Start with Text to Video: https://seeddance.app/text-to-video
- Refine with Video to Video: https://seeddance.app/video-to-video
- Add audio with Video to Audio: https://seeddance.app/video-to-audio
- Build supporting visuals: https://seeddance.app/text-to-image
FAQs
1) Can this workflow work for a solo creator? Yes. Begin with a small weekly scope and consistently reuse the same production blocks.
2) How many variants should I test per post? Testing 2 to 4 focused variants is typically sufficient to identify clear winners.
3) Should I prioritize trends or consistency? Leverage trends for immediate reach, but maintain a consistent format system for long-term brand recognition and memory.