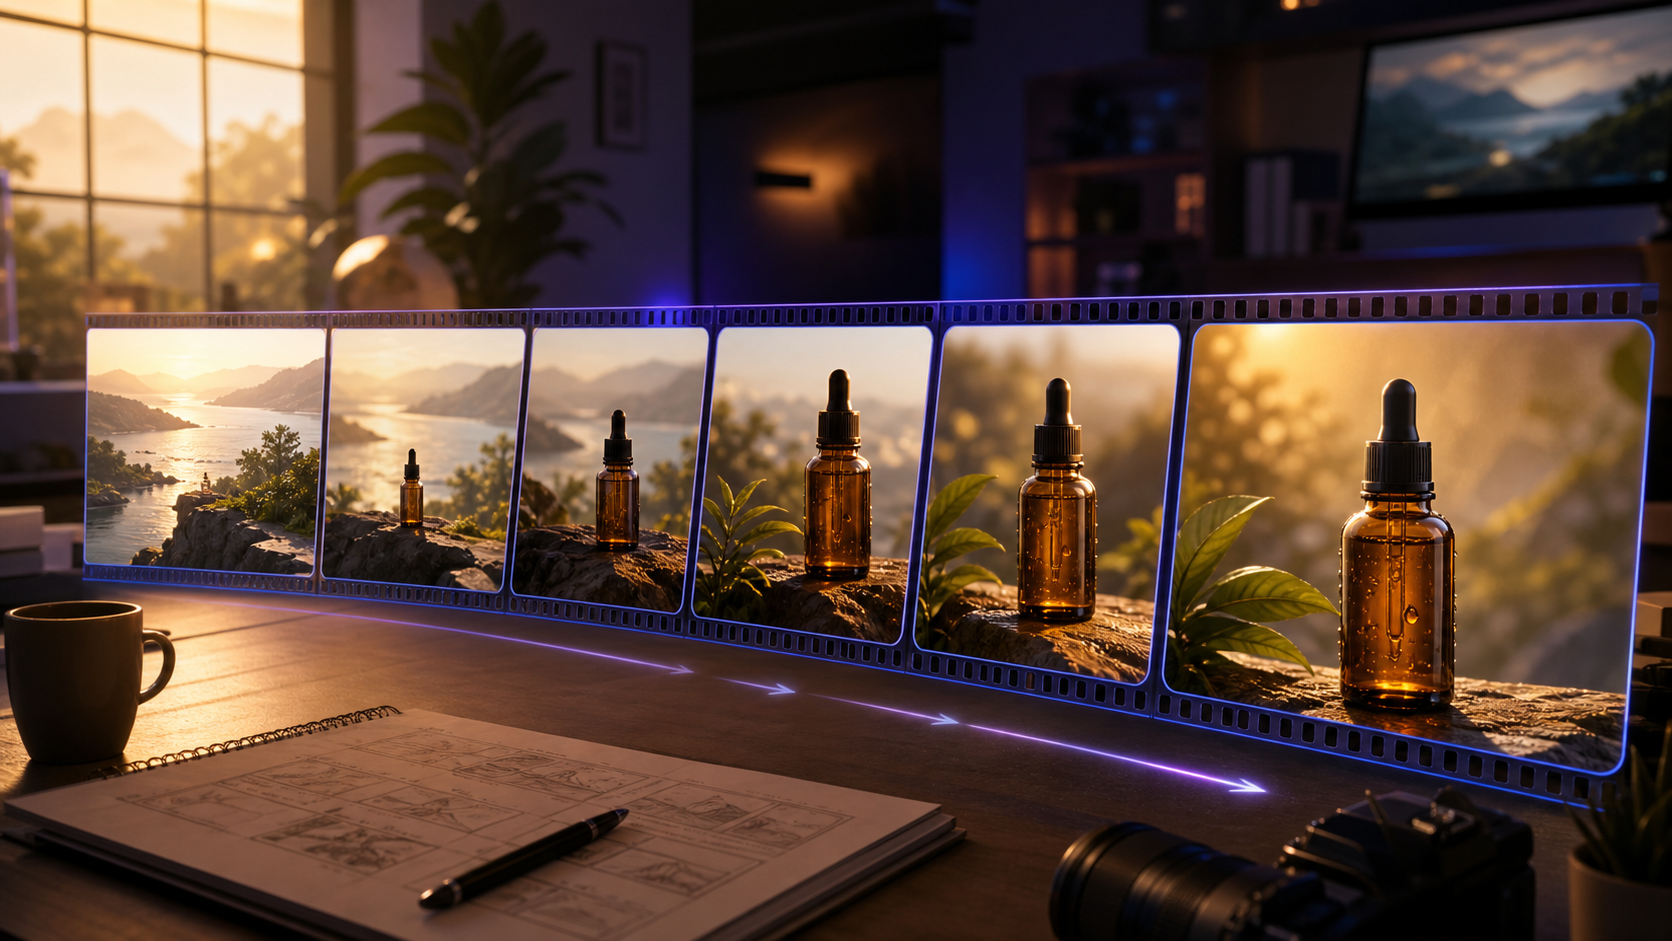
Many image-to-video failures begin before generation. A clip may look strong by itself yet collide with the next shot because the light changes sides, the camera reverses direction, a prop moves, or the subject's appearance drifts. An AI video storyboard prevents those problems by fixing story beats, camera grammar, and continuity rules before a team spends time producing variations.
This playbook is for creators, filmmakers, ecommerce marketers, and small teams turning still images into a short sequence. It uses durable filmmaking principles rather than relying on one model's controls. Generative systems cannot guarantee perfect reproduction, but good planning makes results easier to direct, evaluate, and edit.
Why a storyboard beats isolated prompts
Generating one clip, watching it, changing a few words, and then moving to the next feels efficient. In practice, it often creates expensive editing problems. Every shot is optimized without a shared reference, so wardrobe colors drift, the key light jumps sides, eyelines break, and each camera move competes for attention.
A storyboard forces three useful commitments:
- What the sequence communicates: one overall promise and one beat per shot.
- How the camera behaves: a limited set of moves that supports the message.
- What stays consistent: subject identity, product geometry, wardrobe, light direction, environment, props, and screen direction.
Once those decisions are visible, every prompt becomes a controlled variation on a common plan instead of an unrelated experiment.
Start with a one-sentence sequence brief
Before drawing frames, write one sentence that names the subject, progression, and ending:
A quiet morning product teaser moves from the full breakfast table to the mug's handmade texture, shows a hand lifting it, and resolves on a clean hero frame.
That sentence controls scope. A proposed shot should establish the world, reveal useful detail, advance the action, or deliver the resolution. If it does none of those things, remove it.
Next, inventory the images you already have:
- a wide environment reference;
- a medium product view;
- a close-up texture image;
- a hand or person reference if the action needs one;
- a final hero image;
- approved text and logo files, which should be added in editing where exact rendering matters.
This simple inventory exposes missing assets before generation begins.
The six-shot AI video storyboard template
Six shots are enough for many short ads, teasers, explainers, and social posts. Use the structure as a practical starting point, not a rigid law.
Shot 1: establish
Use a wide or medium-wide frame to locate the subject and set the mood. Keep motion restrained so the viewer has time to read the scene.
Shot 2: orient
Move closer or choose a compatible angle. Introduce the object, person, or action that the sequence is about.
Shot 3: detail
Show texture, expression, mechanism, or craftsmanship. A close-up usually needs less movement than a wide shot because small deformations are more noticeable.
Shot 4: context or reaction
Show what the detail means. A hand uses the product, a person reacts, or a change in the environment makes the benefit visible.
Shot 5: motion beat
Place the sequence's most energetic action here: a reveal, tracked move, lift, or transformation. One peak feels intentional; six equally dynamic shots feel noisy.
Shot 6: resolve
Return to a clean hero composition. Slow the motion and leave room for an approved logo, title, or call to action added during editing.
Turn the storyboard into a shot list
Fill one row per shot before writing detailed prompts:
| Shot | Beat | Framing | Camera | Target | Source | Continuity anchor |
|---|---|---|---|---|---|---|
| 01 | Establish | Wide | Locked or slow drift | 3.0s | 01-wide.jpg | Warm key light from camera-left |
| 02 | Orient | Medium-wide | Slow push-in | 2.5s | 02-medium.jpg | Same table and product position |
| 03 | Detail | Close-up | Slight dolly-in | 2.0s | 03-detail.jpg | Exact glaze and rim shape |
| 04 | Context | Medium | Locked; hand enters | 2.0s | 04-hand.jpg | Hand enters from screen-right |
| 05 | Motion beat | Medium-wide | Track left to right | 3.0s | 05-lift.jpg | Mug travels screen-right |
| 06 | Resolve | Wide hero | Slow pull-back | 3.5s | 06-hero.jpg | Match Shot 01 light and setting |
Durations are planning targets, not promises. Adjust them to the story, the available footage, and the controls in your workflow.
Lock visual continuity before generation
Continuity is the viewer's belief that adjacent shots happen in the same world. Put its rules at the top of the storyboard so every result is reviewed against the same constraints.
Light direction
Choose a visible description such as “soft warm window light from camera-left, gentle shadow to camera-right.” Keep it stable unless the story deliberately changes time or place. Exact Kelvin values can guide a physical set, but descriptive light is often easier for a generator to interpret.
Screen direction and the 180-degree line
If the subject travels left to right, preserve that direction across connected shots. Imagine a line through the action and keep the camera on one side until a neutral or motivated crossing shot resets the geography.
Subject and product invariants
List identity-critical details in concrete terms:
- navy crewneck with no logo;
- off-white matte ceramic mug;
- one handle on the right;
- narrow dark rim;
- no printed text;
- light oak table with visible natural grain.
Specific invariants are easier to evaluate than “keep everything consistent.” When personal likeness or identity is involved, use only authorized source material and obtain consent from the people represented.
Horizon and ground plane
Matched wide shots should not jump between high and low horizons without a reason. Record approximate camera height and angle in the shot list.
Motion budget
Label each shot still, subtle, moderate, or hero motion. This keeps a six-shot sequence from becoming six unrelated camera demonstrations.
Generate in a risk-aware order
Story order is not always the best production order:
- Generate Shots 01 and 06 first. These wide anchors define the world and ending.
- Generate Shot 03. The close detail reveals whether material, light, and product identity remain stable.
- Generate Shots 02 and 04. These medium bridges connect the anchors and detail.
- Generate Shot 05 last. The most active shot usually carries the highest artifact risk, so solve it after its neighbors are known.
If a shot fails, classify the problem before rewriting everything. Ask whether the source image is ambiguous, the action is too ambitious, or the result is normal random variation. Change one variable at a time.
Use one prompt card per shot
A prompt card repeats the shot-list constraints and adds generation instructions. A consistent format makes comparisons easier:
SHOT ID: 03-detail-v02
BEAT: Reveal the handmade glaze texture
SOURCE IMAGE: 03-detail.jpg
FRAMING: Close-up, mug rim centered
CAMERA: Slow steady dolly-in; no orbit or roll
ACTION: Faint steam rises; product remains still
LIGHT: Soft warm key from camera-left; gentle shadow right
INVARIANTS: Off-white matte glaze, dark narrow rim, one handle
CONTINUITY: Match Shots 01 and 06 light direction
MOTION BUDGET: Subtle
DURATION TARGET: 2 seconds
REJECT IF: Rim changes shape, another handle appears, or texture flickers
The rejection line creates an objective review gate. State desired geometry and movement positively, then keep the failure list short. You can test these shot cards with DeepFake image-to-video while preserving the source image and prompt beside each output.
Name and version every generation
Never overwrite a take. Use sortable filenames:
<shot-number>_<framing>_<beat>_v<version>.mp4
03_closeup_texture_v04.mp4
Keep two-digit shot numbers, increasing versions such as v01 and v02, the source image, the exact prompt card, and a selection log. Copy chosen results to a selected folder while retaining the originals.
| Take | Change | Result | Decision |
|---|---|---|---|
03_closeup_texture_v03 | Baseline | Rim bends near final frame | Reject |
03_closeup_texture_v04 | Reduced push-in | Geometry stable; steam is clean | Select |
This turns iteration into evidence instead of guesswork.
Plan transitions before generation
Transitions are relationships between shots, so decide them on the storyboard:
- Hard cut: the default when position, light, and screen direction already connect.
- Match cut: align a shape or action across frames, such as a circular rim moving from close-up to a wider view.
- Motivated dissolve: use it for elapsed time, memory, or a location change, not to hide poor continuity.
- Motion transition: join shots with compatible directional movement.
Do not ask the generator to invent a complex morph between every scene. Produce stable shots first, then judge transitions with the complete edit visible.
Worked example: a 16-second product teaser
The sequence begins on a quiet breakfast table and ends on a clean product hero:
- Shot 01, 3.0s: wide table, locked camera, mug right of center, warm light from the left.
- Shot 02, 2.5s: medium-wide push-in, matching angle and product position.
- Shot 03, 2.0s: close-up of rim and glaze, faint steam, slight dolly-in.
- Shot 04, 2.0s: medium frame; a hand enters from screen-right and grips the mug.
- Shot 05, 3.0s: camera tracks left to right as the mug is lifted.
- Shot 06, 3.5s: wide hero frame with a slow pull-back and room for editor-added copy.
Generate in the order 01 → 06 → 03 → 02 → 04 → 05. Review every take against the same invariants: light from the left, one right-side handle, matte off-white glaze, light oak table, and action toward screen-right.
If the hand action is unstable, reduce it before changing the entire scene. If the tracked lift still deforms the mug, replace it with a smaller lift and create energy through a shorter edit.
QA the assembled sequence
Individual clips can pass while the edit fails. Put selected takes on a timeline and run four separate reviews.
Continuity pass
- Does light remain on the same side?
- Do wardrobe, hair, geometry, and props match?
- Does action preserve screen direction?
- Do matched wide shots share a believable horizon and camera height?
Motion pass
- Is there one clear movement per shot?
- Does energy build toward the motion beat and settle at the resolution?
- Does any camera move start or stop abruptly?
- Are repeated moves making the sequence monotonous?
Artifact pass
- Inspect faces, hands, labels, logos, thin edges, reflections, and repeated parts.
- Scrub the first and last frames of every clip.
- Reject shape changes that misrepresent the subject or product.
- Add exact text and branding as controlled editing layers.
Editorial pass
- Does every shot contribute new information?
- Can a shot be removed without weakening the story?
- Do cuts land at natural action or audio points?
- Is the final call to action held long enough to read?
Reusable production checklist
- Write the one-sentence sequence brief.
- Inventory source images and missing references.
- Fill the six-shot storyboard and shot list.
- Lock light, screen direction, invariants, and motion budgets.
- Create a prompt card and rejection rule for every shot.
- Generate wide anchors, detail, bridges, and finally the motion beat.
- Name every take and record one-variable changes.
- Select clips and assemble them in story order.
- Run continuity, motion, artifact, and editorial passes.
- Add exact graphics in editing and collect timestamped feedback.
An AI video storyboard is not decoration added after generation. It is the shared constraint document that makes several clips feel deliberately directed. Models will change, but shot purpose, visual continuity, controlled iteration, and honest QA will remain useful.
FAQ
Do I need to draw polished storyboard frames?
No. Rough sketches, reference photos, or generated stills are enough when they clearly communicate framing, anchor position, and continuity rules.
Why generate the first and last shots before the middle?
They define the visual world and the intended resolution. Solving them first gives every bridge shot two known endpoints to match.
How many variations should I make per shot?
There is no fixed number. Start with a baseline, classify any failure, and change one variable. Stop when a take passes the documented rejection rules and works in the assembled edit.
Should generated logos or text be accepted if they look close?
No. Add exact approved graphics in post-production. This protects brand accuracy and makes placement easier to adapt across aspect ratios.