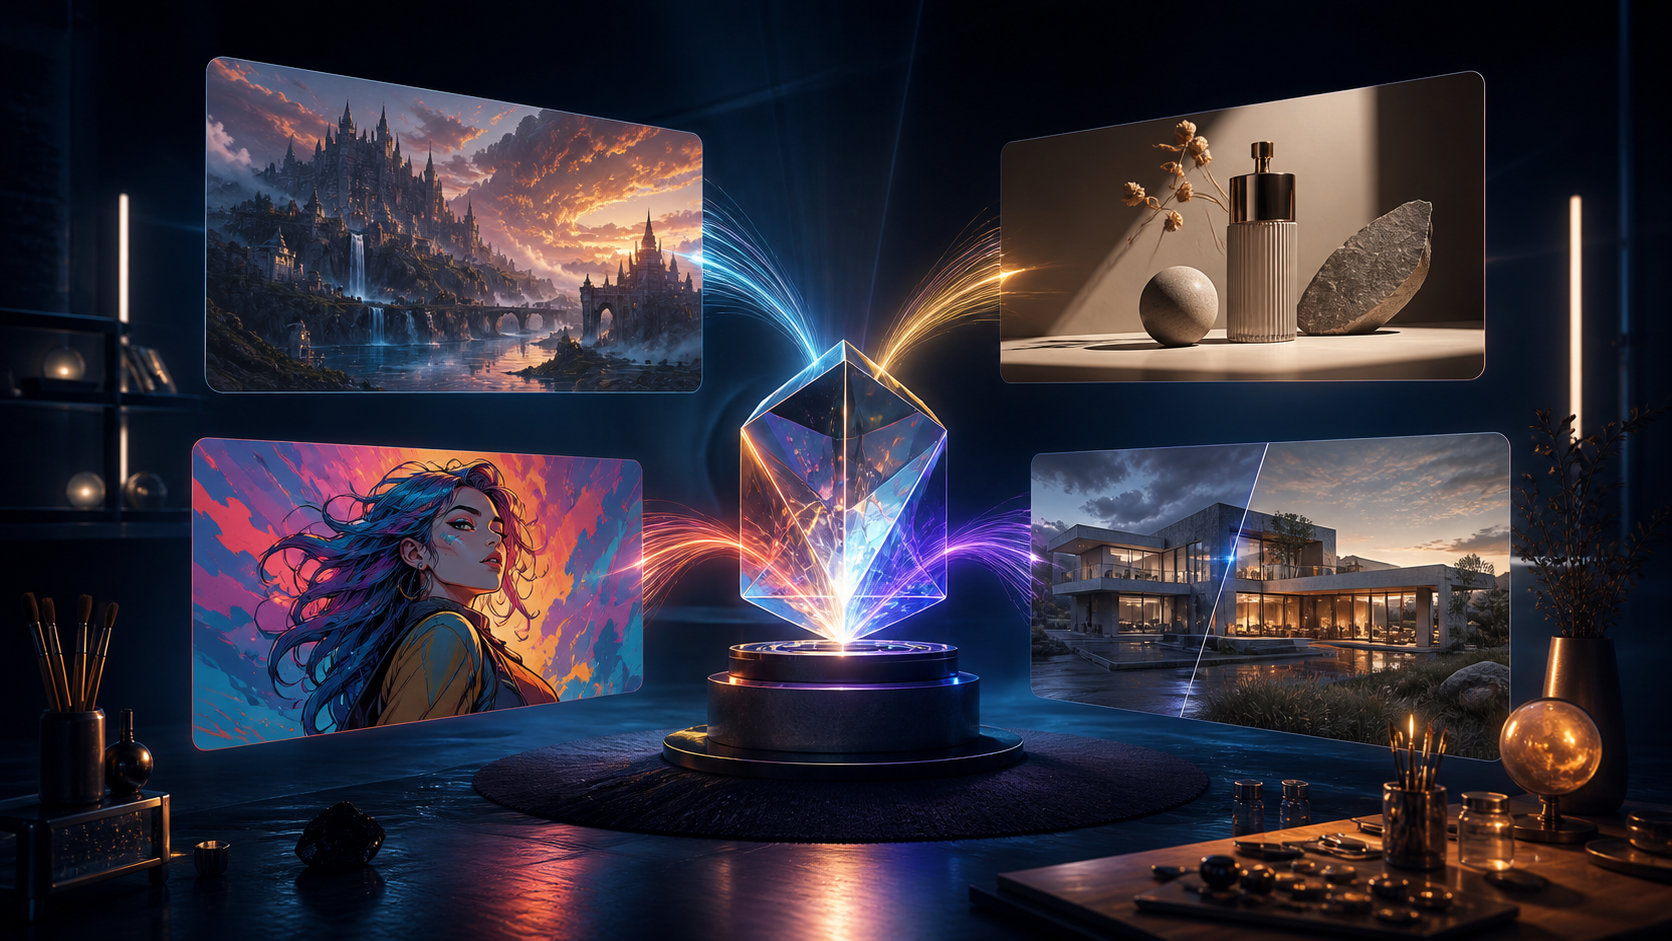
OpenAI released GPT Image 2 on April 21, 2026, bringing a new image-generation and editing model to both consumer and developer workflows. The model is designed for fast, high-quality creation, strong instruction following, flexible output sizes, and high-fidelity use of image inputs. On DeepFake, creators can use it as one part of a wider production pipeline rather than treating each generated image as an isolated result.
That distinction matters. A polished visual rarely begins and ends with one prompt. A creator may explore a concept, revise composition, preserve a product or character from a reference, remove an unwanted object, prepare several aspect ratios, animate a final still, and then assemble the result into a campaign or story. GPT Image 2 is valuable when it makes those iterations more controllable.
This guide explains what the model officially supports, how to structure effective prompts, how to edit without losing the original intent, and how to move approved images into a broader DeepFake workflow. It also separates documented capabilities from claims that still need testing on your own material.
What GPT Image 2 Is
GPT Image 2 is OpenAI's current state-of-the-art specialized model for image generation and editing. Its public model alias is gpt-image-2, with a dated snapshot identified as gpt-image-2-2026-04-21 in the official model catalog.
For developers, OpenAI provides two main ways to work with GPT Image capabilities:
- The Image API can create an image from a prompt or edit one or more supplied images.
- The Responses API can use image generation as a built-in tool inside a conversational or multi-step workflow.
The difference is conceptual as well as technical. The Image API suits a direct generation or edit. The Responses API is useful when an application needs a conversation that can decide whether to create or revise an image, retain earlier context, and support multiple rounds of visual iteration.
Creators using DeepFake do not need to design that API layer. The practical task is to choose the model, provide clean inputs, specify the desired result, and evaluate the output against production requirements.
Confirmed Capabilities That Matter to Creators
Marketing language around new models moves quickly, so it helps to begin with features documented by OpenAI.
Image Generation and Editing
GPT Image 2 can create an image from text and modify an existing image. An edit may affect part of the picture or reinterpret it more broadly, depending on the instruction and any mask or reference inputs provided by the interface.
This supports workflows such as:
- Turning a written brief into concept art
- Replacing or removing an object
- Changing lighting, season, color palette, or material
- Reframing a source image for another channel
- Extending a product or character into a new setting
- Producing variants while preserving important input details
High-Fidelity Image Inputs
GPT Image 2 processes supplied image inputs at high fidelity by default. In OpenAI's API, the model does not expose a lower-fidelity setting for this behavior. High fidelity can be useful for products, faces, layouts, and visual references, but it also means that poor input details may be preserved. Clean the source before editing whenever possible.
Multi-Turn Refinement
A conversational workflow can carry an image-generation call forward and apply follow-up instructions. This makes targeted iteration practical: warm the light, remove a background object, change the camera crop, or revise one material without restating the entire scene.
Multi-turn editing is not a guarantee that every pixel outside the requested area remains identical. Always compare the new result with the approved previous version, especially when brand assets, faces, typography, or product geometry matter.
Flexible Image Sizes
OpenAI documents popular GPT Image 2 sizes including square, portrait, landscape, 2K, and 4K options. The model also accepts many custom resolutions within specific limits: each edge must be a multiple of 16 pixels, neither edge can exceed 3840 pixels, the long-to-short ratio cannot exceed 3:1, and total pixels must stay within the documented range.
Those are API capabilities, not a promise that every interface exposes every size. The model settings visible on DeepFake are the authority for the sizes currently available there.
Quality and Output Formats
The model supports low, medium, high, and automatic quality choices through the API. Low quality is useful for fast drafts and thumbnails; medium or high can be reserved for finalists after the composition works.
OpenAI's Image API can return PNG, JPEG, or WebP. JPEG is generally faster and smaller for photographic images, while PNG is useful when crisp lossless output matters. GPT Image 2 does not currently support transparent backgrounds, so plan to remove or mask a background in a later step when transparency is required.
What Not to Assume
Some claims about GPT Image 2 circulate without sufficient primary evidence. Treat them as hypotheses rather than product specifications.
Do not assume a fixed percentage for text accuracy, guaranteed character consistency across a series, a specific generation time, a universal leaderboard position, or flawless first-pass layout. OpenAI's own documentation still lists text rendering, recurring-character consistency, precise composition, and latency among areas with limitations.
Likewise, avoid inferring the model's internal architecture from the interface experience. The useful question for a creator is not whether an unverified architectural story sounds impressive; it is whether the model meets the acceptance criteria on representative images.
Step 1: Start with a Production Brief
Before opening the generator, write down what the image must accomplish. A good brief includes:
- Purpose: ad creative, concept art, thumbnail, storyboard, character sheet, product image, poster, or social post
- Audience: who should understand or respond to it
- Subject: the most important person, object, place, or idea
- Format: intended aspect ratio and delivery size
- Style: photographic, illustrative, graphic, cinematic, editorial, or another defined direction
- Composition: subject placement, camera angle, negative space, and hierarchy
- Constraints: colors, objects, identity, text, safety, rights, and details that must not appear
- Acceptance criteria: how the team will decide the result is usable
For example, “make a futuristic product photo” leaves too much unresolved. A production-ready brief might say: “Create a horizontal hero image for a landing page. A generic matte-silver wearable rests on black stone at left, illuminated by a narrow cyan rim light. Keep the right half dark and uncluttered for a headline added later. No text, hands, logos, packaging, or additional devices.”
The second version directs composition and protects downstream layout space.
Step 2: Select GPT Image 2 on DeepFake
Open DeepFake and use the model catalog to find the image models currently available. Select GPT Image 2 when its strengths fit the job: prompt-driven generation, reference-based work, controlled editing, or an output size that the current interface supports.
Check the settings displayed before submitting. Resolution, quality choices, generation cost, supported input count, and editing controls may change independently of the underlying model's maximum API capabilities.
For exploration, use an economical draft setting when available. Spend higher-quality generations on compositions that have already passed a basic review.
Step 3: Choose Generation or Editing
Start from text when the concept is open and visual invention is valuable. Start from an image when identity, geometry, layout, or style already exists.
Choose Text-to-Image When
- You need broad concept exploration
- No exact person or product must be preserved
- The environment and art direction are still flexible
- You want several distinct creative approaches
Choose Image Editing When
- A product, character, or location must remain recognizable
- The composition is already approved
- Only one part of the visual should change
- A sketch, photo, palette, or style reference contains essential evidence
- You are preparing channel-specific variations from a master image
Use the cleanest source available. Crop away irrelevant borders, correct existing artifacts, and remove sensitive metadata if needed. If several references are accepted, assign each a clear role in the prompt: subject reference, material reference, palette reference, or composition reference.
Step 4: Write a Structured Prompt
Natural language works well, but structure prevents important details from getting buried. A useful GPT Image 2 prompt can be organized into seven parts:
- Deliverable: what type of visual is being created
- Subject: the main object or character and defining traits
- Environment: setting, time, weather, and surrounding elements
- Composition: shot size, angle, placement, lens feel, and negative space
- Style and light: medium, texture, palette, lighting direction, and mood
- Required details: elements that must be visible and correct
- Exclusions: text, logos, extra objects, unsafe content, or visual defects to avoid
Example: Editorial Product Image
Create a 16:9 editorial product still life for a technology article. A generic graphite-gray portable speaker sits on a pale limestone block, positioned in the left third. Early-morning sunlight creates one long diagonal shadow. Minimal warm-gray studio background, realistic material texture, restrained premium photography, 50mm lens feel. Leave the upper-right area empty for a headline added later. The speaker must remain rigid and symmetrical. No words, logos, labels, packaging, hands, cables, or additional products.
Example: Illustrated Character
Create a full-body character concept sheet of an adult desert courier. Practical layered clothing in sand, rust, and indigo; short dark curls; compact utility pack; weathered boots; one folding navigation tool. Clean stylized animation concept art with controlled linework and flat background. Show one front three-quarter pose and three small detail studies of the pack, boots, and tool. Keep costume construction consistent. No text, symbols, watermark, childlike proportions, or branded equipment.
Example: Cinematic Environment
Create a wide cinematic establishing image of a coastal observatory after a storm at blue hour. Wet dark rock in the foreground, a low concrete dome in the middle distance, and a narrow break of warm light on the horizon. Slightly elevated camera, deep focus, realistic scale, quiet atmosphere, cool navy and steel palette with one amber interior glow. No people, signage, vehicles, text, or fantasy objects.
Precise instructions work best when they describe visible results. Replace “make it exciting” with a low camera, diagonal movement, close foreground elements, strong contrast, and a defined focal point.
Step 5: Generate Variations with a Question in Mind
Do not request variations simply to collect more images. Decide what you are testing:
- Which composition creates the clearest hierarchy?
- Does a photographic or illustrated style fit the audience better?
- How much negative space does the final layout need?
- Which lighting direction preserves the product shape?
- Is the character recognizable at thumbnail size?
Keep the underlying brief stable while changing one dimension. If four outputs differ in subject, style, lens, palette, and layout, the comparison teaches you very little.
Label and save promising results. Record the prompt, model, date, size, quality, and why a version was selected. This is especially useful when a later edit needs to return to an earlier branch.
Step 6: Review Before Editing
Inspect the full image and zoom into sensitive areas. Check:
- Brief alignment: Does it perform the intended communication job?
- Composition: Is the focal point immediate and the hierarchy clear?
- Geometry: Are products, architecture, furniture, and repeating patterns structurally plausible?
- Anatomy: Are faces, hands, limbs, and interactions coherent?
- Typography: Is every required character correct, positioned properly, and readable?
- Consistency: Do recurring design details agree within the image and with references?
- Exclusions: Did any logo, watermark, extra object, or unwanted text appear?
- Delivery fit: Does the crop work at the final aspect ratio and size?
Text rendering may be stronger than in older systems, but important copy still requires proofreading. Never approve a price, legal statement, product label, date, medical instruction, or call to action from a quick visual glance.
Step 7: Refine with Targeted Edits
Once a composition works, protect it. Write each edit as a narrow change plus a preservation instruction.
Weak edit:
Make it better and more dramatic.
Stronger edit:
Keep the subject, camera angle, crop, wardrobe, background architecture, and color palette unchanged. Increase the warm rim light along the subject's left shoulder, reduce the foreground fog by half, and remove the small reflection beside the doorway. Do not add objects or text.
When an edit fails, return to the last approved version rather than stacking repairs on a degraded result. Make one meaningful change per pass when accuracy matters.
For localized changes, describe the object's position and visual relationships: “the small ceramic cup on the right side of the table,” not merely “the cup.” If the interface supports a mask, align it carefully and verify that its size and format match the source requirements.
High-Value GPT Image 2 Workflows
Product Visualization
Use a real product reference and keep material, proportions, controls, and color stable. Explore backgrounds and lighting separately. Add exact labels, legal copy, and packaging text in design software unless the generated typography has been rigorously reviewed.
Storyboards and Previsualization
Define a character sheet, environment reference, and shot list before generating frames. Reuse stable descriptors and references. Treat consistency as a measurable review item rather than an automatic capability.
Social Campaign Variants
Begin with a master composition, then adapt it for horizontal, square, and vertical placements. Recompose each format; a center crop may destroy hierarchy. Preserve intentional blank areas for platform text and accessibility overlays.
Posters and Editorial Graphics
The model can attempt integrated typography and complex layouts, but keep critical text short and quote it exactly in the prompt. Verify spelling, punctuation, hierarchy, and alignment. For a reliable production file, use the generated image as art direction and rebuild final text in a layout tool.
Character and World Development
Separate identity from scene. Approve the character's face, clothing, silhouette, props, and palette first. Then create environments and actions from that reference. A defined character system is easier to preserve than a different description invented for every image.
Image-to-Video Preparation
An approved still can become the source for image-to-video generation. Before animation, remove malformed anatomy and accidental text, leave room for motion, and choose a pose that can transition naturally. The still should work as a clean first frame before it is asked to move.
Resolution, Quality, Format, and Cost
Choose resolution based on the actual placement. A thumbnail does not need a 4K source during every exploratory pass. Larger dimensions and higher quality generally increase latency and cost, so confirm the current price in the DeepFake interface before generating.
Use low quality for ideation and rough layout tests. Move to medium or high only when the prompt and composition are stable. Square images are often a practical speed baseline, but the deliverable—not speed alone—should determine the final aspect ratio.
PNG is useful for lossless working files. JPEG or WebP can reduce delivery size for photographic content. Because GPT Image 2 does not currently provide transparent output, create an opaque image first and use background removal or masking afterward when a transparent asset is required.
Keep a high-quality master and derive compressed web versions from it. Do not repeatedly re-save a compressed file through multiple editing rounds.
Common Problems and Practical Fixes
Text Is Misspelled or Misaligned
Shorten the required copy, put it in quotation marks, specify one text block at a time, and simplify the surrounding design. For exact production typography, remove generated text and add it later with a real font.
The Edit Changes Too Much
Return to the previous image. State what must remain unchanged before describing the new change. Use a mask when available and reduce the scope of the instruction.
A Character Drifts Across Images
Use the same approved reference, repeat a compact set of identity anchors, keep wardrobe and lighting stable, and vary only pose or camera. Create a character sheet before a narrative sequence.
Product Geometry Is Wrong
Provide clean multi-angle references if supported, avoid extreme lenses, keep the camera movement modest, and review every rigid edge. For regulated or engineering-sensitive imagery, use compositing or 3D rendering rather than asking generation to guarantee exact construction.
The Layout Feels Crowded
Specify hierarchy and negative space explicitly. Reduce the number of objects, choose one focal point, and describe placement by thirds or clear spatial relationships.
Generation Is Slow
Complex prompts can take longer. Use a lower quality or smaller draft, simplify the request, and retry transient service errors appropriately. Do not automatically resubmit a safety or user-correctable error without changing the input.
Safety, Rights, and Disclosure
Use images you own, licensed assets, or material you have permission to transform. Obtain consent before generating or editing a recognizable real person, particularly for advertising, adult content, political messaging, or any depiction that could mislead viewers about what they did.
Do not use synthetic images as documentary evidence. Disclose AI assistance when context, contract, audience expectation, or platform rules make it relevant. Keep source files, release records, prompts, and approvals for professional work.
All generation systems have safety filters. If a request is blocked, revise the prompt or input according to the returned guidance rather than trying to evade safeguards. Review outputs for stereotypes, private information, unintended brands, and harmful context even when the prompt itself appears harmless.
Final Pre-Publish Checklist
Before using an image, confirm that:
- The output matches the original brief and audience.
- Subject identity, product shape, and important reference details are correct.
- Hands, faces, architecture, reflections, and repeating patterns hold up at full size.
- Every word, number, and punctuation mark has been proofread.
- The composition leaves appropriate space for final copy or interface elements.
- Aspect ratio, quality, format, and file size suit the destination.
- Required rights, releases, consent, and disclosures are documented.
- No unintended logo, watermark, private detail, or unsafe implication remains.
- The approved master, prompt, settings, and revision history are stored together.
Conclusion
GPT Image 2 expands what creators can generate and revise, but its real advantage appears in a disciplined workflow. Start with a clear production brief, choose generation or editing deliberately, structure the prompt around visible decisions, and preserve approved versions through targeted iterations.
DeepFake makes the image one stage in a larger creative system. Explore the current tools from the DeepFake workspace, refine the visual until it passes review, then move the approved asset into animation, editing, or publishing. The model can accelerate production; judgment is what turns that speed into reliable creative work.