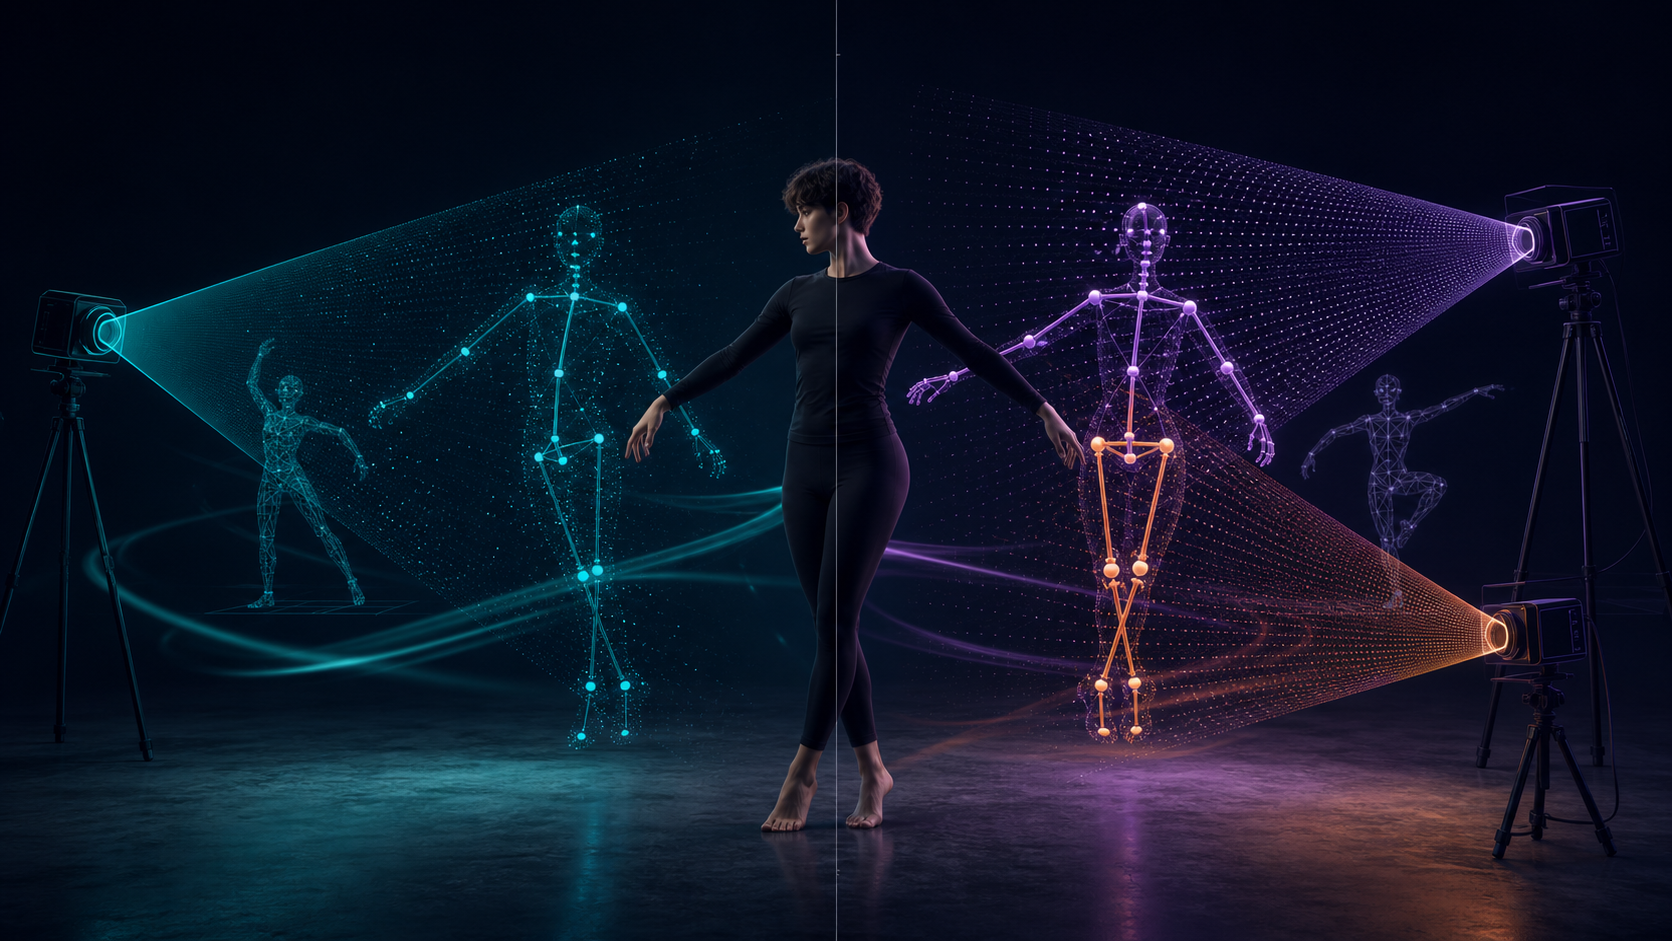
Markerless motion capture has made a once-specialized workflow available to almost anyone with a camera. Record a performance, upload the video, and an AI system estimates a moving 3D skeleton without a suit or physical markers. That promise is shared by browser-first AI mocap tools and Rokoko Vision, but their results do not enter a production pipeline in exactly the same way.
The useful question is not simply which tracker looks better in a preview. It is which one produces the most usable animation for your character, software, shot length, and cleanup budget. A workflow that saves five minutes during capture can still cost hours if its skeleton is awkward to retarget. Conversely, a technically precise solve may be unnecessary for a stylized background character.
This comparison focuses on the decisions that affect finished work: camera setup, free capture limits, skeleton compatibility, exports, accuracy, and the path from an uploaded performance to an animation you can confidently publish.
The short answer
Both approaches are capable starting points for indie games, animation blocking, previsualization, and creator videos.
- Choose Rokoko Vision when you already use Rokoko Studio, expect to move into Rokoko hardware, need webcam capture, or want paid dual-camera depth estimation.
- Choose a Mixamo-oriented browser workflow when your characters already use Mixamo naming, a longer free test clip is valuable, and quick retargeting matters more than joining a hardware ecosystem.
- Test both when the project is important. Run the same clip through each service and compare the exported animation on the actual target character.
- Spend time improving the recording. Clear framing, even lighting, visible limbs, and controlled motion can matter more than a small difference between tracking models.
What both markerless workflows do
The shared pipeline is straightforward:
- Record a person performing the desired action.
- Upload the footage or capture it through a webcam.
- Let the model infer the performer’s joint positions over time.
- Download the resulting skeletal animation.
- Retarget that motion to a rigged 3D character.
- Clean problem frames, adjust timing, and integrate the shot.
Neither route requires a sensor suit, reflective markers, a calibrated stage, or a room full of tracking cameras. That makes both useful for rapid iteration. A solo creator can capture a walk cycle in a living room, while a small studio can block an entire sequence before investing in higher-end capture.
Both workflows also produce animation data rather than a finished character performance. They do not automatically solve facial acting, cloth, hair, finger nuance, camera direction, or final rendering. The export is a strong starting layer, not the end of the shot.
Rokoko Vision at a glance
Rokoko Vision turns webcam or uploaded footage into skeletal animation and connects naturally to the wider Rokoko pipeline. Its free single-camera mode supports recordings up to 15 seconds and provides FBX export. Paid options add dual-camera capture, while Rokoko Studio provides the bridge to more advanced production and hardware workflows.
The ecosystem is the main advantage. If a team already uses Rokoko Studio, owns a Smartsuit, or plans to combine video capture with sensor-based sessions later, Vision offers continuity. Artists can learn one environment and preserve familiar export and retargeting habits as production requirements grow.
Dual-camera capture is also meaningful. A single view has to guess whether an arm moved toward the lens or merely changed position in the image. A second angle gives the solver more evidence about depth and can reduce errors caused by self-occlusion. It is not magic—bad lighting, loose clothing, and hidden joints still matter—but it can produce a more stable foundation for demanding shots.
The Mixamo-oriented browser alternative
The compared browser-first workflow accepts ordinary video and outputs a 65-bone skeleton with Mixamo-style names. Its described free allocation covers up to 60 seconds of motion, and exports include FBX and GLB. It also emphasizes physics-aware estimation and an in-browser preview that lets creators inspect motion on a character before leaving the service.
The most practical distinction is the skeleton. A target character already rigged to Mixamo conventions may accept the animation with little or no manual bone remapping. That can shorten the least glamorous part of the pipeline: matching hips, spine segments, shoulders, hands, and limb axes between two rigs.
The longer test allowance also suits actions that need context. A 15-second clip is enough for a jump, gesture, or short dance phrase, but a 60-second take can preserve transitions into and out of an action. Those transitions often reveal balance and root-motion problems that a neatly trimmed highlight hides.
Side-by-side comparison
| Decision factor | Mixamo-oriented browser workflow | Rokoko Vision |
|---|---|---|
| Capture input | Uploaded ordinary video | Webcam or uploaded video |
| Free starting point | Credit-based allowance described as up to 60 seconds | Single-camera clips up to 15 seconds |
| Higher-accuracy option | Model focuses on physics-aware estimation | Paid dual-camera capture adds depth evidence |
| Skeleton | 65-bone, Mixamo-named output | Rokoko skeleton |
| Common exports | FBX and GLB | FBX on the free route; additional formats in paid workflows |
| Standout convenience | Fast fit for Mixamo-style characters and browser preview | Direct connection to Rokoko Studio and hardware |
| Best fit | Creators prioritizing easy retargeting | Teams prioritizing ecosystem continuity or dual-camera capture |
Pricing, credit allowances, and plan features can change, so confirm the current product pages before basing a production budget on any limit. The structural differences—camera options, skeleton conventions, and ecosystem fit—are more durable decision criteria.
Why single-camera accuracy has a ceiling
Video looks rich to a human viewer, but a single frame only records a flat projection of the scene. The mocap model must infer how far each joint sits from the camera. When the performer moves directly toward the lens, crosses one leg behind the other, spins with an arm behind the torso, or leaves the frame, several 3D poses can explain the same 2D pixels.
Common failure modes include:
- feet sliding while they should be planted;
- knees or elbows briefly bending in the wrong direction;
- hands jumping when they pass across the body;
- hips drifting because root motion was estimated poorly;
- limbs shortening or stretching during depth changes;
- jitter after a fast, blurred movement;
- a lost joint when clothing and background have similar colors.
A physics-aware model may discourage impossible motion, and a second camera may resolve ambiguity, but neither removes the need for review. For polished work, expect to smooth curves, repair contacts, adjust root translation, and sometimes replace a short section with hand-authored keys.
Record footage that is easier to solve
Good capture practice benefits every service. Use bright, even light so the body remains readable throughout the take. Keep the full performer in frame, including hands and feet, and leave extra space around the action. A fixed camera is easier to interpret than a handheld shot with simultaneous performer and camera movement.
Choose clothing that creates a clear silhouette. Extremely loose sleeves can obscure elbows, while trousers matching the background can make the legs difficult to separate. Avoid props unless they are essential to the performance, and rehearse movements that cause long periods of self-occlusion.
Frame rate and shutter speed matter too. More frames do not help if every fast gesture is smeared by motion blur. Record a crisp reference at a stable frame rate, then preserve the original timing through upload and export. Start with a neutral pose for a second, perform the action, and finish in a balanced stance. Those bookends make retargeting and loop cleanup easier.
Retargeting is where the real comparison happens
A browser preview can look excellent while the exported skeleton behaves poorly on your character. Different rigs vary in bone names, hierarchy, rest pose, proportions, joint orientation, and whether motion lives on the hips or a separate root bone.
Test the animation in the software that will finish the shot. Inspect shoulder rotation, wrist orientation, hip height, foot contact, and root travel. A tall realistic character may expose errors that were invisible on a compact stylized avatar. A creature with unusual proportions may need extensive adjustment regardless of the original solver.
If the target rig is already Mixamo-compatible, a Mixamo-named output can remove a mapping step. If the studio has a reliable Rokoko retargeting preset, the opposite may be true. The fastest workflow is the one your existing rig and tools already understand.
A five-part decision test
Create one short reference performance that includes a turn, a planted step, crossed limbs, a hand passing in front of the torso, and movement toward or away from the camera. Process the identical source file through both systems.
Then score each result on five criteria:
- Solve stability: Count visible pops, flips, and jitter before editing.
- Contact quality: Check whether planted feet and hands stay attached to the floor or prop.
- Retargeting time: Measure the minutes from download to correct motion on the target character.
- Cleanup time: Note how long it takes to reach an acceptable shot, not merely an acceptable preview.
- Pipeline fit: Compare export formats, naming, batch needs, collaboration, and future capture plans.
Weight the categories according to the project. A social clip may tolerate small foot slides but demand speed. A gameplay animation needs clean loops and predictable root motion. A cinematic close-up may justify dual-camera capture and detailed manual repair.
Where DeepFake can support the broader process
Markerless mocap solves body animation, while generative video is more useful earlier for ideas and later for presentation. You can use DeepFake Text to Video to explore a shot concept, mood, or camera direction before filming a performer. Treat that output as visual planning rather than ideal mocap input: generated bodies can contain inconsistent limbs, cuts, or camera movement that confuse pose tracking.
For the cleanest animation data, record a real performer under controlled conditions. After retargeting and rendering the 3D shot, use editing, sound, captions, and generative variations as separate finishing tools. Keeping those stages distinct makes problems easier to diagnose.
Final verdict
Rokoko Vision is the stronger choice when dual-camera precision, webcam capture, or a path into Rokoko Studio and hardware matters. A Mixamo-oriented browser workflow is attractive when a longer free test, a familiar skeleton, and reduced retargeting friction are the priorities.
For most indie creators, raw tracker accuracy should not be the only deciding factor. The better tool is the one that delivers usable motion on the real target rig with the least total work. Record one demanding but repeatable clip, test both exports, and let solve stability, retargeting time, and cleanup—not a marketing demo—choose the workflow.