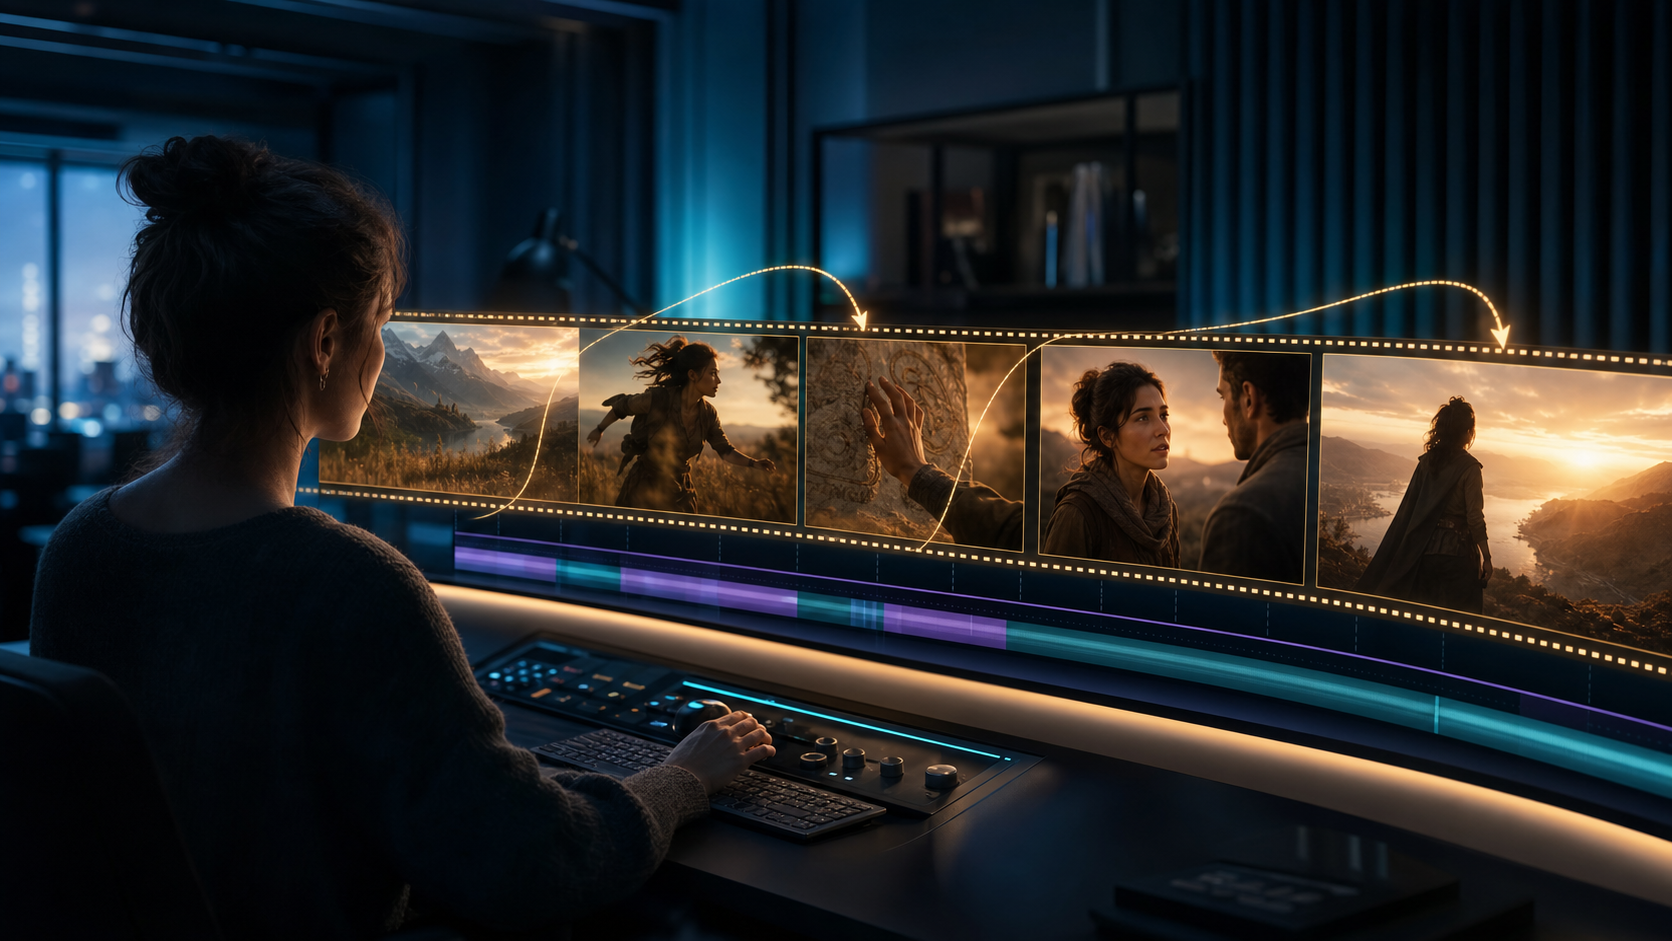
Generating one attractive clip is relatively easy. Building a coherent three-minute video that holds together across dozens of shots is a production problem. Character appearance, lighting, geography, camera language, audio, and pacing can all drift when every clip is generated independently.
The practical solution is scene chaining: break a script into short shots, define reusable visual constants, generate each unit deliberately, and assemble the selected takes in an editor. The result is not one unusually long generation. It is a controlled sequence of short clips that feels like one directed piece.
How long is a single Veo clip?
Google Cloud documentation for current Veo 3 generation supports short durations such as 4, 6, and 8 seconds, depending on the model and endpoint. Interfaces and model versions change, so confirm the available values where you generate. For planning purposes, an eight-second shot is a useful maximum building block rather than a promise that every scene should use the full duration.
The short window balances compute and temporal coherence. As a complex shot continues, the risk of drift grows: facial features may change, props can deform, lighting can shift, and camera movement may become unstable. Short clips make each result easier to review and replace.
At a theoretical eight seconds per clip:
| Final duration | Minimum visual units if every shot ran 8s | Realistic planning note |
|---|---|---|
| 30 seconds | 4 clips | Plan 5–7 shots for pacing and cut options |
| 60 seconds | 8 clips | Plan 9–14 shots plus titles or screen recordings |
| 2 minutes | 15 clips | Divide the script into scene clusters |
| 3 minutes | 23 clips | Expect alternate takes and non-generated inserts |
| 5 minutes | 38 clips | Use generated footage selectively, not wall-to-wall |
Most edits need more shots than the simple division suggests because some clips will be shorter, some will fail, and title cards, diagrams, live footage, or screen captures may carry part of the narrative.
Scene chaining: the core long-video workflow
Step 1: script scenes before generating
Write the narration and scene breakdown first. Each scene should:
- represent one continuous shot or a very short visual sequence;
- be describable in two or three sentences;
- have one narrative purpose;
- begin and end at a clear cut, fade, reveal, or camera transition;
- fit the timed narration rather than forcing narration to fit random footage.
A 90-second introduction may require 11 or 12 visual units, but not all of them need to be generated. A product diagram, title card, or screen recording can communicate certain points more accurately.
Step 2: define reusable visual constants
Separate every prompt into constants and scene action.
Constants should remain verbatim:
CHARACTER: woman in her early thirties, short dark wavy hair, olive jacket,
small silver hoop earrings, no visible logos

ENVIRONMENT: quiet contemporary workshop, pale oak table, matte gray walls,
large window on camera-left, late-afternoon warm light

CAMERA: natural 35mm perspective, eye level, restrained movement

STYLE: realistic editorial film, soft contrast, muted earth palette,
consistent warm key from camera-left
The scene block changes:
SCENE ACTION: She places the finished ceramic cup on the center of the table
and turns it once so the handle faces camera-right. Slow push-in. No dialogue.
Step 3: generate scene clusters
Group shots by location, character, wardrobe, and lighting. Generate all workshop shots before moving to the exterior, for example. This makes drift easier to spot and reduces the mental cost of switching visual worlds.
For critical scenes, make two or three deliberate variations. Change only one variable: motion amplitude, framing, or the final pose. Randomly rewriting the entire prompt makes comparison difficult.
Step 4: assemble and bridge
Import selected clips into a timeline. Add the voiceover and primary music bed, trim each visual to its useful section, and use cuts that disguise small discontinuities. Generate a short bridge only when editing cannot connect the existing material.
The DeepFake video-to-video workflow can support controlled style variations where appropriate, while the final continuity decisions still belong in the edit.
Maintaining character consistency
Separate generations do not automatically preserve a character perfectly. Use multiple anchors:
- repeat the complete physical description in every relevant prompt;
- use the same authorized reference image when the interface supports image input;
- keep wardrobe and accessories specific;
- avoid vague references such as “the same presenter” without restating details;
- maintain similar focal length, camera height, and lighting;
- reject shots where identity-critical features drift.
An anchor scene is especially useful. Generate the character introduction or main environment first. Once approved, extract a clean still and use it as the reference for later image-to-video shots where supported. A visual reference usually communicates identity more consistently than prose alone.
When using an identifiable person's likeness, obtain permission and respect publicity, privacy, and usage rights. Do not create deceptive impersonation or put someone into a context they did not authorize.
Maintaining environment and lighting consistency
Create one environment block and paste it into every prompt in that cluster. Describe visible relationships rather than abstract mood alone:
Soft warm key light enters from the large window on camera-left.
The opposite side of the face falls into a gentle neutral shadow.
The oak table remains centered against the matte gray wall.
The practical lamp in the back-right stays dim and amber.
Also lock:
- time of day;
- weather;
- wall, floor, and furniture materials;
- background object placement;
- dominant color palette;
- camera height and horizon;
- direction of subject movement.
If the story intentionally changes location or time, make that change a visible narrative transition instead of accidental drift.
Maintaining style and camera language
Choose a small camera vocabulary for the project:
- locked frame for explanations;
- slow push-in for emphasis;
- restrained lateral track for reveals;
- wide establishing shot at location changes;
- close detail for evidence or craftsmanship.
Avoid combining an orbit, zoom, roll, and complex character action in one short generation. One strong movement is easier to control and easier for viewers to read.
Use a consistent lens description and motion budget across a scene cluster. Wide atmospheric footage can tolerate more environmental activity; close faces and hands usually need simpler motion and shorter duration.
Prompt examples for a chained sequence
Scene 1: establishing shot
Wide exterior of a quiet coastal research station at sunrise, pale concrete,
wind-bent grass, ocean beyond. Slow controlled push forward. No people.
Natural 35mm film look, muted blue and warm amber palette, soft morning haze.
End with the entrance centered for a clean cut.
Scene 2: character introduction
[REPEAT CHARACTER, ENVIRONMENT, CAMERA, AND STYLE CONSTANTS]
Medium shot. The presenter enters from screen-left, stops beside the oak table,
and looks toward the object at center. Locked camera, subtle natural movement.
End with both hands resting on the table.
Scene 3: tutorial action
[REPEAT CONSTANTS]
Close overhead detail of the presenter's hands connecting the blue cable to
the compact sensor. One precise action, no extra objects, camera locked.
End after the indicator light becomes steady.
Scene 4: result
[REPEAT CONSTANTS]
Medium close-up. The presenter looks from the active sensor to camera with a
small satisfied expression. Very slow push-in. Keep hairstyle and earrings
unchanged. No speech.
Scene 5: resolution
[REPEAT CONSTANTS]
Wide hero frame of the completed setup on the table. Presenter stands behind
it, slightly right of center. Slow pull-back, clean negative space at left for
editor-added summary text. End on a stable frame.
Bridge clip
Close detail of warm window light moving across the oak tabletop from left to
right, matching the workshop palette. No people or text. Slow controlled pan,
designed as a two-second transition between scenes.
Choose clip length by shot complexity
Use 4–6 seconds when:
- the scene contains precise hand or facial action;
- a reaction must hit a voiceover cue;
- a close-up exposes small inconsistencies;
- the shot has one specific gesture or reveal;
- the edit needs a quick visual beat.
Short clips provide tighter control. There is no benefit in padding a complete four-second action to eight seconds.
Use 7–8 seconds when:
- the scene is a slow establishing view;
- distant or ambient movement carries the shot;
- the frame is primarily about atmosphere;
- the footage will act as flexible B-roll;
- a restrained camera move needs time to settle.
Wide shots hide small distant variations better than close character work.
Audio-first planning
Long-form video often becomes more coherent when audio is planned first:
- Write and record the complete voiceover.
- Clean the dialogue and place it on the timeline.
- Add time-coded scene markers against each idea.
- Decide which sections need generated visuals, graphics, or screen recordings.
- Generate clips to the required durations.
- Add music and sound design after the narrative timing is stable.
Generated clip audio may be useful as ambience or an effect, but chaining independent audio beds can create noticeable tonal and spatial jumps. A continuous voiceover and music bed help unify minor visual differences.
Editing techniques that hide seams
Do not simply place every clip end to end.
- J-cut: begin the next scene's audio before its picture appears.
- L-cut: let the previous scene's audio continue after the picture changes.
- Cut on action: change angle during a movement rather than trying to match two nearly identical static poses.
- Insert detail: place a close-up of an object between two character shots.
- Use title or diagram cards: give viewers visual rest and communicate exact information.
- Match color after assembly: grade all selected clips together instead of finishing each file independently.
Transitions should serve the story. A simple hard cut with matched direction often looks more professional than an elaborate generated morph.
Practical long-form use cases
Educational YouTube video
A three-minute explainer might include an establishing shot, two concept illustrations, four tutorial steps, a recap, and an outro. Generated clips can cover demonstrations and atmosphere, while diagrams and screen recordings carry exact information.
Short narrative film
Keep each cluster in one clearly defined location, plan cut points before generation, and use voiceover when extended synchronized dialogue would add unnecessary risk. Continuity rules are strictest here because viewers notice character and geography changes immediately.
Corporate or training module
Modular subjects fit scene chaining well:
- introduction and context;
- problem demonstration;
- solution walkthrough;
- recap and knowledge check.
Treat each module as an independent project with its own asset log and review.
Social series
For Reels, Shorts, or TikTok, the “long” project may be a series of 30- to 60-second episodes. Reuse the same host description, set, palette, graphic package, and audio identity to create continuity across posts.
Efficient production practices
- Build a reusable master prompt template.
- Number scenes and takes:
scene-03_take-02.mp4. - Generate alternate takes only for critical shots.
- Store prompts beside their outputs.
- Keep a scene log with pass/fail reasons.
- Generate and review one cluster before moving on.
- Use proxy or draft settings for timing tests where supported.
- Grade only after the edit is assembled.
- Keep text, logos, and legal claims as controlled graphic layers.
- Back up source images, selected clips, and project files.
Parallel generation can shorten waiting time, but do not let throughput replace review. A large batch of inconsistent clips creates more editing work than a smaller, directed set.
When to combine Veo with other tools
No generator needs to supply every frame. Use the tool that best fits each shot and verify current capabilities rather than relying on old duration comparisons. A long project may combine:
- Veo for short photorealistic or cinematic shots;
- live footage for real people, interviews, or product truth;
- screen recording for software instruction;
- diagrams for precise explanations;
- stock footage for locations or events you cannot accurately generate;
- an NLE for audio, captions, brand assets, and delivery.
The objective is a coherent final video, not proof that one model created every second.
Final QA checklist
Review the assembled piece in separate passes:
- Story: every shot advances the explanation or narrative.
- Identity: character, wardrobe, product, and props remain stable.
- Geography: screen direction, eyelines, camera height, and location make sense.
- Motion: actions begin and end cleanly without deformations.
- Audio: voice level, ambience, and music feel continuous.
- Graphics: captions, names, logos, and claims are exact.
- Rights: likenesses, source images, music, and brand assets are authorized.
- Technical: aspect ratio, frame rate, codec, and resolution match delivery.
- Disclosure: realistic synthetic media follows platform and client policies.
- Provenance: prompts, models, inputs, versions, and approvals are recorded.
Conclusion
Veo long-video production is not about finding a “generate five minutes” button. It is a scene-planning and editing discipline. Script first, separate constants from actions, establish anchor frames, generate in clusters, build against audio, and evaluate every selected take in context.
The short clip is not a ceiling. It is a modular unit. A carefully designed set of those units can support explainers, training, narrative shorts, and episodic social content that feels intentional rather than assembled by accident.
FAQ
How long can one Veo 3 generation be?
Current supported values depend on model and endpoint; Google Cloud documentation includes 4-, 6-, and 8-second durations for Veo 3 workflows. Confirm the live interface before planning.
How many clips are needed for five minutes?
Thirty-eight eight-second clips would cover 304 seconds mathematically, but a real project may use fewer generated clips because titles, diagrams, screen recordings, or live footage carry part of the runtime. It may also require extra takes for failed shots.
Can Veo preserve one character across many scenes?
Not perfectly by default. Reuse detailed descriptions, approved reference images, wardrobe and environment constants, and an anchor frame. Reject identity drift during review.
Which editor should I use?
Use the editor your team can operate reliably. DaVinci Resolve offers capable free editing and grading, CapCut supports quick social assembly, and Premiere Pro fits established Adobe workflows. Organization and consistent finishing matter more than the brand of editor.
Should I keep generated audio from every clip?
Use it selectively. Continuous voiceover, music, and controlled sound design usually connect a long piece more effectively than chaining many independent generated audio beds.