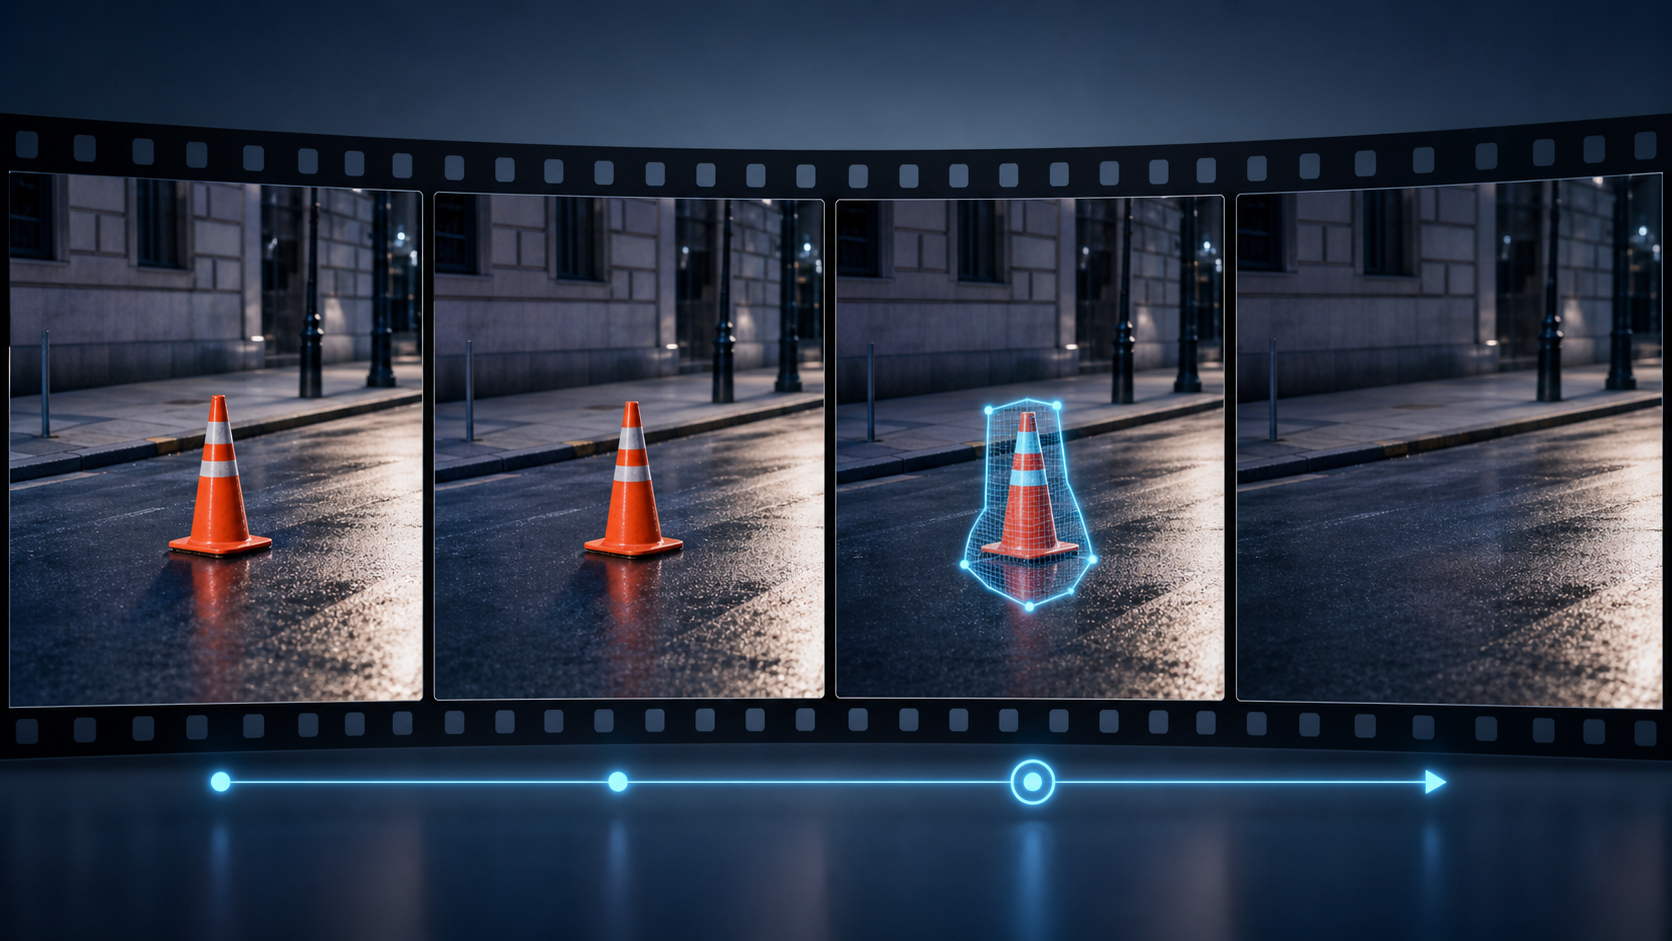
An unwanted passerby crosses otherwise perfect B-roll. A microphone stand appears in a reflection. A distracting bin ruins a travel shot. Video object removal can save footage you have already paid to capture—but only when you treat it as a roto and restoration task with AI assistance, not a one-click trick.
The quality of the result depends on three decisions: whether the shot is worth repairing, how accurately the target is masked through time, and whether the missing background can be reconstructed without flicker.
Decide whether the clip is worth saving
Good candidates usually have:
- a relatively small unwanted object;
- calm or predictable camera movement;
- a stable, repetitive, or visible background;
- limited occlusion;
- short duration.
A locked interview, tripod product shot, or smooth street pan may respond well. Fast handheld motion, crowds, railings, reflections, water, heavy blur, or a target occupying much of the frame are harder because the unseen background changes continuously.
Practical rule: small target + modest motion + predictable background is worth testing. A target crossing reflections, fine edges, and aggressive blur is restoration work and may cost more than a reshoot or regeneration.
How video object removal works
A serious workflow has four stages.
1. Initial mask
Mark the object on a frame where its silhouette is easy to read. If its shape or scale changes substantially, add key masks rather than expecting one outline to fit the entire clip.
2. Boundary refinement
The mask should hug the target without cutting into it. Under-masking leaves ghost edges. Over-masking removes valid background that the system could have used for reconstruction.
Include a small halo around moving edges, especially hair, spokes, poles, or lettering on curved surfaces. Feather lightly—often only a few pixels at source resolution—so the repair does not resemble a pasted patch.
3. Mask propagation
Tracking or segmentation carries the mask across frames. Review the overlay throughout the clip. Camera movement, motion blur, occlusion, and changing perspective can make a perfect first-frame mask drift later.
4. Temporal inpainting
The system estimates what belongs behind the target and attempts to keep that reconstruction coherent across time. Advanced approaches may also account for the removed object's shadow, reflection, and interaction with nearby surfaces. Removing only the visible object while leaving its moving shadow is not a complete repair.
The mask must “breathe”: wide enough to catch motion and related effects, but tight enough to preserve useful scene context.
Traditional roto vs AI inpainting
| Factor | Traditional masking and roto | AI inpainting |
|---|---|---|
| Control | Frame-accurate and deliberate | Faster but less deterministic |
| Strongest use | Static shots, products, clean backgrounds | Short moving clips with inferable backgrounds |
| Main weakness | Time-consuming tracking and paint | Flicker, smears, invented geometry |
| Motion | Excellent with careful tracking | Efficient on moderate motion, weaker on occlusion |
| Texture | Precise with artist cleanup | Can fail on brick, grass, water, and fabric |
Manual roto remains a safe choice for exact commercial shots. AI is valuable when it removes hours of repetitive paint work, but it can invent structure or soften detail. The strongest pipeline is often hybrid: AI handles the broad fill, then a human corrects difficult frames.
A practical removal workflow
Start from the best source
Use the highest-quality, least-compressed file available. Compression noise and downscaling remove texture that the inpaint needs. Preserve source resolution and frame rate through the cleanup pass.
Choose readable keyframes
Mask frames where the object has a clean silhouette. Add a new keyframe when it crosses depth layers, rotates, changes shape, or becomes partially hidden. Do not force one contour across a long complex move.
Inspect the mask in motion
Toggle the overlay and scrub the timeline. Watch at quarter speed. A mask can look perfect on a paused frame while drifting visibly between frames.
Test a short segment
Render the hardest two or three seconds at preview quality. If the fill wobbles or texture breaks, correct the mask, divide the shot, or change methods before processing the full clip.
Split difficult stretches
Treat stable and unstable sections separately. A single method does not need to solve the entire shot. Manual clone work around one reflection may be faster than repeatedly regenerating a ten-second pass.
Diagnose the artifact before rerunning
Ghost edges
The mask is too tight or tracking has drifted. Expand the boundary slightly, add keyframes, and ensure the mask includes blur at peak motion.
Temporal flicker
The background is being rebuilt differently each frame. Improve tracking, use a stronger temporal-consistency mode, or process the unstable section independently.
Texture smears
Brick, grass, water, hair, and fabric expose weak fills. Give the model more clean context, switch to texture-aware inpainting, or use manual clone and roto for that area.
Lighting mismatch
The removed object may have cast a shadow or reflected a source. Rebuild the related effect, then match color, contrast, grain, and noise to adjacent clean frames.
Geometry that “breathes”
The system lacks a stable structural reference. Shorten the repair, use a clean plate if available, or replace the shot.
Best diagnostic habit: fix the mask before blaming the model. Many apparent AI failures begin with an inaccurate target boundary.
Export settings that protect the repair
- keep the working file at source resolution;
- match the original frame rate;
- avoid repeated lossy exports;
- use a high-quality mezzanine master before platform compression;
- add grain and final color only after the fill is stable;
- upscale after removal, not before;
- review the delivered codec at normal speed and frame-by-frame.
Changing frame rate can introduce blending that looks like new flicker. Heavy compression can turn a subtle fill into a blocky moving seam. Export once at the end whenever possible.
If the cleaned footage needs a controlled stylistic pass, test DeepFake's video-to-video workflow on a copy while preserving the repaired master.
When regeneration or reshooting is better
Regenerate when:
- the target covers a large part of a short synthetic clip;
- the background is easy to describe;
- exact continuity with the original plate is not essential;
- a new generation costs less than frame-by-frame restoration.
Remove when:
- the object is small;
- camera and background remain coherent;
- the original performance or timing must be preserved.
Reshoot when:
- product, brand, evidence, or factual location detail must be exact;
- the target interacts with too much of the scene;
- reconstruction could mislead viewers.
For replaceable marketing B-roll, text-to-video or image-to-video may produce a clean alternative faster. For documentary, journalistic, legal, or evidentiary footage, disclose material alteration and preserve the original.
Never use object removal to falsify evidence, erase required disclosures or watermarks, misrepresent a product, or alter a real person's actions deceptively. Obtain permission for identity-based edits and keep an auditable original.
Final checklist
- Is removal cheaper and more truthful than reshooting or regenerating?
- Does the mask cover the target, blur, shadow, and reflection without swallowing clean detail?
- Does tracking remain locked at every occlusion and perspective change?
- Is the fill stable at quarter speed?
- Are texture, lighting, grain, and geometry consistent?
- Does the export preserve source frame rate and sufficient bitrate?
- Is disclosure required for the context?
A professional removal is usually won at the mask stage and approved on the timeline, not in a single still frame. Use AI to accelerate repetitive work, then apply editorial judgment to decide whether the repaired shot still feels like the original.