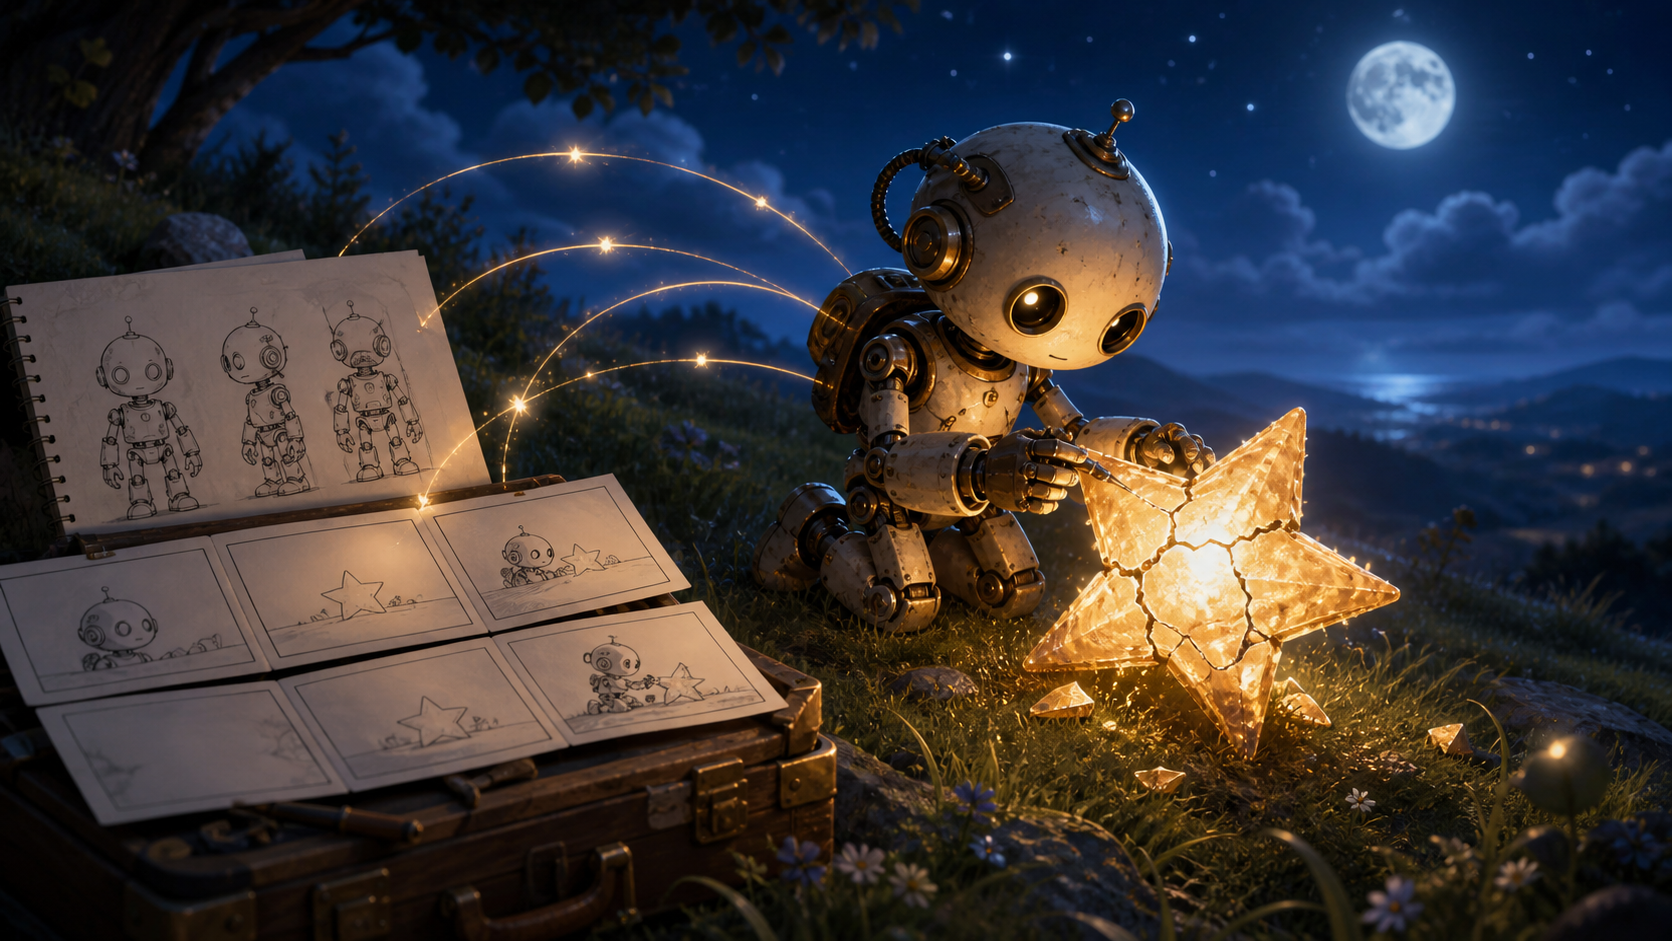
AI has made animated footage easier to produce, but a finished short film is still a demanding creative project. The challenge is no longer simply “Can I make this image move?” It is “Can I make every shot feel like it belongs to one story?”
A coherent short needs a readable idea, scenes with purpose, stable characters, visual continuity, sound, pacing, and an ending. AI can accelerate each stage, yet it does not remove the decisions connecting them. The most reliable workflow treats generation as production material, not as the finished film.
This guide shows how to create a 45- to 90-second animated short in 2026. The same method scales down to a 15-second teaser or up to a longer film once you have proven the pipeline.
Quick Workflow
- Write one simple premise with an emotional change.
- Turn the premise into five to eight story beats.
- Design one character and one main environment.
- Convert the beats into a shot list and storyboard.
- Generate and approve keyframes before animation.
- Animate one clear action per shot.
- Record or generate dialogue, ambience, effects, and music.
- Edit for story, continuity, and rhythm.
- Run visual, audio, rights, and delivery checks.
The order matters. Fixing a weak story after generating 30 clips is expensive. Fixing it as six lines on a beat sheet is fast.
Step 1: Start With a Simple Idea
Do not begin with a perfect screenplay. Begin with a premise that contains a subject, desire, obstacle, and change.
For example:
A lonely repair robot finds a fallen star and gives up its last power cell to help the star return to the sky.
That sentence suggests a protagonist, objective, emotional cost, visual climax, and ending. It is enough to plan a short.
Test the Premise
Ask four questions:
- Can the central action be shown rather than explained?
- Does the character make or face a meaningful choice?
- Can the story happen in one or two locations?
- Is the ending visually different from the beginning?
If the answer is no, simplify. A short about one clear change is more achievable than a miniature feature film full of lore.
Choose a Practical Scope
For a first AI-assisted short, use:
| Element | Recommended limit |
|---|---|
| Runtime | 45–90 seconds |
| Main characters | 1 |
| Supporting characters | 0–1 |
| Locations | 1–2 |
| Story beats | 5–8 |
| Final shots | 8–15 |
| Spoken lines | 0–4 |
These are not artistic rules. They are production boundaries that reduce continuity failures and make finishing realistic.
Step 2: Turn the Idea Into Structured Beats
Before generating images, write what changes from moment to moment:
- Isolation: the robot works alone on a moonlit hill.
- Arrival: a cracked star falls nearby.
- Attempt: the robot tries simple repairs and fails.
- Realization: its power cell could restart the star.
- Choice: it transfers the cell despite the risk.
- Release: the star rises and illuminates the motionless robot.
- Return: a spark falls back and wakes the robot.
Each beat creates a new condition. If two beats communicate the same information, merge them.
Add Timing Before Dialogue
Assign rough time:
| Beat | Target time |
|---|---|
| Isolation | 8 s |
| Arrival | 8 s |
| Attempts | 15 s |
| Choice | 12 s |
| Release | 12 s |
| Return | 10 s |
This 65-second map reveals where the film needs coverage. Dialogue can be added later if an action remains unclear. Many animated shorts become stronger when images and sound carry the emotion.
Step 3: Build a Character and World Bible
Character drift is one of the fastest ways to break a generated sequence. The solution is not an endlessly long prompt. It is a concise, approved reference package.
Character Reference
Create a neutral sheet with:
- front, profile, three-quarter, and rear views;
- full-body proportions;
- close-up facial or display details;
- key joints and hand design;
- color and material swatches;
- the power cell and any recurring prop;
- three expressions or poses needed by the story.
Write a fixed identity block:
Compact child-height repair robot, rounded off-white ceramic shell over aged brass joints, two warm amber lens eyes, one short antenna, small canvas tool pack, scuffed surfaces, three-finger mechanical hands.
Reuse it without casually changing adjectives.
Environment Reference
Define the hill from several angles. Record the position of the tree, horizon, workshop case, moon, and distant town. Establish a palette and light logic: cool moonlight from screen-right, warm star light from below, dark blue grass, pale clouds.
The environment plate gives every shot a common geography. It also makes it easier to identify when a beautiful generation belongs to a different place.
Keep a Continuity Ledger
Track:
- current damage and dirt on the robot;
- which hand holds each tool;
- the star's crack pattern and brightness;
- power-cell position;
- camera side and screen direction;
- time, weather, and light direction;
- emotional state at each beat.
Continuity is a collection of small facts. Write them down rather than expecting a model—or your memory—to preserve them automatically.
Step 4: Convert Beats Into Shots
A beat explains story function. A shot defines what the audience sees.
For the “choice” beat, coverage might include:
| Shot | Frame | Purpose | Motion |
|---|---|---|---|
| 8 | Close-up of dim robot eyes | Show dwindling power | Light flickers; head lowers |
| 9 | Insert of chest cell and cracked star | Explain the solution | Hand moves between both objects |
| 10 | Medium profile | Show the decision | Robot removes cell and pauses |
| 11 | Tight hands | Complete the transfer | Cell enters the star; glow begins |
Storyboard Roughly
Thumbnail drawings only need to answer:
- what is the focal subject?
- where is the camera?
- what changes during the shot?
- which direction does movement travel?
- how will the shot cut to the next one?
Do not spend generation credits polishing a composition that has not solved those questions.
Plan Transitions
Use motivated connections:
- cut from a bright spark to the robot's eye;
- match the circular power cell with the moon;
- begin the star's hum before its close-up;
- cut on the robot reaching toward an object;
- use a foreground blade of grass to wipe between angles.
Planning transitions helps isolated clips become a sequence.
Step 5: Generate Keyframes First
Create still candidates for each shot. Approve the complete set as a contact sheet before animation.
Evaluate:
- story clarity: does the frame communicate its beat?
- identity: does the robot match the reference?
- continuity: are damage, props, light, and geography correct?
- composition: is the subject readable at delivery size?
- motion potential: can the intended action happen without impossible overlaps?
Weak stills rarely become stable video. Repair hands, joints, props, accidental text, and background geometry before adding motion.
Use the DeepFake model library to compare suitable image and video options for a few representative shots. Judge usable continuity and control, not only surface detail.
Step 6: Animate for Flow
Animation quality matters, but flow matters more. One flawless clip cannot rescue a confusing sequence.
Write motion prompts as change over time:
The robot kneels still for one second, then slowly lifts its right hand toward the cracked star. Its amber eyes dim slightly. Grass bends in a soft breeze and tiny golden fragments float upward. The camera makes a gentle push-in. Preserve the robot's shell, joints, tool pack, star geometry, moonlight direction, and background.
Limit Each Shot
Ask for:
- one primary character action;
- one secondary environmental movement;
- one camera move or a locked camera;
- explicit stability constraints.
Split a complex event into inserts and reactions. The audience can infer an action across cuts more reliably than a model can render every stage in one long clip.
Generate Editing Handles
Leave a brief stable moment before and after the action. Those handles give the editor a clean place to cut. If the last half-second develops an artifact, the usable section may still be enough.
Keep a take log with model, settings, source frame, prompt, usable time range, and known defect. Approve the used portion, not an abstract impression of the entire generation.
Step 7: Add Voice, Sound, and Emotion
Sound is what turns attractive footage into a film. Build it in layers.
Ambience
Create a continuous night bed: breeze, grass, distant insects, and the faint tone of the town. Ambience hides small differences between generated clips and establishes space.
Foley and Effects
Add mechanical joint movements, tool clicks, ceramic contact, the cell release, star fragments, and the upward rush. Sync only important actions; covering every movement can feel artificial.
Music
Choose a simple emotional structure. Sparse notes can support isolation, a low pulse can enter during the failed repair, and the melody can open when the star rises. Music should shape the arc rather than remain equally intense throughout.
Dialogue or Voiceover
Use speech only when it adds character or necessary information. Keep lines short enough to perform naturally. If you use synthetic voices, obtain permission for any identifiable voice and avoid impersonating a real person without authorization.
Lip-sync is optional for this story, but dialogue-led projects can use the dedicated tools in the DeepFake workspace. Use authorized character and voice assets, and review mouth shapes, timing, and emotional delivery before publishing.
Step 8: Edit Without Protecting Your Generations
Creators often keep a shot because it was expensive or beautiful. The film only cares whether the shot serves the story.
Make a Silent Rough Cut
Assemble approved clips in storyboard order. Remove dead frames, shorten repeated information, and confirm the emotional change is visible without explanation.
Add Sound and Recut
Sound may reveal that a pause needs more time or an action should begin earlier. Let effects bridge cuts. Lower music when a delicate physical sound carries the decision.
Polish Selectively
Use color correction, grain, contrast, and light effects to unify shots. Do not bury severe identity or anatomy failures under filters. Regenerate the small number of shots that break the film.
Check pacing at normal speed. Frame-by-frame inspection is for defects, not for deciding whether an emotion lands.
A Practical Seven-Day Schedule
| Day | Deliverable |
|---|---|
| 1 | Premise, beat sheet, runtime, and scope |
| 2 | Character sheet, environment plate, continuity ledger |
| 3 | Shot list and rough storyboard |
| 4 | Approved keyframe contact sheet |
| 5 | Motion generation and take selection |
| 6 | Picture edit, ambience, foley, voice, and music |
| 7 | Fixes, rights review, captions, exports, and archive |
The schedule is intentionally finish-oriented. If the project slips, reduce shots or motion complexity before sacrificing the final edit and sound pass.
Common Failure Modes
The Film Looks Like a Demo Reel
Every shot uses a different style or exists only to showcase an effect. Return to the premise and remove material that does not change the story.
The Character Drifts
Use one approved character sheet, repeat the fixed identity block, reduce model changes, and compare adjacent keyframes before animation. Regenerate drift early.
The Story Is Hard to Follow
Check whether each beat creates a visible change. Add an establishing shot, insert, or reaction rather than explanatory narration by default.
Motion Is Too Busy
Reduce each shot to one action. Let editing and sound create energy. A held pose with a controlled eye change can be more emotional than a complex camera orbit.
The Project Never Ends
Define acceptance criteria and a deadline. Approve shots that tell the story cleanly. Save alternate ideas for the next film.
Final Quality Checklist
- The beginning, change, and ending are understandable.
- Character design, damage, props, and scale remain consistent.
- Locations and screen direction make spatial sense.
- No accidental text, logos, watermarks, or broken anatomy remain.
- Dialogue and important effects are intelligible.
- Music supports rather than overwhelms the arc.
- Captions are accurate where needed.
- Every likeness, voice, image, font, and music asset has appropriate rights.
- Synthetic media is disclosed when required by a platform, agreement, or audience context.
- The master and delivery exports play correctly from start to finish.
Final Thoughts
Making a short animated film with AI is no longer primarily a software challenge. It is a problem of structure, continuity, selection, and emotion. AI can accelerate concepts, storyboards, reference art, motion, voices, and sound, but the creator still decides what the film means and which material belongs in it.
Start with one visible change. Build a small reference system. Generate shots for an edit, not for a gallery. Use sound deliberately. Most importantly, complete the film. A finished 60-second story teaches more than hundreds of disconnected clips.
Frequently Asked Questions
How long should my first AI animated short be?
Aim for 45 to 90 seconds. A 15-second teaser is also valuable if it includes a setup, change, and ending. Prove the workflow before expanding.
Do I need a complete screenplay?
No. A clear premise and five to eight observable beats are enough to begin. Write dialogue only after the visual structure works.
How many generations will I need?
It varies by model, motion complexity, and standards. Budget by approved shots or usable seconds rather than raw generations, and reserve capacity for fixes discovered in the edit.
Can one AI platform make the entire film automatically?
Some platforms combine planning, generation, audio, and editing, but automation does not guarantee story clarity or continuity. Review each stage and keep the ability to replace individual shots.
How do I use AI responsibly in a short film?
Use authorized references, likenesses, voices, and media. Do not imitate a real person's identity without consent, review licenses and commercial terms, and disclose synthetic content where required.