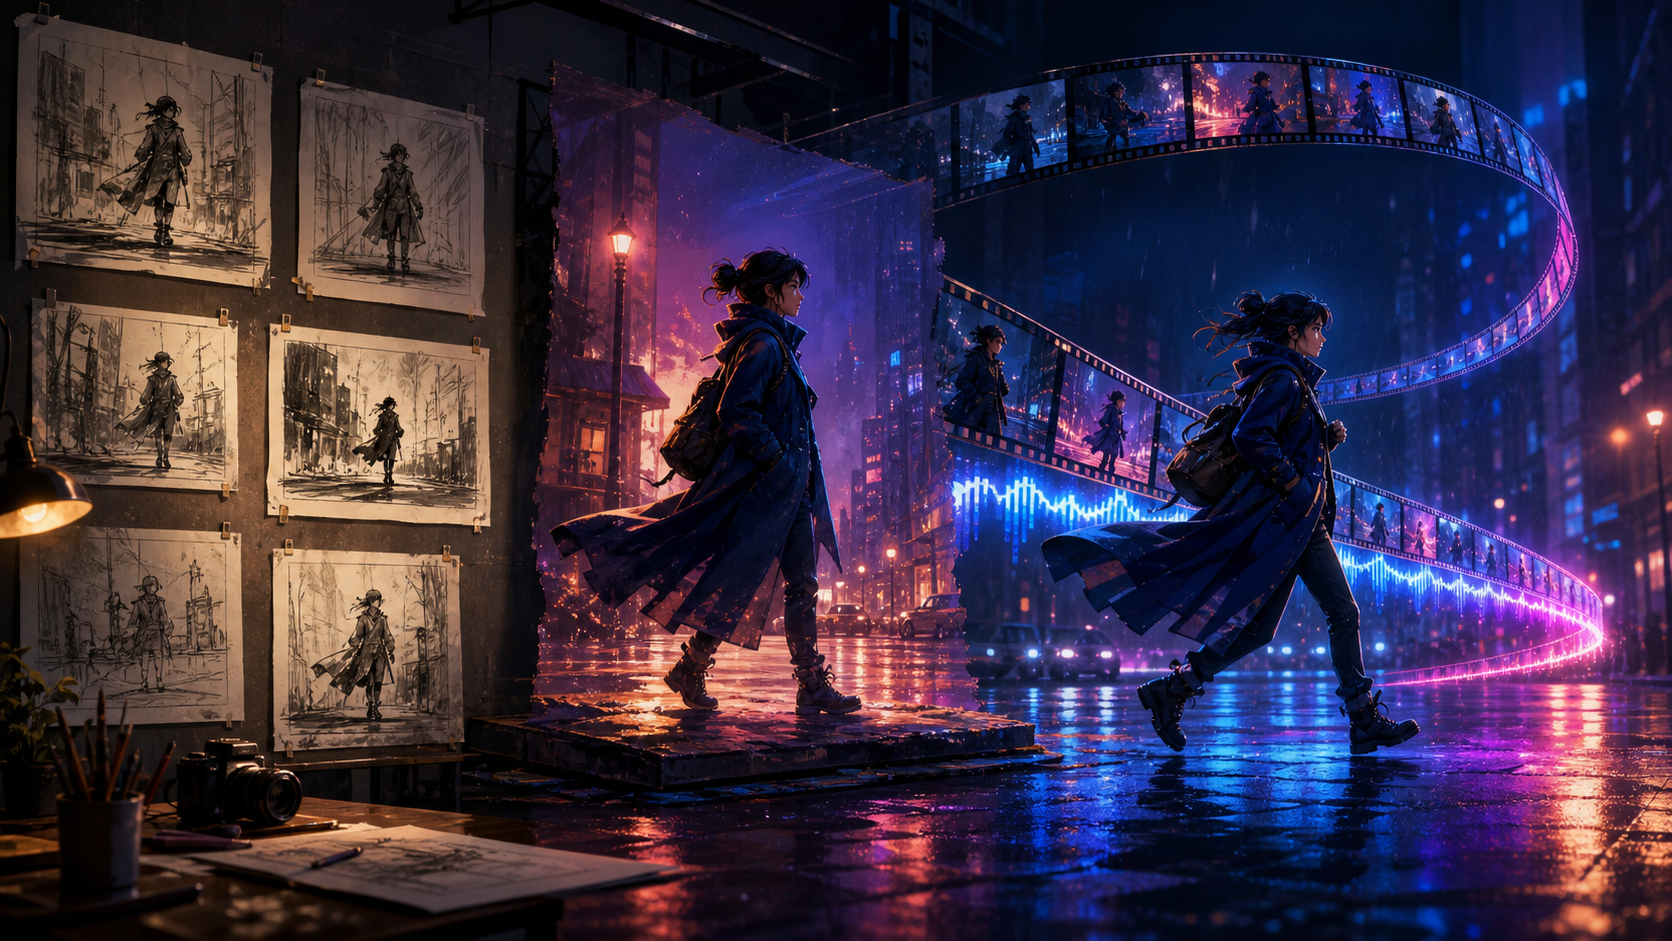
AI can turn a written idea or still image into moving footage, but the strongest animated videos rarely come from one enormous prompt. They come from a sequence of smaller decisions: define the purpose, establish a visual language, design shots, approve stable keyframes, generate controlled motion, and shape the material in an edit.
This beginner workflow is designed for a 15- to 30-second teaser, character introduction, product mood piece, animated illustration, or social clip. It applies to realistic, illustrated, anime-inspired, and motion-design projects. The goal is not to generate the most footage. It is to finish a short sequence in which every shot belongs to the same idea.
Quick Answer: The Seven-Stage Workflow
To make an animated video with AI:
- define the audience, purpose, format, and duration;
- choose text-to-video, image-to-video, or a hybrid workflow;
- write a beat sheet and shot list;
- build a style guide and subject reference;
- create and approve keyframes;
- generate one controlled motion idea per shot;
- edit, add sound, check continuity, and export.
Start with five or six shots. A compact sequence is easier to direct, revise, and complete than a long scene that asks a generation model to solve character, camera, action, and storytelling at once.
Choose the Right AI Animation Method
Before writing prompts, decide how much control the project needs.
Text-to-Video
Text-to-video starts from a description. It is useful for:
- visual exploration;
- landscapes, atmosphere, and transitions;
- subjects whose exact appearance is flexible;
- discovering unexpected camera ideas;
- quick proof-of-concept clips.
Its weakness is continuity. If six prompts independently describe “the same traveler,” the model may change the face, costume, location, or lighting.
Image-to-Video
Image-to-video animates an approved still. It is useful for:
- character consistency;
- product shots and artwork;
- controlled composition and lighting;
- subtle performance;
- matching a storyboard.
The source image determines much of the result. A weak hand, ambiguous limb, or crowded composition may become worse in motion, so repair the still first.
Hybrid Production
Most polished beginner projects benefit from a hybrid. Use text-to-video for environmental shots and exploratory transitions, then use image-to-video for recognizable characters, products, or precise compositions. The edit can hide differences by cutting on motion, sound, shape, or color.
You can compare current video and animation options in the DeepFake AI model library. Test tools with the same two or three representative shots instead of choosing from promotional demos alone.
Step 1: Define a Finishable Brief
Write a one-page brief before generating anything:
| Field | Example |
|---|---|
| Audience | Viewers discovering a new short-film channel |
| Purpose | Create curiosity about a mysterious traveler |
| Duration | 20 seconds |
| Format | 16:9, 24 fps delivery |
| Core action | A traveler crosses a rainy street and notices a light following her |
| Emotional arc | Isolation → suspicion → resolve |
| Required ending | She turns toward the unseen source |
Add constraints: one character, one street, nighttime rain, no dialogue, and no complex fight choreography. Constraints concentrate effort where the audience will notice it.
Write a Three-Beat Story
For a short clip, three beats are enough:
- Setup: the traveler moves alone through the city.
- Change: a warm light appears in reflections behind her.
- Response: she stops and turns as the music cuts.
Every shot should establish, change, or resolve something. Remove a shot if it only repeats information.
Step 2: Turn Beats Into Shots
A practical shot list might be:
| Shot | Length | Framing | Motion goal |
|---|---|---|---|
| 1 | 4 s | Rainy street wide | Slow forward drift; traffic and rain move |
| 2 | 3 s | Boots and reflection insert | Steps cross frame; warm light enters puddle |
| 3 | 4 s | Medium profile | Traveler walks; coat and hair react to wind |
| 4 | 3 s | Over-shoulder | Light grows behind her; she slows |
| 5 | 3 s | Close-up | Eyes shift, then head begins to turn |
| 6 | 3 s | Rear wide | She faces the light; hold for the title cut |
Specify the job of each shot, not just how it looks. Duration is a target for the final edit; generate extra handles at the beginning and end when possible.
Maintain Screen Direction
If the traveler moves left to right, preserve that direction until the story intentionally changes it. Note which shoulder carries a bag, where key light comes from, and which side of the street contains important landmarks. These simple annotations prevent a sequence from feeling geographically random.
Step 3: Build a Visual Guide
Create a reusable visual sentence:
Cinematic illustrated realism, rain-dark cobalt city, controlled magenta signs and one warm amber mystery light, crisp subject silhouette, wet reflective pavement, shallow depth of field, restrained handheld energy.
Then lock four groups of references:
- subject: face, body proportions, clothing layers, accessories;
- environment: street architecture, weather, time, light sources;
- rendering: texture, line quality, realism level, contrast;
- camera: lens feeling, shot distance, movement, aspect ratio.
Do not rely on a vague label such as “cinematic.” The visual sentence explains which colors, contrast, depth, and camera behavior make the scene cinematic.
Keep a Prompt Ledger
For every selected asset, record:
- prompt and negative directions;
- generation model and version;
- seed or reference setting when exposed;
- aspect ratio and resolution;
- source image filename;
- approval notes;
- downstream shots that depend on it.
This ledger makes revisions reproducible. It also helps document asset provenance and usage rights.
Step 4: Create Better Keyframes
Keyframes are the foundation of image-led animation. Generate still candidates for the first meaningful pose of every controlled shot. Approve them as a sequence, not one at a time.
Check five qualities:
- story: does the frame communicate its beat?
- identity: does the subject match the reference?
- composition: is the focal point clear at delivery size?
- continuity: do costume, lighting, props, and geography match?
- animation potential: are limbs and foreground layers separated enough to move?
A technically perfect portrait can still be a poor keyframe if it offers no space for movement or does not cut with adjacent shots.
Repair Before Animating
Fix hands, eyes, prop geometry, background text, and clothing layers in the still. Remove unwanted watermarks or accidental pseudo-lettering by regenerating from an authorized source—not by disguising ownership marks. If the frame depends on recognizable people or protected characters, confirm consent and rights before continuing.
For an action shot, consider creating an end frame as well. A clear start and destination reduce ambiguity, although support for paired frames varies by tool.
Step 5: Prompt Motion, Not Another Picture
An image prompt describes what exists. A motion prompt describes what changes.
Use four parts:
Subject action: The traveler takes two measured steps, slows, and begins turning her head. Secondary motion: Rain falls diagonally; coat hem and loose hair move in a mild gust. Camera: Smooth lateral tracking at walking speed. Stability: Preserve face, outfit, body proportions, street layout, and lighting; no sudden zoom or scene change.
One subject action plus one camera move is a strong beginner limit.
Good First Motions
- a slow push toward a still subject;
- one head turn or gaze change;
- fabric, hair, smoke, rain, or foliage reacting naturally;
- a hand reaching for a clearly visible object;
- a simple walk across a stable frame;
- a light changing intensity;
- parallax across foreground, subject, and background.
Motions to Split Into Multiple Shots
- running, jumping, spinning, fighting, and landing together;
- several characters exchanging props;
- a full 360-degree camera orbit around an intricate subject;
- transformation plus dialogue plus environment destruction;
- long choreography with precise hand contact.
Split complexity across edits. A close-up of a hand, a reaction, and a wide impact can imply a larger event more convincingly than one unstable generation.
Step 6: Generate Variations With a Purpose
Do not generate ten random versions and hope one works. Change one dimension at a time:
- motion intensity;
- camera speed;
- clip duration;
- reference strength;
- start or end pose;
- environmental activity.
Name each take with its hypothesis: sh03_slow-track_v02, not sh03_new-final. Compare at actual playback speed. A frame-by-frame defect may be invisible in the planned cut, while a subtle face change can be distracting even if every individual frame looks plausible.
Know When to Stop
Define acceptance criteria before generation:
- the dramatic action reads immediately;
- identity stays stable during the used portion;
- no severe anatomy or object deformation;
- camera behavior supports the shot;
- the clip cuts cleanly with its neighbors;
- artifacts are not visible at delivery size.
Once a take passes, edit it. Endless variation consumes budget without necessarily improving the film.
Step 7: Edit the Animated Video
Put clips on a timeline in story order. First make a silent picture cut. Remove dead frames at starts and ends, then adjust shot duration according to when information lands.
Create Rhythm
Wide shots usually need more reading time. Inserts can be brief. Reactions may need an extra half-second. Cut during movement to connect shots, or cut after movement to create emphasis. Rewatch without sound; the visual story should still make sense.
Avoid using a transition effect to solve every edit. Straight cuts, dissolves for time or mood, and motivated wipes from foreground objects are usually enough.
Add Sound From the Environment Inward
Build audio in layers:
- continuous rain and distant city ambience;
- footsteps and clothing movement;
- specific story sounds, such as the warm light's tone;
- music with a clear change at the turn;
- optional voice or narration.
Sound can connect clips generated by different models. Begin a sound before the corresponding cut to draw attention forward. Leave controlled silence before the final reveal.
Normalize dialogue and important effects without crushing dynamics. Check the mix on headphones, laptop speakers, and a phone.
Quality Control Before Export
Watch the full sequence several ways:
- at normal speed for story and rhythm;
- frame by frame around cuts;
- muted for visual clarity;
- audio-only for continuity and mix;
- at phone size for readability;
- on a large display for artifacts.
Look for identity drift, flickering backgrounds, duplicate limbs, warped props, discontinuous rain direction, exposure jumps, accidental text, and sudden changes in frame rate.
Export a high-quality master, then derive platform versions from it. Do not repeatedly transcode the only copy. Keep project files, approved source frames, prompts, licenses, and a record of generation tools used.
Common Mistakes
Treating the Whole Video as One Prompt
One prompt gives the model too many creative and continuity decisions. Break the project into shots with approved inputs and clear transitions.
Animating Every Still
Select images for story, consistency, and motion potential first. More generated clips create more review work and make visual drift harder to control.
Changing Style Midway
Reuse a visual sentence, references, color logic, and camera rules. Introduce a different style only when the story motivates it.
Asking for Too Much Motion
Reduce each shot to one readable action. Use editing and sound to imply scale.
Skipping the Edit
Generation creates raw material. The edit creates timing, emphasis, causality, and emotional shape. Even excellent individual clips need selection and sequencing.
Ignoring Rights and Disclosure
Use media you own or are authorized to transform. Obtain permission for a real person's likeness or voice, respect model and platform policies, and disclose synthetic media when required.
A Simple Budget Strategy
Spend generation credits in stages:
- low-cost still exploration;
- one approved visual direction;
- short motion tests for two representative shots;
- production generations only after the test passes;
- a small reserve for fixes discovered during editing.
Track the number of usable seconds, not generated seconds. A cheaper model that requires many retries may cost more than a stronger model that produces an editable take quickly.
Final Takeaway
Making animated videos with AI is a directing and editing problem as much as a generation problem. Choose the right workflow, design a finishable sequence, approve strong keyframes, ask for controlled change, and evaluate every clip in context.
Your first success should be a short video with a clear beginning, change, and ending—not a pile of disconnected demonstrations. Once that pipeline is repeatable, you can add characters, locations, dialogue, and more ambitious action without losing control.
Frequently Asked Questions
What is the easiest AI animated video to make?
A 15-second mood scene, character reveal, product vignette, or animated illustration is a good first project. Use one subject, one location, and five or six shots.
Do I need drawing or animation skills?
No, but composition, continuity, editing, and critical review still matter. Rough sketches or reference collages can improve planning even if they are not polished drawings.
Is text-to-video or image-to-video better?
Text-to-video is flexible for exploration and atmosphere. Image-to-video offers more control over a specific subject and composition. A hybrid workflow often provides the best balance.
How long should each generated clip be?
Generate only as long as the action needs, with a little extra room for editing. Many beginner shots work well as two to five seconds in the final sequence.
How do I stop characters from changing?
Use an approved subject reference, repeat a concise identity description, keep the same model and visual settings where practical, and design separate keyframes for each shot. Review the full sequence before approving motion.