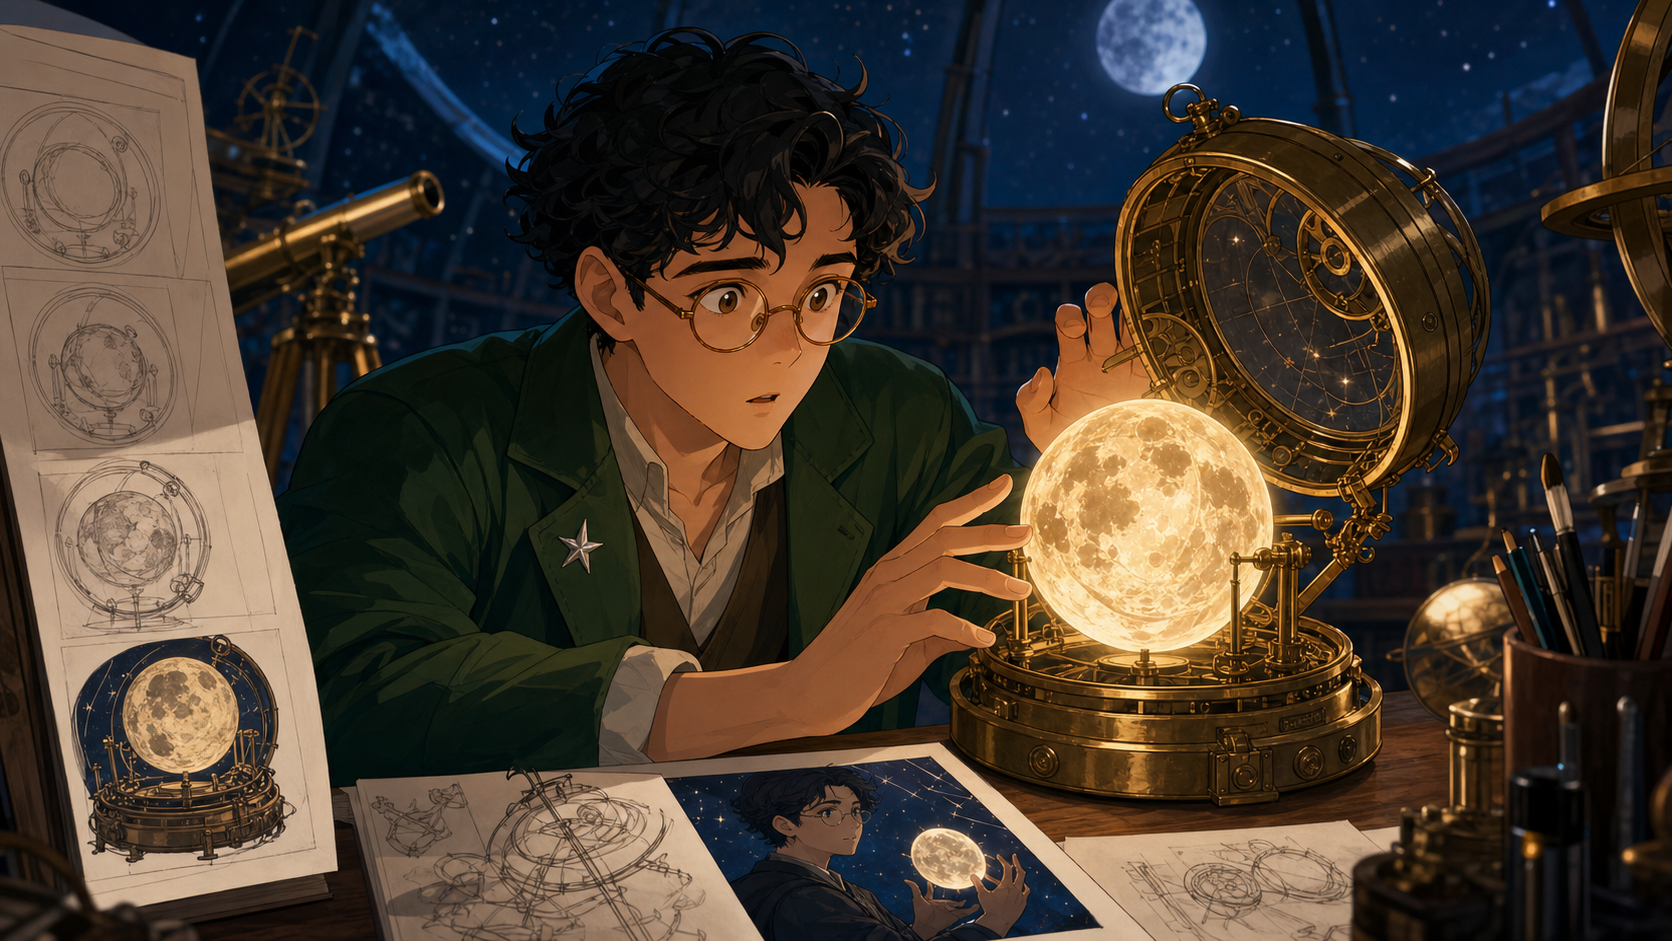
Your first AI anime project should not be an entire series. It should be one finished image with a clear purpose.
That modest goal teaches the skills random generation does not: choosing an idea, directing a composition, recognizing a near-miss, making a controlled revision, and exporting artwork that still works where you plan to share it. This beginner workflow builds one scene from start to finish: an adult apprentice astronomer discovering a tiny mechanical moon inside an old observatory.
Step 1: Decide where the image will be used
Format changes composition. A square avatar needs the face to remain legible at a small crop. A vertical phone wallpaper has room above and below the subject. A landscape thumbnail needs a strong silhouette and negative space for a title. If you generate first and choose the destination later, cropping may remove the hands, prop, or environment that explains the scene.
For this tutorial, the deliverable is a vertical 4:5 social image: a polished anime illustration of a clearly adult apprentice astronomer opening a brass case that contains a glowing mechanical moon. The focal point must survive a phone-sized preview, so the character, open case, and moon need to read as one simple visual group.
Step 2: Write a tiny visual brief
Before writing a prompt, answer six questions:
- Who is present? A clearly adult apprentice astronomer in their late twenties.
- What are they doing? Opening an old brass case.
- Where are they? Inside a dark, practical observatory workshop.
- What is the emotional beat? Surprise mixed with caution.
- What should the viewer notice first? The warm mechanical moon, then the character’s reaction.
- What must remain recognizable? Short black curls, round amber glasses, a forest-green work coat, and a silver star pin.
“Epic” is not an emotional direction. “Surprise mixed with caution” tells the generator something useful about the eyes, shoulders, hands, and distance from the object. Keep the brief short enough that you can judge whether the result followed it.
Step 3: Create the character before the scene
If the character matters beyond one image, generate a neutral design before placing them in a dramatic scene. Ask for a full-body three-quarter view on a plain background with even light. A complex pose can hide the outfit, distort proportions, and make the face harder to reuse.
Try a character-design prompt like this:
Clearly adult apprentice astronomer, late twenties, short black curls, round amber glasses, forest-green work coat with rolled sleeves, dark trousers, practical lace-up boots, small silver star-shaped pin on the left lapel; full-body three-quarter character design, relaxed neutral stance, simple light background, clean contemporary anime linework, restrained cel shading, no text.
Select the version with the clearest silhouette rather than the most decorative background. Save it as the approved reference and write down the identity anchors you want repeated. If your generator supports image references, use only assets you created, licensed, or have permission to upload.
Step 4: Build the prompt in layers
A beginner-friendly anime prompt has seven parts:
Character + identity + action + environment + camera + lighting + rendering
Applied to this scene:
Clearly adult apprentice astronomer, late twenties, short black curls, round amber glasses, forest-green work coat with rolled sleeves and a silver star pin on the left lapel, carefully opening an old brass case containing a glowing mechanical moon, inside a dark observatory workshop, medium three-quarter shot, warm gold light from the case with cool blue night ambience, clean contemporary anime linework, restrained cel shading, vertical 4:5 composition, no text.
The order provides a hierarchy. Identity comes before ornament. The camera and lighting define how the story reads. The rendering language stays broad enough to avoid imitating a living artist’s signature style.
You can start with DeepFake’s text-to-image workflow or another generator that fits your rights and privacy requirements. Keep the first test simple enough that success and failure are obvious.
Step 5: Generate a small, comparable batch
Generate four variations with the same prompt and settings. Do not rewrite the prompt between every result. A controlled batch lets you compare composition rather than comparing four different instructions.
Review thumbnails first. Which image makes the mechanical moon obvious? Which pose reads as discovery rather than presentation? Is there enough space around the character, or does the crop feel accidental?
Then zoom in. Check the hands, glasses, star pin, case hinge, repeated shapes, background geometry, and any pseudo-text. Choose the strongest structure, not the image with the most surface detail. A clean composition is easier to refine than a beautiful but confused one.
Step 6: Revise one problem at a time
Suppose the selected image has a good composition, but the star pin is missing and the room is too bright. Do not replace the entire prompt.
Use a focused revision:
Preserve character, pose, camera, case, and mechanical moon. Restore the small silver star-shaped pin on the left lapel. Darken the observatory background by one stop so the gold case light remains the main focal light. Do not add new props.
This instruction names the invariants and the two changes. If you rewrite the character, camera, lighting, and style every time, you will not know which instruction improved the result. Make one controlled revision, compare it with the previous version, and keep a simple prompt log.
Step 7: Add your own finishing work
AI output is a draft material, even when it looks polished.
Use an image editor to correct small anatomy issues, remove pseudo-text, align the glasses, clean noisy edges, and control color. You can paint subtle reflected gold onto the coat, soften an overly sharp background, or strengthen the mechanical moon’s silhouette.
This is also where authorship becomes visible. Your selection, paint-over, compositing, color work, crop, and storytelling decisions turn a generation into a designed image. Keep the original output and an editable master so later changes do not require starting over.
Step 8: Export for the destination
Save a high-quality master before making platform copies. A layered project file is best; otherwise keep a lossless PNG at the largest useful size.
For social media, export a separate copy in the required dimensions and inspect it on a phone. Fine facial detail and thin lines may disappear. Make sure the focal point still reads at thumbnail size and that the platform crop does not remove the mechanical moon.
Do not repeatedly edit and re-save a compressed platform copy. Return to the master for every new crop. Name files clearly so you can distinguish the approved master, platform export, and later revisions.
Step 9: Check rights and consent before sharing
Use references you created, licensed, or have permission to upload. If you transform a recognizable person’s photo, obtain permission for the transformation and intended publication. Do not make deceptive, humiliating, or intimate likeness edits.
Avoid copying a living artist’s signature style for commercial work. Describe visual properties instead: clean cel shading, thin ink lines, painted night background, limited blue-gold palette. Do not present fan art as official or assume that adding an original character grants commercial rights to a protected franchise.
Review the generator’s current commercial-use, privacy, and retention terms before uploading sensitive material or publishing paid work. Rules vary by service and jurisdiction; this guide is a creative workflow, not legal advice.
Common beginner mistakes
- Starting too large. A five-character battle in a detailed city is not a useful first test. Finish one readable scene.
- Changing everything after one weak result. Controlled iteration teaches you which instruction matters.
- Using conflicting adjectives. “Minimal, hyper-detailed, soft, harsh, realistic, flat” gives no clear visual priority.
- Ignoring the final crop. Design for the destination from the beginning.
- Baking text into the image. Add titles and dialogue later in an editable layer whenever possible.
- Accepting surface polish as correctness. Check anatomy, props, reflections, spatial relationships, and story clarity.
- Treating a reference as permission. Ownership and consent still matter when a tool can technically accept an upload.
Frequently asked questions
Do I need to know how to draw?
No. Basic knowledge of composition, light, and color helps, but you can learn those through controlled projects. Drawing becomes especially valuable for correcting and personalizing results, not as a requirement to begin.
How long should an AI anime prompt be?
Long enough to define the subject, action, environment, camera, light, rendering approach, and fixed identity details. A clear 60-word prompt is often more useful than a 250-word list of conflicting adjectives.
What should I make after my first image?
Create a second scene with the same character and a different camera distance. That test reveals whether your character design and reference workflow are strong enough for a comic or storyboard. If the design holds, try turning one approved still into a short, single-action motion test.
Conclusion
Making anime art with AI is less about discovering secret words and more about making visible decisions. Choose the destination, reduce the idea to one scene, design the character in neutral conditions, build the prompt in layers, generate comparable options, and revise one problem at a time.
Finish the result with your own edits, export it for the real platform, and check consent and rights before publishing. Once that process feels natural, comics and animation become much easier. When you are ready to make the first controlled batch, explore DeepFake and keep the project small enough to finish.