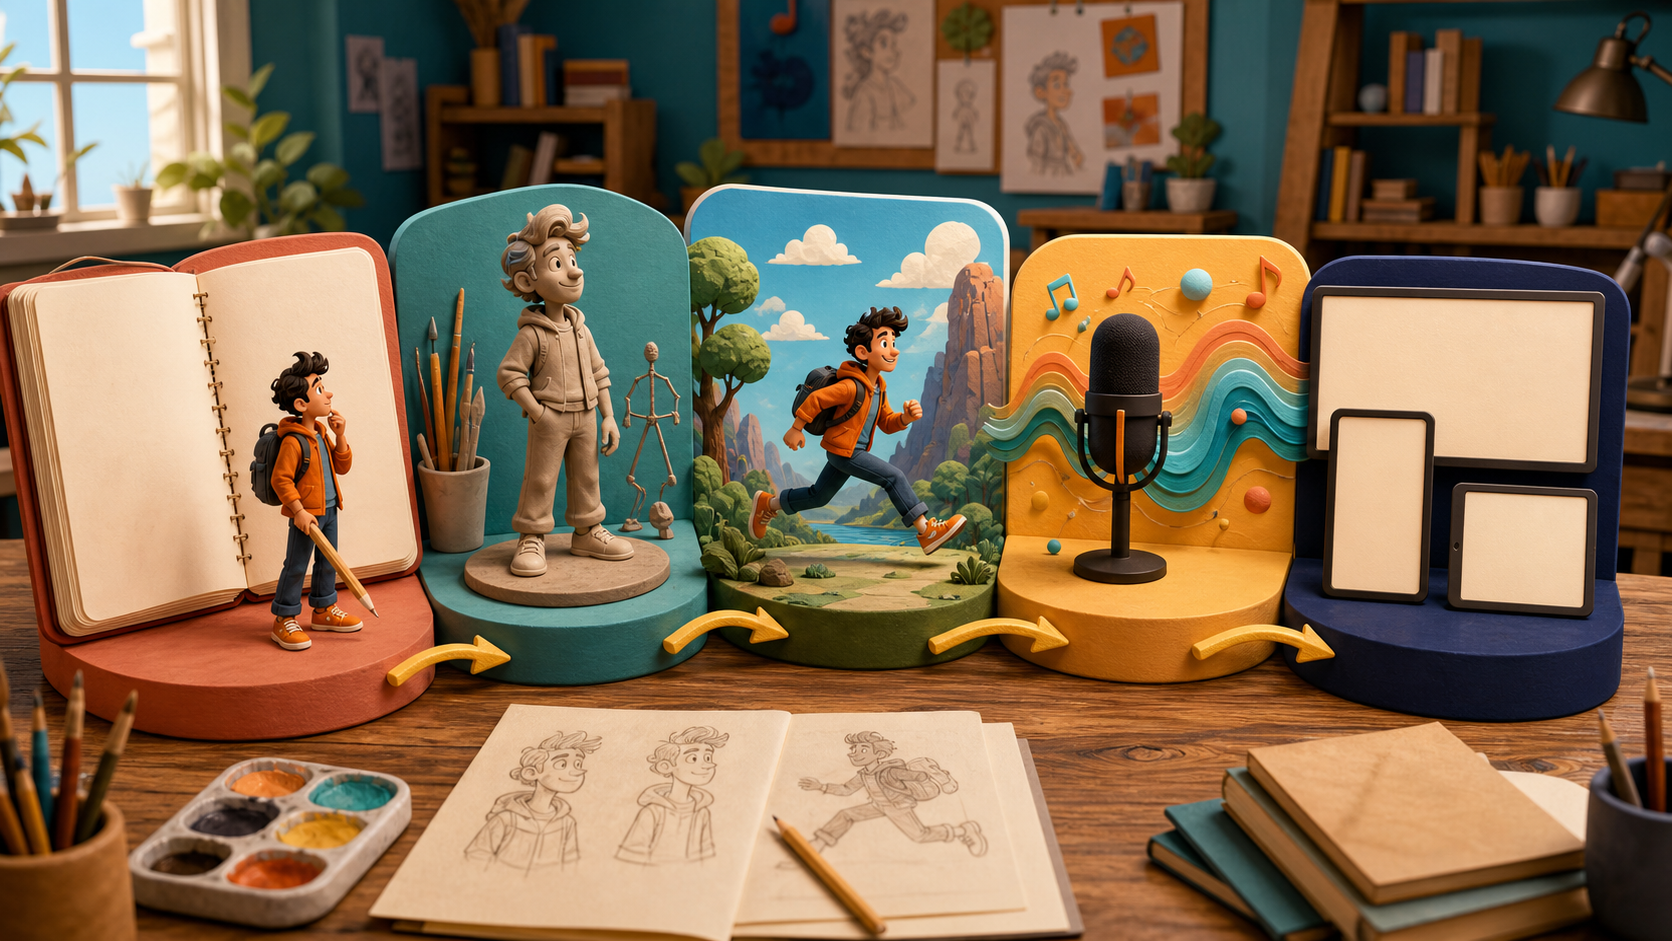
You can make a short cartoon animation with AI in 2026 without buying professional animation software on day one. Free credits, trials, and open tools are enough to test a complete workflow: write a tiny story, design one original character, create a few shots, add sound, and export a finished video.
“Free” still has limits. Plans may restrict credits, duration, resolution, queue priority, watermarks, or commercial use. The realistic goal is a polished proof of concept—not a promise that a long film will cost nothing.
This guide uses a simple example: a well-meaning kitchen robot tries to bake a surprise birthday cake, but keeps misunderstanding the recipe. The project is 20 to 30 seconds, has one main character, one kitchen, and five short shots.
Before You Start: Set a Small Production Target
Define the deliverable before choosing tools.
- Duration: 20–30 seconds
- Format: 16:9 master, with optional vertical cut later
- Character: one original robot
- Location: one stylized kitchen
- Dialogue: one short line or no dialogue
- Shots: five
- Visual style: original graphic cartoon with simple cel shading
- Goal: a complete shareable short, not a perfect studio film
Small scope protects free credits and makes continuity manageable. A complex cast, multiple locations, and long camera moves multiply the number of generations and revisions.
Step 1: Start With a Story or Script
You do not need a screenplay format for a first short. Write three things:
- Setup: What does the character want?
- Complication: What goes wrong?
- Payoff: How does the situation resolve or surprise us?
For the robot story:
- Setup: Miko, a round kitchen helper robot, wants to bake a birthday cake before its owner returns.
- Complication: Miko reads “beat the eggs” literally and chases them around the counter with tiny drumsticks.
- Payoff: The misshapen cake opens like a music box and plays a cheerful tune when the owner arrives.
Turn that into a five-shot plan:
| Shot | Action | Duration | Camera |
|---|---|---|---|
| 1 | Miko discovers the recipe and lights up | 4 sec | Medium push-in |
| 2 | Ingredients line up on the counter | 4 sec | Overhead |
| 3 | Miko taps rolling eggs with drumsticks | 6 sec | Wide, stable |
| 4 | Oven opens to reveal a lopsided cake | 5 sec | Close reaction |
| 5 | Cake plays music as the door opens | 6 sec | Wide payoff |
Keep each shot centered on one action. AI video is easier to direct when the prompt does not contain several events that must occur in exact sequence.
Write Visual Notes, Not Just Dialogue
For every shot, specify:
- subject and action;
- environment;
- camera and framing;
- lighting and mood;
- start and end state;
- details that must stay unchanged;
- elements to avoid.
This becomes the bridge between the script and image generation.
Step 2: Create Your Character
Do not animate the first appealing portrait. Lock a character design that can survive different angles and movement.
Miko's design rules:
- short rounded body with a large readable head;
- cream enamel shell with teal side panels;
- one amber status light;
- simple mitten-like hands;
- small wheel feet;
- no text, logo, or human likeness;
- friendly adult-coded helper personality rather than a child imitation.
Choose an image model from the model catalog to explore silhouettes. A practical prompt is:
Original friendly kitchen-helper robot named Miko, short rounded cream enamel body, teal side panels, one small amber status light, simple dark face screen with two expressive geometric eyes, mitten-like hands, compact wheel feet, clean full-body three-quarter character concept, original graphic cartoon design, bold readable shapes, simple two-level cel shading, warm neutral background, no text, no logo, no copied character, no weapon.Generate or prepare:
- neutral full-body view;
- front and side views;
- three expressions or eye states;
- color palette;
- key prop references: drumsticks, bowl, and cake.
Create a one-page character bible and list the non-negotiable features. If the robot's shell, eye shape, or wheel count changes across reference images, fix the design before moving forward.
Design the Kitchen Once
Create one establishing frame with the counter, oven, door, window, and main props in fixed positions. Reuse the same palette and layout notes in every shot. A stable environment does as much for continuity as a stable character.
Step 3: Create the Animation
For a beginner project, image-to-video offers more visual control than asking text alone to invent every shot. Create or approve a still frame for the start of each shot, then animate it through an image-to-video workflow.
Animate One Shot at a Time
For shot 3, the direction might be:
Preserve Miko's cream-and-teal design, round proportions, amber light, kitchen layout, bowl, eggs, and graphic cartoon style. Miko gently taps two rolling eggs with tiny drumsticks in a playful steady rhythm. The eggs wobble across the counter but do not break. Stable wide camera, subtle squash-and-stretch, consistent line weight and palette, clear beginning and ending pose. No new objects, no text, no logo, no face or body redesign, no camera spin.Start with lower-cost previews when available. Review action and composition before increasing quality.
Check the First, Middle, and Last Frames
Ask:
- Is Miko still the same robot?
- Did the number and shape of props change?
- Is the kitchen layout stable?
- Does the action have a readable ending?
- Can the shot cut cleanly to the next one?
Then watch at half speed for flicker, melting edges, sliding contact, and color shifts.
Solve Problems by Reducing Complexity
If the action fails, do not automatically add more prompt text.
- Split one complicated shot into two.
- Use a static camera.
- Shorten the duration.
- Reduce the number of moving objects.
- Strengthen the approved reference.
- Hide a difficult hand interaction with framing or a cutaway.
Animation is built in the edit as much as in the generator. A close-up of an egg rolling can bridge two stable character shots.
Step 4: Add Audio and Polish
Sound makes simple animation feel intentional. Build the audio after the picture edit is close to final so timing changes do not create repeated work.
Voice
This short can work without dialogue, but one line—“Recipe understood!”—could establish Miko's confidence. Use your own recording or a voice you are licensed and authorized to use. Do not clone a real person's voice without explicit permission.
Sound Effects
Add small, timed sounds:
- paper unfold;
- robot chime;
- eggs rolling;
- drumstick taps;
- oven door;
- cake music-box notes;
- entry door.
Precise effects create weight and make limited motion feel richer.
Music
Choose licensed music that supports the comic rhythm without covering voice or effects. A simple cue can begin quietly, accelerate during the egg sequence, pause at the oven reveal, and resolve with the cake melody.
If you generate an original cue in the DeepFake workspace, verify the current output terms and keep the generation record with the project.
Lip Sync
If the character speaks, keep the line short and the face visible. Generate or apply lip sync only after the final voice timing is approved. For a robot with geometric eyes and no mouth, use light and body movement instead of forcing human lip motion.
Final Picture Polish
- trim unstable edge frames;
- match brightness and palette between shots;
- add a few hand-drawn fixes if needed;
- place titles and captions in the editor, not inside generated frames;
- check caption contrast and safe margins;
- review audio peaks and silence.
Step 5: Export and Share
Finish one high-quality master before creating platform versions.
- 16:9 for YouTube and general landscape viewing;
- 9:16 for vertical short-form platforms;
- 1:1 when a square feed asset is specifically needed.
Do not simply crop the master if important action sits near the edges. Reframe the edit shot by shot, or plan a central safe area before generation.
Review the exported file on the target device. Confirm:
- no clipped captions;
- stable playback and audio sync;
- acceptable compression;
- no accidental watermark or private information;
- correct color and brightness;
- licensed music and assets;
- disclosure where generated visuals could mislead viewers.
Archive the script, character bible, environment reference, shot list, prompts, model/version, input rights, generated files, edit project, and final master.
Why Free Tools Still Have Limits
Free access is usually designed for evaluation. Common limits include:
- small credit allowances;
- low-priority queues;
- short clips;
- reduced resolution;
- watermarked downloads;
- fewer model or control options;
- non-commercial terms;
- storage limits;
- trial auto-renewal.
The source article makes broad claims about producing long videos and complete films for free. Do not build a deadline around those promises. Verify the exact plan available in your region and calculate the cost of failed attempts, clean export, editing, music, storage, and your own time.
The best use of free credits is to validate a pipeline. If you can complete the 20-second Miko short consistently, you have evidence for estimating a larger project.
A Free-Credit Budget for the Starter Short
Plan before generating:
- 4–6 character concept attempts;
- 2 environment concepts;
- 1 approved start frame per shot;
- 2 motion attempts per shot;
- 1 replacement or insert shot;
- a small reserve for the hardest scene.
If the tool's free allowance cannot support that test, reduce the story to three shots rather than compromising every stage.
Responsible Cartoon Creation
Use original characters and media you own or have permission to transform. Obtain consent before using an identifiable person's face or voice. Do not create deceptive impersonations, non-consensual sexual content, fabricated evidence, or misleading political media.
Avoid protected characters, logos, and “in the exact style of” prompts. Define your own palette, shapes, shading, and motion language.
Final Checklist
Before you publish, confirm:
- the story has a clear setup, complication, and payoff;
- the character and environment remain consistent;
- each shot contains one readable action;
- transitions and pacing work in sequence;
- voice, music, and effects are licensed and synchronized;
- captions and aspect ratio fit the platform;
- no unintended text, logos, or watermarks remain;
- rights, consent, and generation records are stored.
A short, complete animation is the best way to learn. Keep the story small, approve the character before motion, generate shot by shot, and save enough free credits for revision. Finishing one 20-second cartoon will teach you more than collecting a hundred disconnected test clips.
Frequently Asked Questions
Can I really make an AI cartoon video for free?
You may be able to complete a short prototype with free credits, trials, or local tools. Watermarks, limits, hardware, music, editing, and commercial rights can still create costs.
Should I start with text-to-video or image-to-video?
Use text-to-video for broad exploration. Use image-to-video when a character, prop, environment, or composition must begin from an approved design.
How long should my first cartoon be?
Aim for 15 to 30 seconds with one character, one location, and three to five shots. Scale only after you can maintain continuity through a finished edit.
Do I need drawing skills?
Not to begin, but visual judgment, storytelling, editing, sound, and cleanup still matter. Simple manual corrections can substantially improve generated work.