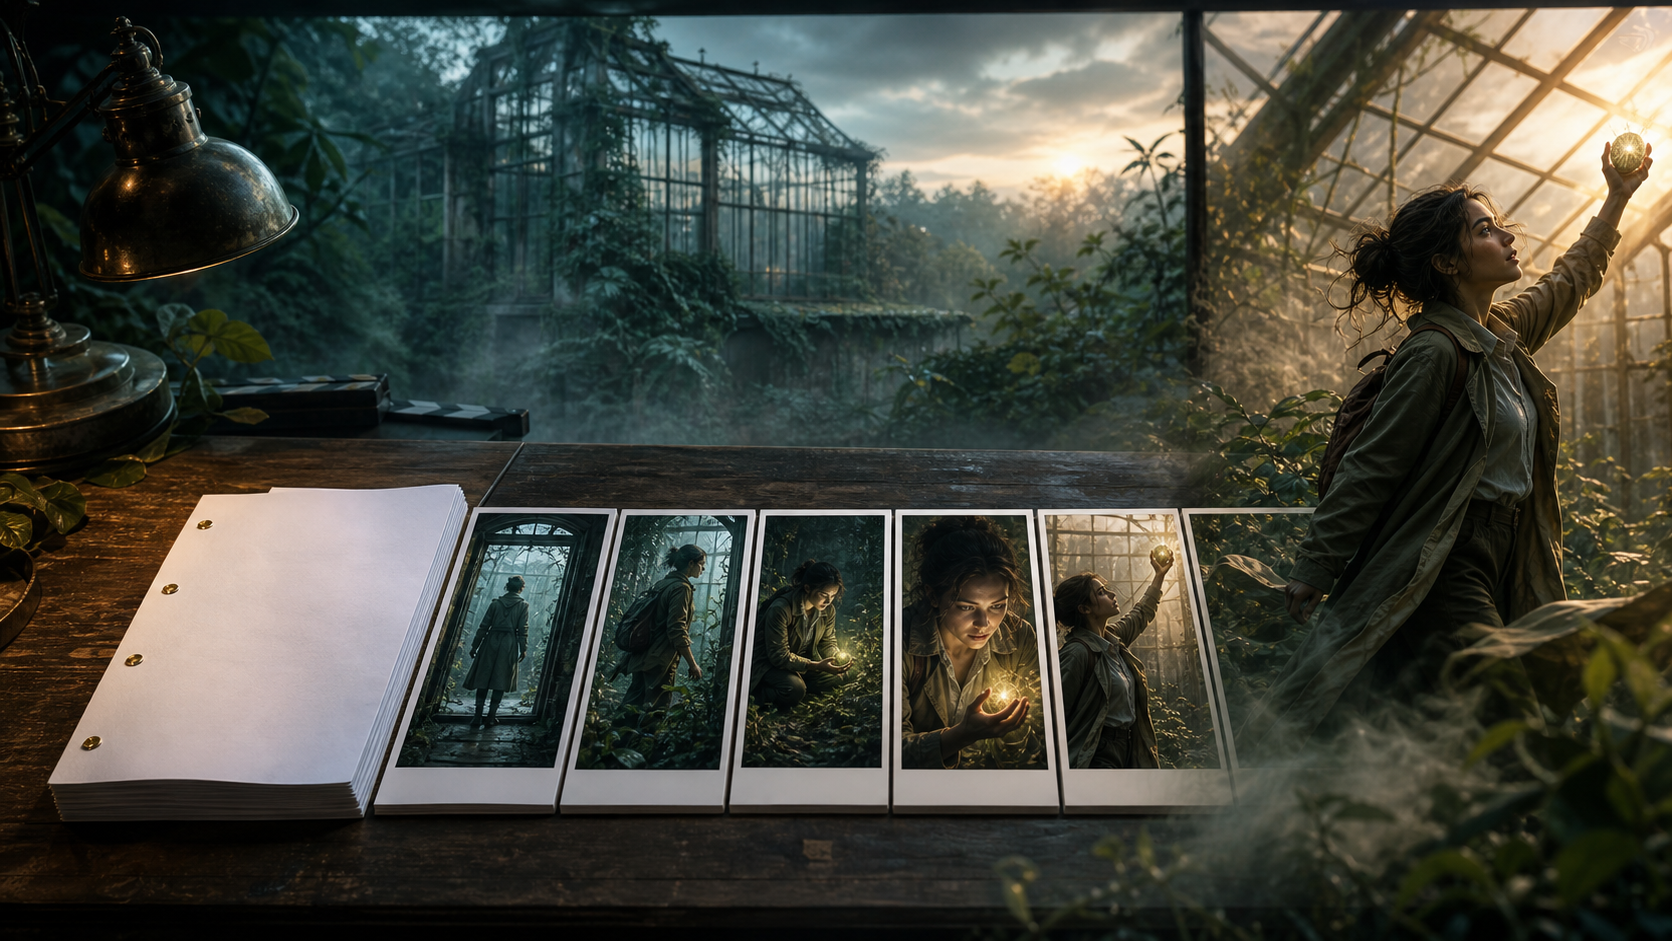
A script is not a visual plan. It tells you what happens, what characters say, and sometimes how they feel. It rarely specifies every camera position, edit, continuity detail, or piece of movement needed to make a coherent video.
That is why pasting a complete script into one prompt often produces an attractive montage instead of a directed sequence. The reliable approach is planning first: reduce the script to visible beats, translate those beats into shots, establish the subject and style, approve keyframes, animate selected frames, and edit with sound.
This six-step workflow works for narrative scenes, explainers, product stories, music-video inserts, and stylized shorts. The example follows a one-minute scene about a botanist entering an abandoned greenhouse and finding a glowing seed.
Quick Answer
To turn a script into video with AI:
- reduce the script into visual beats;
- turn each beat into a shot list and storyboard;
- lock characters, props, locations, and visual style;
- generate and approve keyframes;
- animate only the selected frames;
- edit the sequence and add dialogue, ambience, effects, and music.
Do not ask generation to solve story problems that can be solved on paper. A shorter, clearer script creates better inputs and lowers the number of expensive revisions.
What to Prepare
Before generation, define:
| Input | Why it matters |
|---|---|
| Script or scene excerpt | Establishes action, dialogue, and intent |
| Target runtime | Controls how many beats and shots fit |
| Output format | Determines framing and delivery resolution |
| Main subject | Focuses continuity work |
| Visual direction | Keeps palette, rendering, and camera language coherent |
| Audience and purpose | Determines pacing, tone, and information density |
For a first attempt, use 30 to 60 seconds, one main subject, one location, and four to six beats. If the source script is longer, select one complete scene rather than compressing the whole story into a trailer by accident.
Step 1: Reduce the Script Into Visual Beats
Read the scene and mark each moment when information, intention, or emotion changes. A beat should answer: What must the viewer understand now that they did not understand before?
Consider this short script excerpt:
Mara pushes through the greenhouse door. Dead vines hang from cracked glass. Her flashlight fades. A warm pulse appears beneath a planter. She clears the soil and finds a seed glowing in her palm. The greenhouse lights wake one by one.
The visual beats are:
- Mara enters an abandoned place.
- The failing flashlight increases uncertainty.
- An unexpected warm light appears.
- Mara discovers the seed.
- The seed changes the greenhouse.
That list is more useful to a director than the paragraph because each item has one clear purpose.
Remove Nonvisual Language
Scripts often contain thoughts such as “she remembers her childhood” or “he realizes the truth.” Convert them into behavior, sound, or an image:
- her hand pauses over a familiar carved symbol;
- a childhood melody returns faintly;
- his eyes move from the document to the empty chair;
- a repeated object appears in a new context.
Do not explain every emotion with narration. Give the audience evidence.
Assign Beat Duration
For a 45-second version:
| Beat | Time |
|---|---|
| Entrance | 8 s |
| Flashlight fades | 7 s |
| Warm pulse | 8 s |
| Seed discovery | 12 s |
| Greenhouse wakes | 10 s |
This time map keeps one beat from consuming the entire generation budget.
Step 2: Turn Beats Into Shots
A beat may need one shot or several. Choose framing based on information, not variety for its own sake.
| Shot | Framing | Visual action | Purpose |
|---|---|---|---|
| 1 | Exterior wide | Mara approaches the greenhouse | Establish place and isolation |
| 2 | Interior medium | Door opens; she enters with flashlight | Introduce character and direction |
| 3 | Insert | Flashlight flickers in her hand | Make the problem concrete |
| 4 | Over shoulder | Warm light appears beneath planter | Direct attention to discovery |
| 5 | Close-up | Soil falls from the glowing seed | Reveal the object clearly |
| 6 | Reaction close-up | Warm light reaches Mara's face | Show emotional change |
| 7 | Rear wide | Greenhouse lights wake in sequence | Deliver transformation and ending |
Add a Shot Brief
Each shot brief should contain:
- beat and story purpose;
- shot size and camera angle;
- subject position, action, and gaze;
- beginning and ending pose;
- camera movement;
- environment and light state;
- continuity requirements;
- planned duration and transition.
For Shot 5:
Purpose: reveal the seed. Frame: tight close-up at planter height. Start: gloved fingers brush dark soil. End: amber seed rests in right palm. Camera: locked. Light: cool flashlight from left, warm seed glow from below. Continuity: same brown glove, cracked clay planter, damp soil. Transition: cut on the first strong pulse to Mara's reaction.
Storyboard Before Polishing
Create rough cards for all shots and review them in sequence. Check:
- spatial orientation;
- screen direction;
- shot-size rhythm;
- whether the subject is visible when needed;
- whether each cut adds new information;
- whether the final image resolves the opening.
The storyboard can be ugly. It needs to make the edit understandable.
Step 3: Lock the Character and Style
Sequence quality depends on what stays the same as much as what changes.
Character Block
Create an approved reference sheet and a fixed identity description:
Mara, original young adult field botanist, dark wavy hair in a loose low bun, olive canvas field coat over a pale gray shirt, weathered brown gloves, compact green backpack, brass leaf-shaped pendant.
Show front, profile, three-quarter, rear, full-body proportions, face close-up, and the expressions required by the scene. Keep the reference neutral enough to transfer across angles.
Location Block
Define the greenhouse:
Abandoned nineteenth-century glass greenhouse, narrow central aisle, rusted dark-green frames, cracked roof panes, dense dead vines, wet stone floor, waist-high clay planters, cool misty dawn outside.
Create an environment plate showing both ends of the aisle and important landmarks.
Visual Block
Lock rendering and camera language:
Cinematic illustrated realism, natural textures, restrained green-gray palette, warm amber discovery light, soft atmospheric haze, deliberate wide-to-close progression, subtle camera movement.
Keep identity, location, and visual blocks separate from shot instructions. When a shot needs revision, change its action without redesigning the world.
Track Continuity State
Build a small table:
| Element | Before discovery | After discovery |
|---|---|---|
| Flashlight | Cool, flickering | Off |
| Seed | Hidden under soil | In Mara's right palm |
| Greenhouse lights | Dark | Amber lights wake rear to front |
| Mara's expression | Alert and guarded | Quiet wonder |
This prevents a prop or lighting state from jumping backward between shots.
Step 4: Generate Keyframes
Generate still images for each shot before motion. A keyframe commits to composition, identity, prop state, and light at far lower cost than a video retry.
Prompt Structure
Use:
Identity: [fixed character block]. Shot: [frame, angle, action, gaze]. Environment: [fixed location plus visible details]. Lighting: [state for this beat]. Rendering: [visual block]. Continuity: [prop hand, screen direction, damage, weather]. Avoid: [specific unwanted changes].
Example:
Mara, original young adult field botanist with dark wavy hair in a loose low bun, olive canvas field coat, pale gray shirt, brown gloves, green backpack. Tight planter-height close-up of her right gloved hand lifting one smooth amber-glowing seed from damp soil, cracked clay rim in foreground. Cool flashlight spill from upper left and warm seed glow from below. Cinematic illustrated realism, shallow depth of field. Preserve glove design and right-hand orientation; no text, extra fingers, jewelry changes, or additional objects.
Approve Frames as a Set
Review a contact sheet for:
- face, hair, wardrobe, and body proportions;
- prop shape and hand assignment;
- greenhouse architecture and planter position;
- cool-to-warm lighting progression;
- camera-side consistency;
- emotional accuracy;
- enough visual variety for the edit.
Fix a weak still before animating. Motion usually amplifies ambiguous anatomy and crowded compositions.
Step 5: Animate Only the Winners
Once each shot has an approved keyframe, choose the generation method.
Image-to-Video
Use image-to-video when identity, product appearance, composition, or lighting must begin from an exact frame. The DeepFake image-to-video workflow can help turn selected stills into controlled motion tests.
Text-to-Video
Use text-to-video for atmospheric establishing shots, transitions, or ideas where exact subject identity is less important. The text-to-video workflow is most effective when each prompt describes one planned shot rather than the entire script.
Write Motion as Change
For Shot 6:
Mara looks down at the seed. Over three seconds, her guarded expression softens and her eyes widen slightly as warm light grows across her face. Loose hair moves in a gentle indoor breeze. The camera makes a very slow push-in. Preserve facial identity, hairstyle, coat, pendant, background structure, and light direction. No sudden head turn or camera orbit.
Limit each clip to one primary action, one environmental motion, and one camera move.
Generate for the Cut
Produce a little stable time before and after the action. Note the usable range. Reject clips that change identity, add props, reverse screen direction, or contradict the intended beat—even if another part looks impressive.
Do not animate every candidate. Animate approved keyframes and create deliberate alternatives: slower performance, locked camera, or reduced environmental motion.
Step 6: Finish Timing, Sequence, and Sound
Generation creates shots. Editing creates the video.
Picture Edit First
Place clips in shot-list order. Trim generation artifacts and repeated motion. Watch silently and confirm that the entrance, discovery, reaction, and transformation are clear.
Use cut points with purpose:
- cut on the flashlight flicker;
- begin the warm hum before the seed appears;
- cut from the seed pulse to Mara's eyes;
- hold the final wide long enough to read the transformation.
Build an Audio Stack
- Ambience: rain drips, distant birds, glass creaks, and room tone.
- Foley: door scrape, boots, coat movement, soil, and planter contact.
- Story effects: flashlight sputter, seed pulse, and lights waking down the aisle.
- Music: sparse tension that opens into a warm final chord.
- Dialogue: only lines that improve character or clarify essential information.
Sound can smooth differences between clips and direct attention. It cannot fix a missing story beat.
Color and Delivery
Unify exposure, contrast, saturation, and grain modestly. Keep the warm seed light consistent. Add captions for dialogue or narration, then export a high-quality master before creating platform-specific versions.
Common Mistakes
Using the Full Script as One Prompt
The model must invent shots, duration, coverage, continuity, and editing simultaneously. Break the scene into beats and shots first.
Skipping the Shot List
Without coverage, the result becomes a string of similar medium shots. Assign a purpose to every frame.
Changing Character Details
Lock a reference sheet and fixed identity block. Track costume, props, hand assignment, and emotional state across the sequence.
Animating Weak Stills
Repair identity, anatomy, composition, and light before motion. A video retry is an expensive way to discover that the source frame was wrong.
Trying to Repair Story in Generation
If the reveal is unclear, revise the beat or add an insert. Do not keep prompting for “more cinematic” output without identifying the missing information.
Ignoring Rights and Consent
Use scripts, images, voices, likenesses, and music you own or are authorized to use. Do not clone or imitate a real person's identity without permission, and disclose synthetic media when required.
Final Checklist
- The script has been reduced to visible changes.
- Every shot has one story purpose.
- Character and environment references are approved.
- Props, light, and screen direction follow a continuity table.
- Keyframes work as a complete contact sheet.
- Motion prompts describe one controlled change.
- Only usable clips reach the edit.
- Dialogue, effects, ambience, and music support the same beats.
- No unintended text, logo, watermark, anatomy failure, or identity drift remains.
- Rights, consent, and platform disclosure requirements are satisfied.
- The final export has been watched from start to finish.
Final Takeaway
The easiest way to turn a script into video with AI is to stop treating the script as a prompt. A script is the source of story intent. Beats convert that intent into visible changes; shots convert changes into camera decisions; keyframes define the visual world; animation adds controlled time; editing and sound create meaning across cuts.
Follow that order and even a small production can feel directed. Skip it and better generation models will simply produce more polished fragments.
Frequently Asked Questions
Is script-to-video the same as text-to-video?
No. Text-to-video usually creates a clip from a prompt. Script-to-video includes breakdown, shot planning, continuity, multiple generations, editing, and often dialogue or narration.
Do I need a storyboard?
For a multi-shot sequence, yes. It can be rough, but it should show shot order, framing, screen direction, and the information each image communicates.
How long should my first script be?
Use one 30- to 60-second scene with four to six beats. A short complete arc is more useful than compressing a long script into disconnected highlights.
Can AI keep a character consistent automatically?
Some systems support references and reusable elements, but none eliminates review. Use approved character plates, stable descriptors, continuity notes, and shot-by-shot checks.
Should I generate audio with the video?
Native audio can be convenient when supported, but separate sound design offers more control. Choose based on the scene and always review speech, rights, timing, and mix quality.