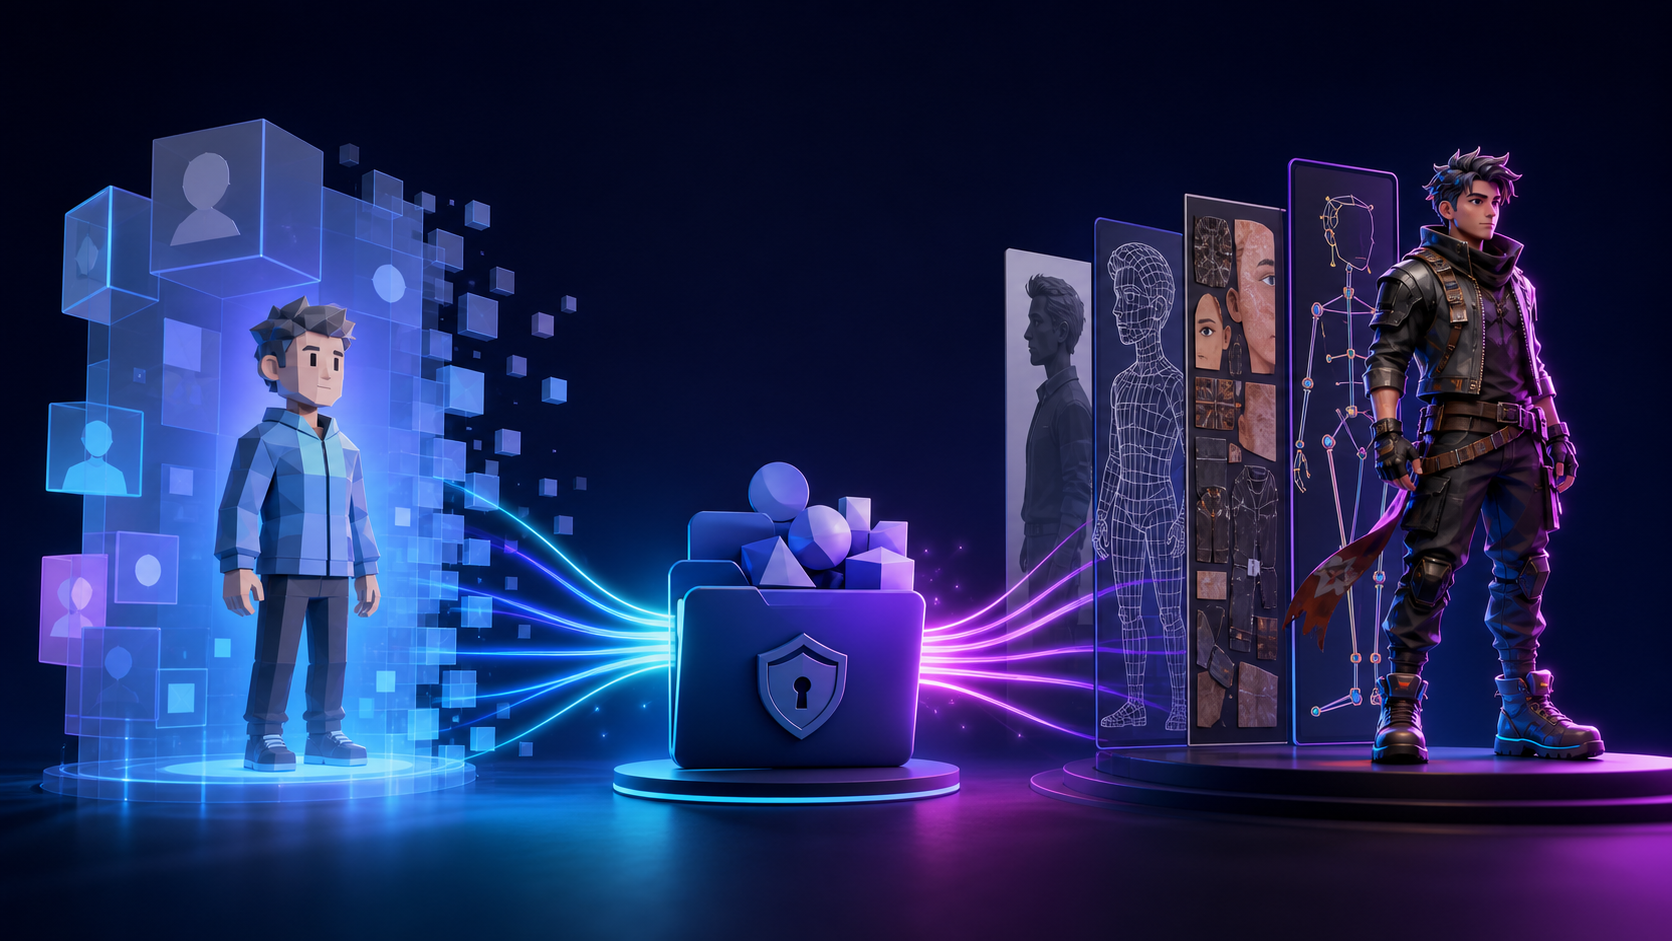
Ready Player Me once offered a remarkably simple proposition: upload a selfie, customize a stylized avatar, and use that identity across supported apps and games. It reduced character creation to a friendly browser flow and gave developers a standardized asset they could integrate without building an avatar system from scratch.
That comparison changed in 2026. Ready Player Me announced that its services would become unavailable starting January 31, 2026, and its public site now confirms the discontinuation. The relevant question is no longer whether its avatar builder is easier than making a custom character. It is how creators can replace the old convenience while keeping the mesh, textures, rig, animations, and documentation under their own control.
A custom photo-to-3D pipeline can provide a more specific likeness and a better match for a project’s art direction. It also introduces real production work. A generated mesh is not automatically well-topologized, rigged, expressive, optimized, licensed, or ready to animate. This guide separates those steps so you can choose a durable workflow instead of exchanging one dependency for another.
The short answer
Ready Player Me was optimized for a portable, standardized identity inside an ecosystem of integrations. A custom 3D character is optimized for a particular game, film, brand, or creator.
For new projects in 2026, the public Ready Player Me service is not an available creation platform. A file-owned custom character is therefore the practical route when you need a long-lived asset. The best pipeline is not a single replacement website; it is a documented chain that covers concept, modeling, cleanup, rigging, motion, export, and archival.
The tradeoff is clear:
- The former avatar workflow prioritized speed, consistency, and cross-app convenience.
- A custom workflow prioritizes visual control, editable assets, and independence from a hosted endpoint.
- Convenience reduces decisions; ownership creates decisions and maintenance responsibilities.
- Keeping files locally reduces platform risk, but it does not automatically grant copyright, likeness rights, or an unrestricted commercial license.
What Ready Player Me was
Ready Player Me was a web-based avatar creator that converted a selfie into a lightweight stylized character. Users could adjust hair, facial features, skin tone, clothing, and accessories through a guided editor. Developers integrated the system so a person could bring a recognizable identity into multiple experiences.
Its standardized look was a feature, not merely a limitation. Similar proportions, predictable skeletons, and common export formats made avatars easier to load and animate across supported environments. GLB and VRM workflows suited real-time applications, while a constrained wardrobe system kept customization manageable.
The cost of that consistency was specificity. The result represented a person through a shared visual language rather than reproducing a precise face or fitting an unusual game aesthetic. A realistic historical character, hand-painted fantasy hero, or heavily art-directed mascot would still need a custom process.
What changed on January 31, 2026
In December 2025, Ready Player Me posted an official notice that its services would become unavailable beginning January 31, 2026. Its website now displays that the services were discontinued on that date.
The safest interpretation is precise: the public creation and service-dependent workflow is no longer available. Previously downloaded files may still be usable if they are complete, compatible with the target software, and permitted by the applicable license. A local GLB does not cease to exist because a website closes, but an application that fetched avatars or metadata from an API can break when that endpoint disappears.
If you used the platform previously, audit the project before replacing anything:
- Locate every exported avatar, texture, animation, and source record.
- Identify which runtime features still call a hosted URL.
- Save the license terms and attribution requirements that applied to the asset.
- Test the avatar offline in the current engine build.
- Convert essential files into well-supported interchange formats.
- Document a migration path before the next operating-system or engine update.
This turns a vague platform concern into a concrete dependency checklist.
Portable avatar vs custom character
| Factor | Former portable-avatar workflow | Custom character from a photo or design |
|---|---|---|
| Visual style | Stylized and standardized | Realistic, stylized, or project-specific |
| Initial creation | Selfie plus guided editor | Generation or modeling plus cleanup |
| Portability | Strong inside supported integrations | Determined by rig, formats, and your pipeline |
| File control | Mixed hosted and exported workflow | Working and delivery files stored by the creator |
| Topology | Predictable for supported use cases | Quality varies and may require retopology |
| Motion | Presets or external animation tools | Any compatible keyframe, library, mocap, or simulation workflow |
| Long-term access | Public services discontinued | Depends on backups, licenses, and maintained formats |
| Best fit | Historically, one identity across many apps | A distinctive character tied to a particular production |
The table reveals an important distinction: an avatar is primarily an identity system, while a character is a production asset. One is designed to travel through an ecosystem. The other is designed to survive revisions, shots, engine changes, and art-direction decisions within a project.
What “owning the character” really means
Creators often use ownership as shorthand for “the files are on my drive.” Local control is valuable, but legal rights and technical control are different.
Before generating a character from a photo, confirm that you have permission to use the person’s likeness and the image itself. Review the generator’s terms for commercial use, training inputs, output rights, and prohibited content. If the character includes branded clothing or protected designs, those elements may require separate clearance.
Technically, preserve more than the final FBX or GLB. Keep the source image, prompt or modeling brief, native scene, high-resolution mesh, retopologized mesh, UV layout, textures, rig, blendshapes, animation takes, export presets, license records, and a short readme that explains scale and coordinate conventions.
The durable asset is the package plus its documentation, not one binary file.
A practical photo-to-3D replacement workflow
1. Define the delivery target
Start with the end. Is the character for a close-up cinematic, a mobile game, a VR social space, or a short marketing animation? Specify polygon budget, texture resolution, required facial controls, target engine, skeleton convention, and camera distance.
A rough background figure can tolerate imperfect fingers and baked textures. A speaking hero cannot. Without this definition, every later tool appears either surprisingly powerful or unfairly limited.
2. Prepare a rights-cleared reference
Use a sharp, evenly lit image with a readable silhouette. Neutral poses help reconstruction because fewer body parts overlap. For likeness, multiple angles are preferable when the tool supports them. For a fictional design, create consistent front and side views rather than asking a model to infer unseen details from one dramatic illustration.
You can explore original reference art with DeepFake Text to Image, then select one design and make a consistent reference sheet. Treat the images as concept inputs; they do not replace production modeling or rights review.
3. Generate or model the mesh
Image-to-3D systems can produce a useful prototype quickly, but inspect the result rather than judging only the rendered preview. Look for holes, intersecting clothing, fused fingers, asymmetry, weak facial structure, stretched UVs, and geometry that will collapse during deformation.
For an important character, plan on cleanup. Retopology creates edge flow that bends predictably around shoulders, elbows, hips, knees, eyes, and mouth. Separate geometry may be needed for eyes, teeth, tongue, hair, and clothing.
4. Texture and optimize
Correct projection artifacts and remove lighting baked unintentionally into albedo textures. Create the material channels required by the target renderer, generate appropriate levels of detail, and test the model under neutral lighting. A character that looks convincing only in the generator’s preview may reveal seams or inconsistent roughness elsewhere.
5. Rig, skin, and add expression
Bind the mesh to a documented skeleton. Check shoulders, wrists, hips, knees, and ankles through extreme poses. Weight painting should preserve volume and prevent clothing from cutting through the body. Dialogue requires facial blendshapes or a bone-based face rig; a body skeleton alone cannot deliver a convincing close-up.
6. Add motion as a separate production layer
Choose motion according to the shot. Animation libraries are efficient for common actions. Hand-keying provides the most control. Video-based markerless mocap captures a specific performance without a suit, while sensor systems improve repeatability and may capture difficult movement more reliably.
Whatever the source, retarget the animation to the final rig and check foot contact, root motion, hand paths, joint limits, and timing. A custom mesh with broken deformation is not rescued by accurate mocap, and a perfect rig still needs clean animation.
7. Test, export, and archive
Import the character into the real target application before calling it finished. Verify scale, orientation, materials, skeleton hierarchy, animation clips, naming, and performance. Keep a native master plus tested interchange exports such as FBX, GLB, or another format required by the project.
Back up the package in at least two locations. Include a thumbnail, version number, creation date, tool versions, licenses, and an asset readme. Future-you should be able to open the folder and understand the character without relying on a discontinued dashboard.
The avatar-or-character decision test
Ask five questions:
- Must one identity move across many unrelated apps?
- Does the look need to match a real face or a unique art direction?
- Will the character perform project-specific motion or dialogue?
- Must the asset remain editable without a live service?
- Can the team maintain meshes, textures, rigs, and licenses over time?
The old portable-avatar model answered the first need elegantly. A custom character answers questions two through four but makes question five your responsibility. For a short prototype, a standardized replacement avatar service may still be the fastest option. For a central game hero, virtual presenter, or brand mascot, the custom investment is easier to justify.
Common migration mistakes
Do not assume an exported avatar is a complete source package. It may reference external textures, lack editable facial data, or depend on a skeleton preset you no longer have. Do not convert formats repeatedly without keeping the original; every conversion can lose materials, blendshapes, metadata, or animation settings.
Avoid rebuilding the likeness before checking permissions. A technically improved character can still be unusable if the source photo, clothing design, or person’s identity was not cleared. Finally, do not select a new hosted generator only because its onboarding resembles the old one. Test whether you can export complete assets, understand the license, and continue working if the service disappears.
Final verdict
Ready Player Me proved that avatar creation could be fast, approachable, and portable, but its public services are no longer available in 2026. A custom character pipeline is the durable alternative when a project needs a distinctive, editable asset.
That durability does not come from one AI button. It comes from separating the pipeline into references, mesh, topology, textures, rig, motion, exports, rights, and backups. When every stage produces files you can inspect and preserve, the character belongs to a production workflow instead of a temporary endpoint.