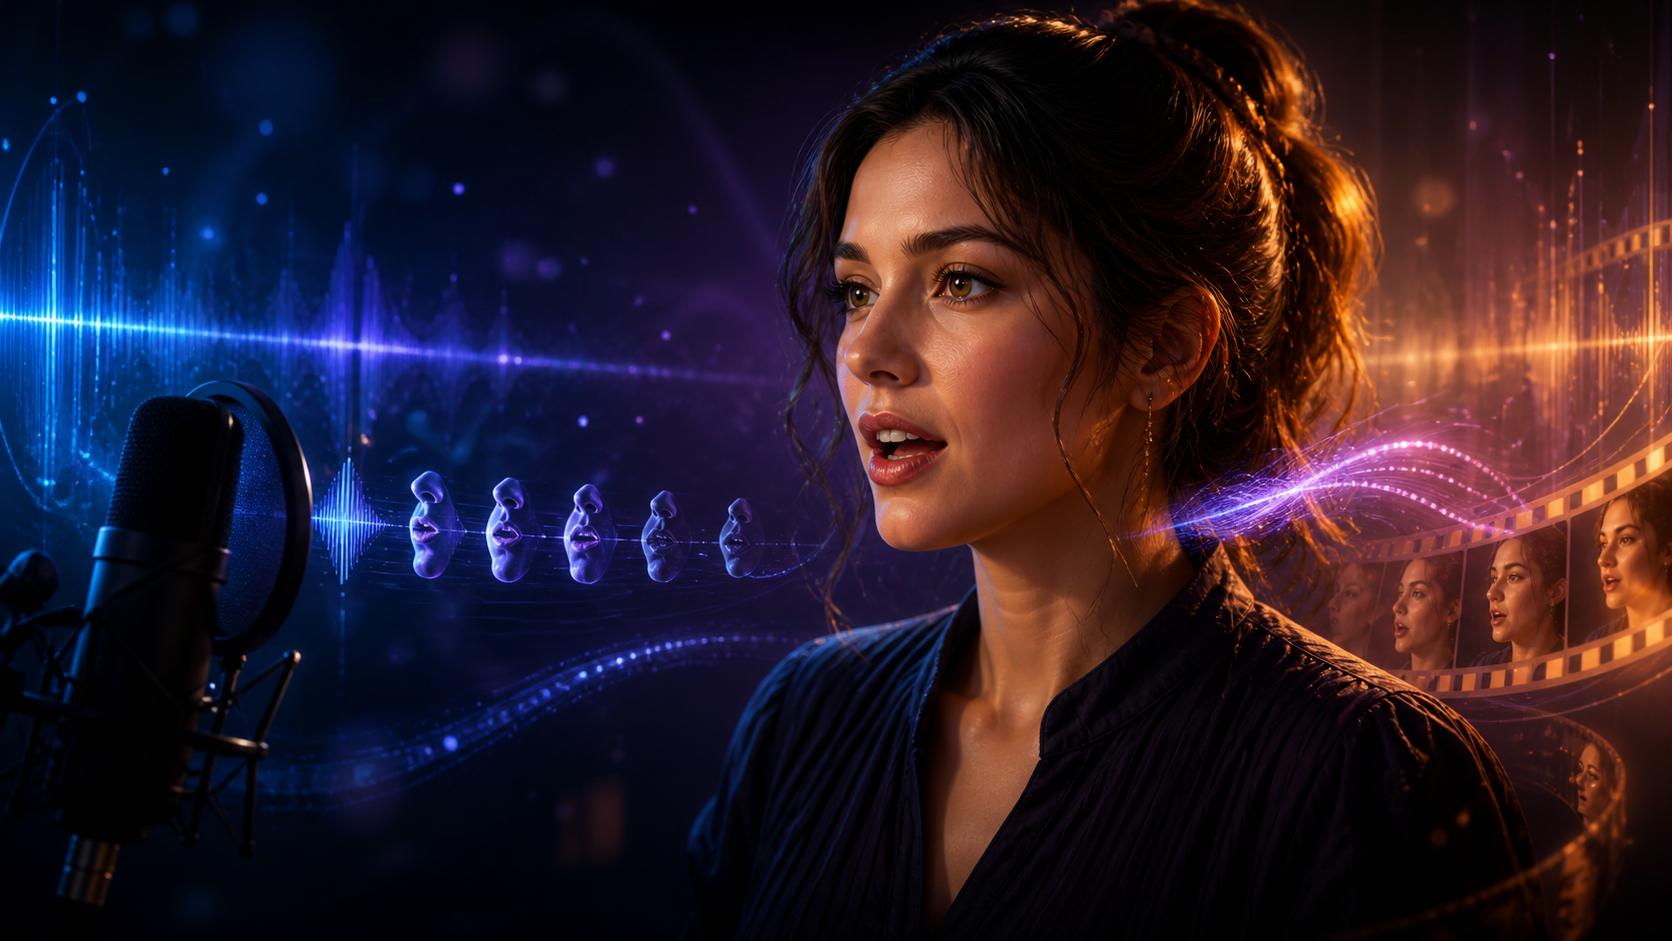
Audio is often the difference between an AI video that looks generated and one that feels directed. A plausible face can still feel lifeless when the mouth misses a consonant, a line starts before the character reacts, or a silent room has no physical atmosphere. Conversely, modest visuals can become convincing when voice, movement, cuts, and sound effects share the same rhythm.
The solution is not to add audio at the very end. Lip sync and audio-to-video work best when sound is treated as part of scene design: something that determines shot length, framing, performance, and edit timing from the beginning.
This guide presents a repeatable workflow for talking characters, anime dialogue, narrated stories, virtual presenters, product clips, and short social videos. It also explains when precise lip sync is worth the effort—and when ambience, narration, or sound design will do more for the scene.
Lip sync and audio-to-video are not the same task
These terms overlap, but they describe different kinds of control.
Lip sync changes or generates mouth motion so it appears to match spoken audio. The input is usually a face image or video plus a voice track. The output should preserve identity, head motion, and scene continuity while aligning visible speech shapes with the recording.
Speech-driven performance goes further. The audio may influence facial expression, head movement, blinking, posture, or gestures—not just the lips. This can feel more natural because real speaking is a whole-body action.
Audio-to-video is the broadest category. A soundtrack, narration, song, or sound effect can guide an entire visual sequence. The result may contain no talking face at all. Beat changes can trigger cuts, energy can shape camera motion, and semantic cues can determine which scene appears.
The right workflow depends on the creative promise. A close-up conversation invites viewers to inspect mouth timing. A wide action shot may only need believable voice placement and strong environmental sound. A music visualizer can ignore lip movement entirely and respond to rhythm, frequency, or lyrical structure.
Decide whether the scene is audio-first or visual-first
This is the most useful decision to make before generating anything.
Audio-first scenes
In an audio-first scene, the delivery defines the timing. Examples include:
- A virtual presenter explaining a product.
- A character delivering a joke or emotional line.
- A narrated short in which each visual beat follows the script.
- A music clip built around a chorus or drop.
- A translated or dubbed performance.
Record or finalize a temporary voice track early. Use it to determine scene length, pauses, reaction beats, and the number of shots. Generating a fixed five-second clip before discovering that the line takes eight seconds usually creates an awkward edit.
Visual-first scenes
In a visual-first scene, the image or motion is the main event. Examples include atmosphere-heavy fantasy shots, transformations, product beauty shots, and action montages. Generate the visual structure first, stabilize the edit, and then design audio to support it.
Visual-first does not mean audio-last. Identify likely sound moments while planning the shot: a door closing, fabric moving, energy gathering, a product landing, or a transition crossing the frame. These anchors help the final sound feel connected rather than pasted on.
Hybrid scenes
Many strong clips are hybrid. A narrator establishes the scene, a character speaks one short line, and sound effects carry the final action. Break the sequence into zones and choose the lead element in each zone. This prevents dialogue, music, and effects from fighting for attention.
Where lip sync adds the most value
Precise lip sync is worth prioritizing when the face is large enough to read, dialogue carries essential meaning, the shot holds long enough for viewers to inspect the performance, and the subject faces the camera or remains near profile.
It adds less value when:
- The face occupies only a small part of the frame.
- The character is masked, turned away, or heavily obscured.
- Cuts are extremely fast.
- The scene is driven by action, atmosphere, or narration.
- The source image has a closed, hidden, or poorly defined mouth.
- The voice is intentionally off-screen.
In those cases, invest in cleaner timing, better voice placement, room tone, and impact sounds. The goal is audience belief, not technical effort for its own sake.
A production-ready workflow
The following order minimizes rework because each stage creates a stable input for the next.
1. Define the scene's communication goal
Write one sentence describing what the viewer should understand or feel. For example: "A calm guide reassures the viewer before revealing a surprising result." This determines vocal tone, camera distance, movement, music density, and how much facial detail matters.
Then define the publishing format. A vertical social clip, landscape tutorial, and square ad require different framing. Protect space for captions from the beginning rather than covering the speaker's chin or important action later.
2. Write for spoken delivery
Written prose often sounds too dense when spoken. Shorten clauses, replace visual punctuation with pauses, and read the line aloud. If the speaker must rush to fit the target duration, the problem is usually the script, not the lip-sync model.
Mark performance cues sparingly:
/for a short pause.//for a beat or thought change.- Underline or capitalize one essential emphasis during rehearsal, not in the final subtitle.
- Add pronunciation notes for names, abbreviations, and technical terms.
Aim for one idea per sentence. A clean six-second line is easier to animate than twelve seconds of uninterrupted explanation and gives the editor more opportunities to cut away.
3. Record or generate a clean voice track
Use a quiet recording environment and keep the microphone position stable. Reduce fan noise, room reflections, clipping, and mouth clicks before synchronization. A model cannot infer precise timing from audio that is heavily distorted or buried under music.
For synthetic voices, use only voices you are authorized to use. Choose a delivery that fits the character rather than forcing an unrelated voice into the scene. Generate alternate takes with different pace or emotion before locking the visual; a slightly slower, more expressive take often creates better animation than a technically perfect but flat read.
Export a lossless or high-quality audio file for processing. Keep a separate clean dialogue stem with no music or effects. Lip-sync systems generally perform best when they can analyze speech without competing sounds.
4. Clean and time the dialogue
Remove excessive leading silence, but preserve natural breaths and meaningful pauses. Normalize level gently instead of crushing all dynamics. If needed, apply light noise reduction and equalization; aggressive processing can create metallic artifacts that make speech less intelligible.
Place the voice on a timeline and mark:
- The first audible syllable.
- Major stresses and emotional turns.
- Long pauses.
- The final consonant.
- Moments where a reaction should begin before or after a line.
This timing map becomes the scene's skeleton.
5. Design a lip-sync-friendly source image or clip
The source face should be sharp, evenly readable, and large enough in the frame. A medium close-up or close-up is safer than a wide shot. Keep hair, hands, props, and extreme shadows away from the mouth.
For a still character, generate a neutral or lightly engaged expression. A tightly closed mouth can work, but a strongly open smile may force the model to fight the source geometry. Preserve adequate space around the head and shoulders so small generated movements do not hit the frame edge.
You can establish the visual in DeepFake's image-to-video workflow or begin with a fully generated shot from text to video. For recurring characters, use the same approved reference and visual model across related shots whenever possible.
6. Create a restrained motion pass
Before lip sync, make sure the base shot is stable. Ask for subtle breathing, a small head turn, natural blinking, or gentle camera drift. Avoid combining strong camera motion, rapid gestures, flying hair, and complex speech in the first test.
Complexity is multiplicative: every moving element gives the generation another chance to drift. Once a simple performance works, add gesture or camera energy in a second version.
If the base video already contains mouth motion, determine whether the synchronization step replaces it cleanly. Random preexisting speech shapes can conflict with the target audio. A neutral-mouth source is often easier to control.
7. Run lip sync with the clean dialogue stem
Use the final spoken take and the approved visual. Match duration exactly where possible. If the tool offers expression or motion strength, start conservatively. Overdriven facial motion can distort the jaw, stretch the lips, or make a calm line look theatrical.
Generate more than one take. AI outputs can vary even with identical inputs, and the best version may differ in eye behavior, head stability, teeth, or the transitions between phonemes. Compare at full speed first; only then inspect difficult moments frame by frame.
8. Edit around the performance
Do not expect one generated talking shot to carry an entire paragraph. Cut to relevant details, environment, products, reaction shots, or supporting imagery. These cutaways add information and conceal small synchronization weaknesses.
Place cuts on thought changes, breaths, gestures, or musical beats. Avoid cutting in the middle of a visible plosive unless the new shot intentionally continues the speech. A reaction can begin a few frames before the next line; that anticipation makes the edit feel directed.
For longer pieces, use visual assets from DeepFake's model collection to build supporting shots, then keep their color, lens, and lighting consistent with the presenter scene.
9. Build the soundscape in layers
A convincing scene usually uses four kinds of audio:
- Dialogue or narration: the information and performance layer.
- Room tone or ambience: the continuous acoustic environment.
- Spot effects: footsteps, cloth, clicks, impacts, or object movement.
- Music: emotional structure, pace, and transitions.
Start with dialogue. Add a low, continuous ambience so silence does not feel digitally empty. Then place only the effects the image motivates. Music comes last in the hierarchy for dialogue-led scenes; reduce it under speech and allow it to expand in pauses or transitions.
More layers do not automatically produce better sound. One coherent atmosphere bed and two well-timed effects can feel more polished than dozens of unrelated samples.
10. Mix for the destination
Review on headphones, laptop speakers, and a phone. Dialogue that sounds rich in headphones may disappear on a small speaker if music occupies the same frequency range. Use level automation to make space instead of relying only on compression.
Keep peaks below clipping and leave headroom for platform encoding. Check the platform's current loudness and delivery guidance at export time rather than trusting a universal number. Requirements and normalization behavior vary.
Export a master plus separate stems when the project matters: dialogue, music, effects, and ambience. Stems make localization, revisions, and alternative cut lengths much easier.
How to make lip sync look more natural
Mouth alignment is only one part of believable speech. Viewers also expect pre-speech preparation, eye focus, blinking, breathing, and small head movements.
Allow anticipation and recovery
A person often inhales or shifts attention just before speaking and relaxes after the line. Preserve a short handle before and after the dialogue so the performance does not begin on the first frame or freeze immediately after the last word.
Match emotion across voice and face
An excited vocal take paired with a neutral gaze feels wrong even if every phoneme aligns. Choose the audio performance before finalizing the expression. If the tool supports expressive motion, increase it carefully and compare against the line's actual emotional arc.
Protect difficult sounds
Sounds made with closed lips—such as many "m," "b," and "p" sounds—make timing errors easy to see. Scrub those moments during review. Sibilants and sustained vowels are more forgiving visually but can expose audio artifacts.
Avoid excessive face enhancement
Sharpening or restoration after synchronization can alter teeth, lip edges, and expression. Apply it gently and compare with the unprocessed version in motion, not only as a still frame.
Use cutaways deliberately
Cutaways are not a failure. Professional editing routinely shows the object being discussed, another character's reaction, or an establishing detail while dialogue continues. Design these shots during the storyboard so they feel informative rather than defensive.
Sound design for scenes without dialogue
Audio matters even when no mouth moves. Atmosphere establishes space: a dry indoor room, distant traffic, mountain wind, electrical hum, or a crowded hall. Small synchronized effects establish physicality: fabric shifts when a character turns, a table responds when an object lands, and footsteps indicate scale and surface.
Use perspective. A distant action should not sound close and full-frequency. A sound behind a wall should feel filtered. A large location should have an acoustic tail different from a small studio. These choices make generated visuals feel located in a world.
For stylized scenes, realism is not the only goal. An anime transformation may need exaggerated rises, impacts, and tonal accents. The effects still need a clear hierarchy. Choose one focal sound per important visual beat and let supporting elements remain quieter.
Common failures and practical fixes
The mouth is synchronized but the face feels dead
The source may be too static or the workflow may animate only the lower face. Add subtle head, eye, brow, and breathing motion, or begin with a restrained performance-driven video rather than a completely motionless portrait.
Identity changes during speech
Reduce motion strength, use a higher-quality source, crop closer, shorten the clip, and simplify head movement. Check whether post-processing is altering the face after synchronization.
Teeth or lips flicker
Try another generation, reduce expression intensity, and avoid source images with exaggerated open mouths. A short cutaway can cover one unstable word without regenerating the entire scene.
The line feels rushed
Do not stretch the visual blindly. Record a slower take, shorten the script, or split the speech across two shots. Natural rhythm matters more than fitting a predetermined duration.
Dialogue sounds detached from the room
Add subtle room tone and a small amount of environment-appropriate reverberation. The voice should still remain clear; too much reverb reduces intelligibility and makes close framing feel distant.
Music competes with speech
Lower music during dialogue, reduce overlapping frequencies, and choose a less dense arrangement. Automatic ducking can help, but manual level moves around important words often sound more intentional.
Every sound feels equally loud
Create perspective and priority. The viewer should know what to attend to at each moment. Dialogue may lead one beat, an impact the next, and music the transition.
Quality-control checklist
Watch the export three different ways.
First pass: normal viewing
Do not pause. Ask whether the scene communicates clearly, whether any moment pulls you out of the story, and whether the emotional rhythm feels intentional.
Second pass: technical inspection
Check visible consonants, lip and teeth stability, eye motion, jaw edges, identity, frame boundaries, audio clicks, clipping, captions, and transitions. Review at full resolution.
Third pass: audio only
Turn off the screen. Can you follow the scene's structure? Is dialogue clear? Do ambience and effects establish place and action? Does the music support rather than obscure the message?
Then watch once with sound muted. The silent pass reveals visual discontinuities that a strong mix can temporarily hide. Both layers should work, while the combined version should feel better than either one alone.
Consent, disclosure, and voice safety
Only animate a real person's likeness or use their voice with appropriate permission. A public photo, interview, or voice sample is not automatic consent to create a new performance. Permission should cover the intended context, audience, duration, and commercial use.
Do not impersonate someone for deception, fraud, harassment, or fabricated endorsement. When synthetic media could reasonably confuse viewers, disclose how it was made. Keep source permissions, voice agreements, generation records, and edit history with the project.
For fictional characters, confirm that you own or may use the visual design and voice assets. Review the current terms of every generation, voice, music, and sound-effects service involved, because commercial rights and data policies differ.
A compact workflow for a 15-second creator short
Here is a practical template:
- Write a 25-to-35-word script with one message and one emotional turn.
- Record two voice takes: one natural and one slightly slower.
- Mark the first word, main emphasis, pause, and final word.
- Design a medium close-up with a clear face and caption space.
- Generate a restrained five-to-eight-second talking setup.
- Synchronize the selected voice and produce two variations.
- Create one establishing shot and one detail cutaway.
- Edit on speech beats, then add room tone and two motivated effects.
- Add quiet music only if it strengthens the message.
- Review normally, audio-only, and muted before export.
This small structure is easier to control than one uninterrupted generated shot. It also gives you reusable visual and audio parts for alternate aspect ratios or shorter edits.
Final takeaway
The strongest AI lip-sync workflow starts before the mouth moves. It begins with a scene goal, a script written for speech, a clean performance, and a shot designed to show that performance. Synchronization then becomes one step in a larger process that includes editing, atmosphere, effects, music, captions, and careful review.
Use detailed lip sync when the audience needs to read the speaker. Use narration and cutaways when they communicate more efficiently. Use sound design whenever the scene needs weight, space, or rhythm. Technical perfection is less important than coherence: every layer should appear to belong to the same authored moment.
Frequently asked questions
What source image works best for AI lip sync?
A sharp, evenly lit, front-facing or three-quarter face in a medium close-up is the safest starting point. Keep the mouth unobstructed, avoid extreme expressions, and leave room around the head for natural motion.
Should I add music before or after lip sync?
Use a clean dialogue stem for synchronization. Add music after the speech timing and edit are stable, then lower or simplify it wherever it competes with intelligibility.
Can I lip-sync a stylized or anime character?
Yes, but success depends on how clearly the design defines the mouth and face. Strongly abstract features may need more tests. Keep the first shot simple and review whether expression and identity survive, not only whether the lips move.
How long should one talking-head generation be?
Shorter shots are easier to control. There is no universal maximum, but splitting a long paragraph into several phrases with purposeful cutaways usually improves pacing, continuity, and regeneration cost.
Why does lip sync still look wrong when the timing is accurate?
The voice and expression may not match, the upper face may be too static, or the shot may lack pre-speech anticipation and post-speech recovery. Believable performance depends on more than mouth shapes.
Do all AI videos need dialogue or lip sync?
No. Many atmosphere, action, product, and music-led scenes benefit more from thoughtful sound design than from visible speech. Use lip sync only when it supports the scene's communication goal.