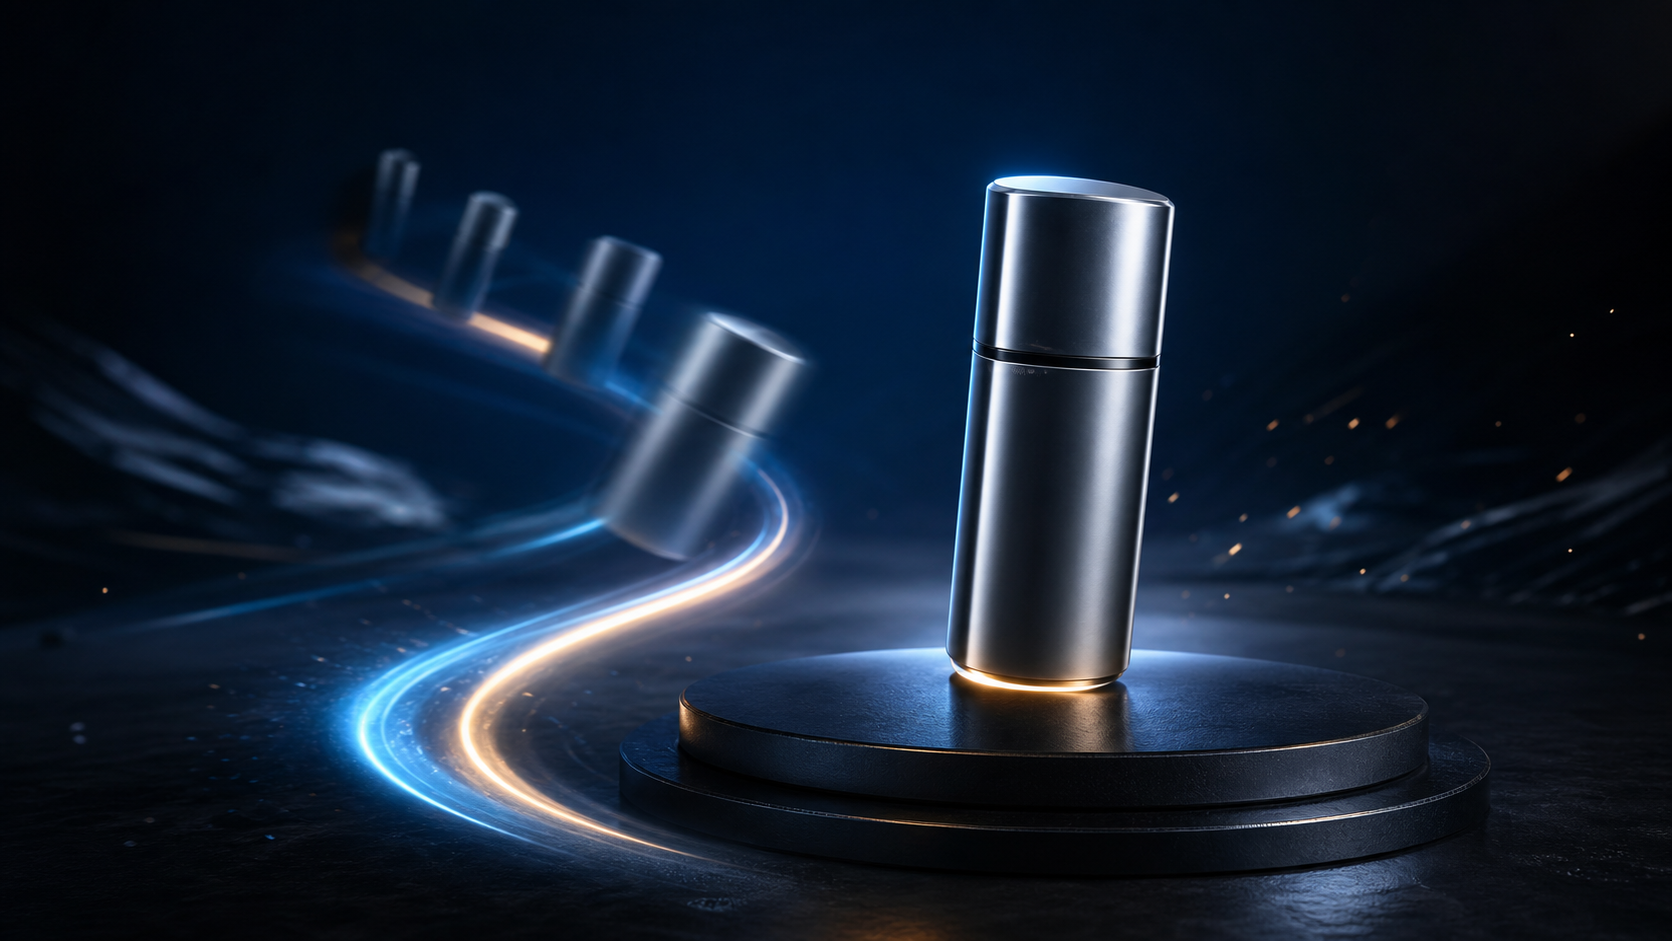
A fly-in video turns a static subject into an entrance: a product glides toward its final mark, a poster advances into view, or the camera moves through a scene until the focal point fills the frame. The effect looks simple, but it exposes AI video weaknesses quickly. A warped midpoint, flickering edge, or abrupt stop can make an otherwise attractive clip feel unfinished.
The most reliable approach is to treat the entrance as a small piece of motion design. Define what moves, where it starts, how it travels, where it lands, and what the camera does. Then review the entire path—not only the first and last frames.
This guide adapts that production logic into a practical workflow for text-to-video and image-to-video creation.
Why a Fly-In Works
Movement gives a flat asset direction and hierarchy. Instead of merely appearing, the subject arrives with momentum and tells the viewer where to look. This is especially useful in short-form marketing, where the opening seconds need to establish a focal point immediately.
A professional fly-in should meet three standards:
- Protect the subject. Its silhouette, proportions, face, packaging, or logo geometry should remain recognizable throughout the move.
- Control attention. The trajectory should lead the eye toward one clear destination rather than compete with background activity.
- Settle cleanly. The final pose needs enough stability to support a caption, call to action, or logo lockup.
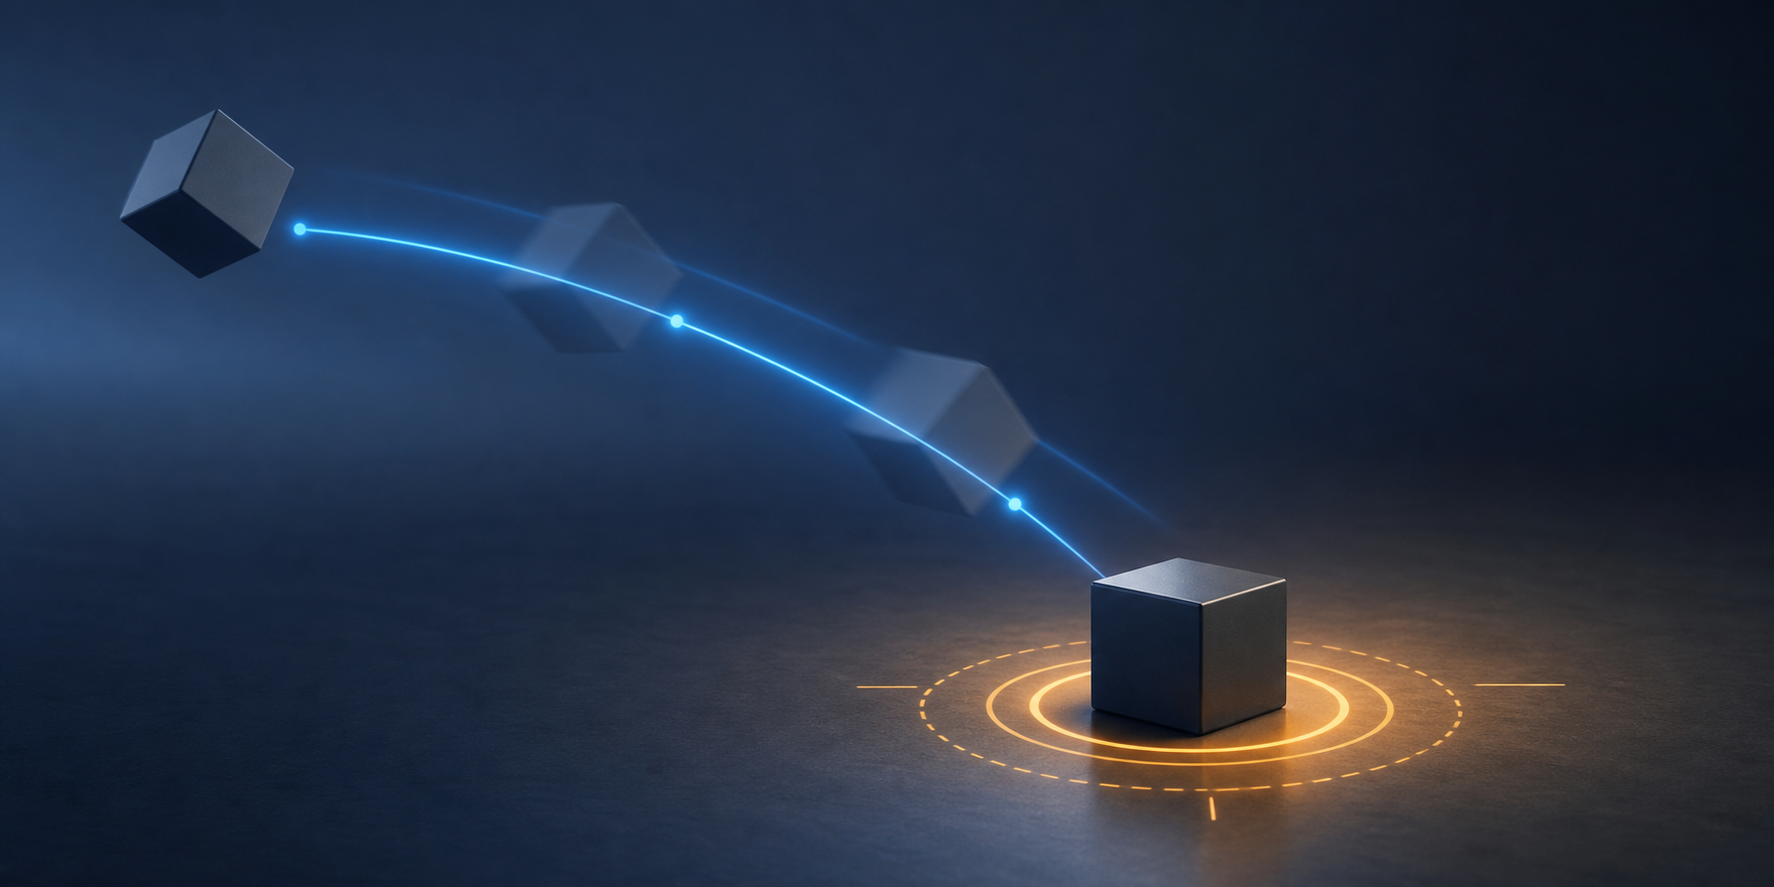
Smooth, restrained motion usually looks more intentional than an ambitious entrance that distorts the subject. If the fly-in itself is the point of the shot, keep the background calm so the motion remains legible.
Generate a Fly-In Video from Text
Text-to-video is a useful place to learn the effect because there is no source image to preserve. Start with one subject, one path, and one landing position. You can experiment in a text-to-video workflow before adding multiple objects, camera moves, or complex environments.
Use a motion-first prompt
A weak prompt describes only what is visible:
A perfume bottle appears.
A more useful prompt specifies the action and the finish:
A matte black perfume bottle enters from the right edge, glides toward the center on a shallow diagonal path, slows smoothly, and settles upright. The camera remains locked. Luxury studio lighting, soft reflections, calm dark background.
Build a fly-in prompt from five parts:
- Subject: the object, person, graphic, or vehicle that must remain consistent.
- Origin: the frame edge, distant background, upper corner, or off-screen position where the move begins.
- Path: straight, diagonal, curved, descending, or moving forward in depth.
- Landing: the final position, scale, orientation, and amount of hold time.
- Camera and style: whether the camera is locked, panning, craning, or pushing in, plus the desired visual treatment.
The landing instruction matters as much as the entry. Phrases such as “slows as it reaches center,” “settles gently,” and “holds on the final frame” imply acceleration and deceleration instead of constant mechanical speed.
Match style to the subject
Different visual styles reveal different motion problems:
| Style | Good fit | Main risk |
|---|---|---|
| Cinematic | Product reveals, trailers, brand intros | Dramatic lighting can conceal unstable edges until the midpoint |
| Photorealistic | People, lifestyle scenes, retail promos | Facial and body distortion is easy to notice |
| Anime or illustrated | Explainers, creator content, stylized brands | Fine linework may shimmer during movement |
| Glossy 3D | Packaging, abstract objects, title-card elements | Reflections can flicker when the path is too aggressive |
Choose a style that supports the movement rather than decorating it. A clean studio scene gives the model fewer unrelated details to reconstruct from frame to frame.
Review the midpoint
Many failed generations look acceptable at the opening and closing frames but break while the subject is traveling. Scrub through the middle and check:
- silhouette and proportions;
- edges, reflections, and small surface details;
- contact shadows and depth;
- consistency of the background;
- whether the camera invents movement that was not requested;
- whether the final deceleration feels natural.
If a clip fails, change one variable at a time. Shorten the path when the subject stretches, slow the arrival when the landing snaps, remove competing style adjectives when the look drifts, and state the camera behavior explicitly when the frame moves unpredictably.
Animate a Static Image Without Rebuilding It
Image-to-video is often the better route when the approved asset already exists: a product photograph, portrait, event poster, package design, or illustration. The goal is to add depth while preserving what has already been designed.

Start with a clean, high-resolution still that has:
- one obvious focal subject;
- visible separation between subject and background;
- useful depth cues such as perspective, shadows, or layered scenery;
- crisp edges without a noisy cutout;
- enough room in the intended entry direction.
A crowded collage or low-resolution cutout gives the model too much structure to invent. Extreme forward motion then magnifies those uncertainties into bending shelves, changing packaging, drifting linework, or unstable faces.
Move around the image, not against it
When the composition is already strong, prompt a restrained camera move rather than forcing the subject to fly independently:
- Product shelf: “The camera slowly moves toward the featured bottle at center. Background remains stable, subtle parallax, clean retail lighting.”
- Poster: “The poster advances from a slight distance into full frame. Edges remain crisp, smooth deceleration, minimal distortion.”
- Portrait: “The camera glides inward while preserving facial structure, clothing details, and natural posture. No exaggerated motion.”
An image-to-video workflow is most predictable when the prompt protects the original image explicitly. State what must remain unchanged, especially for branded packaging, faces, typography, and approved artwork.
Decide whether the camera moves or the object moves. Asking both to rush forward at once often creates confused depth and mushy motion.
| Failure | What you see | Better direction |
|---|---|---|
| Travel is too long or fast | Subject stretches before landing | Shorten the distance and slow the approach |
| Source image is weak | Edges pulse or drift | Use a cleaner still with stronger separation |
| Camera and object conflict | Background and subject move unpredictably | Lock one and move the other |
| Prompt is overloaded | Style and geometry change mid-shot | Keep one action and remove competing adjectives |
For portraits or identity-related material, use only assets you have permission to animate. Obtain the subject’s consent, respect likeness and publicity rights, and avoid deceptive impersonation.
Control Cinematic Motion and Timing
Camera language changes the emotional read of a fly-in:
- Drone-style approach suggests scale and suits landscapes, architecture, and travel reveals.
- Pan-in adds gentle direction without a dramatic change in depth.
- Crane movement feels measured and elegant for events or product reveals.
- Dolly-style push increases the importance of the subject as it approaches.
Luxury and premium product work usually benefits from slower, stable movement. Energetic social content can use faster paths, but the subject must remain readable.
Realistic movement rarely travels at one speed. Think in three phases:
- Departure: a brief acceleration establishes direction.
- Travel: the subject follows a clear path without changing shape.
- Arrival: it eases into position and holds.
Once a motion path works, save the prompt and every repeatability control the selected generator exposes, such as a seed or reusable settings. For a campaign series, lock the path first, then swap only the subject or scene. Recheck the timing when a new subject feels visually heavier or lighter.
Optimize the Clip for Social Media
A fly-in designed for a desktop preview may fail after vertical cropping and platform compression. Plan the delivery frame before generation.
For TikTok, Reels, and Shorts:
- compose vertically from the beginning instead of cropping away the entry path later;
- leave deliberate negative space for captions or a call to action;
- land the subject early enough that the concept reads quickly;
- hold a stable final frame that can double as a thumbnail or end card;
- keep fine textures and small text away from the edges;
- preview the exported file on a phone.
Build a clean loop
A loop can make a simple move feel more finished. The final state should visually echo the opening state closely enough that the restart is not jarring. If the tool accepts starting and ending reference frames, use compatible compositions so the generation has a clear target.
One practical pattern is:
- begin with a quiet frame or distant subject;
- fly in and settle;
- hold briefly for readability;
- return toward a composition that resembles the opening.
The loop should feel natural before the viewer consciously notices the repetition.
Export and Rights Checklist
For many social deliveries, 1080p is a practical balance of clarity and file size. A site hero or campaign display may justify a larger render when the publishing platform supports it. Regardless of resolution, check:
- important details are not too close to the crop boundary;
- the final frame remains stable long enough to read;
- fine texture, gradients, and small type survive compression;
- the aspect ratio matches the destination;
- audio and captions remain synchronized after export.
Do not assume that every AI video service grants identical commercial rights. Review the terms for the generator, model, uploaded source assets, music, fonts, and any client-owned material used in the project. Keep the final prompt, source files, settings, license notes, and approved export together so future variations can reproduce the same motion responsibly.
A Repeatable Fly-In Workflow
Use this compact process for each new shot:
- Define the destination platform, aspect ratio, and purpose.
- Decide whether the subject moves or the camera moves.
- Choose one clear subject and a stable source image when applicable.
- Write the origin, path, landing position, timing, camera behavior, and style.
- Generate a short test before expanding the scene.
- Inspect the midpoint for shape, edge, and background failures.
- Revise one variable at a time.
- Save a successful prompt and repeatability settings.
- Export for the actual platform and review on the target device.
The creative idea still matters, but a polished fly-in comes from controlled motion, a protected subject, and a clean landing—not from piling more adjectives into the prompt.
Frequently Asked Questions
Should the object move, or should the camera move?
Use object motion when the entrance itself communicates the idea, such as a product arriving on a mark. Use a camera push when the source composition is already approved and you want to preserve its geometry. Avoid strong object and camera movement at the same time unless you can test the interaction carefully.
Why does the subject look fine at the start and end but distorted in between?
The model may be reconstructing too much depth over a long or fast path. Shorten the travel distance, simplify the background, reduce simultaneous motion, and inspect the midpoint after every revision.
What source image works best?
Choose a high-resolution image with one focal subject, clean edges, clear separation, useful depth cues, and enough room for the intended movement. Avoid crowded collages and tiny text.
How can I make the landing feel less abrupt?
Add deceleration and a final hold to the prompt. Phrases such as “slows smoothly,” “settles gently into position,” and “camera holds steady on the final frame” provide a clearer timing target.
What should I save after a successful generation?
Archive the prompt, source asset, aspect ratio, seed or repeatability settings when available, model and export settings, and the approved final file. That package makes campaign variations easier to reproduce.
Ready to test a controlled entrance? Start with one subject, one motion path, and a clean landing in DeepFake.