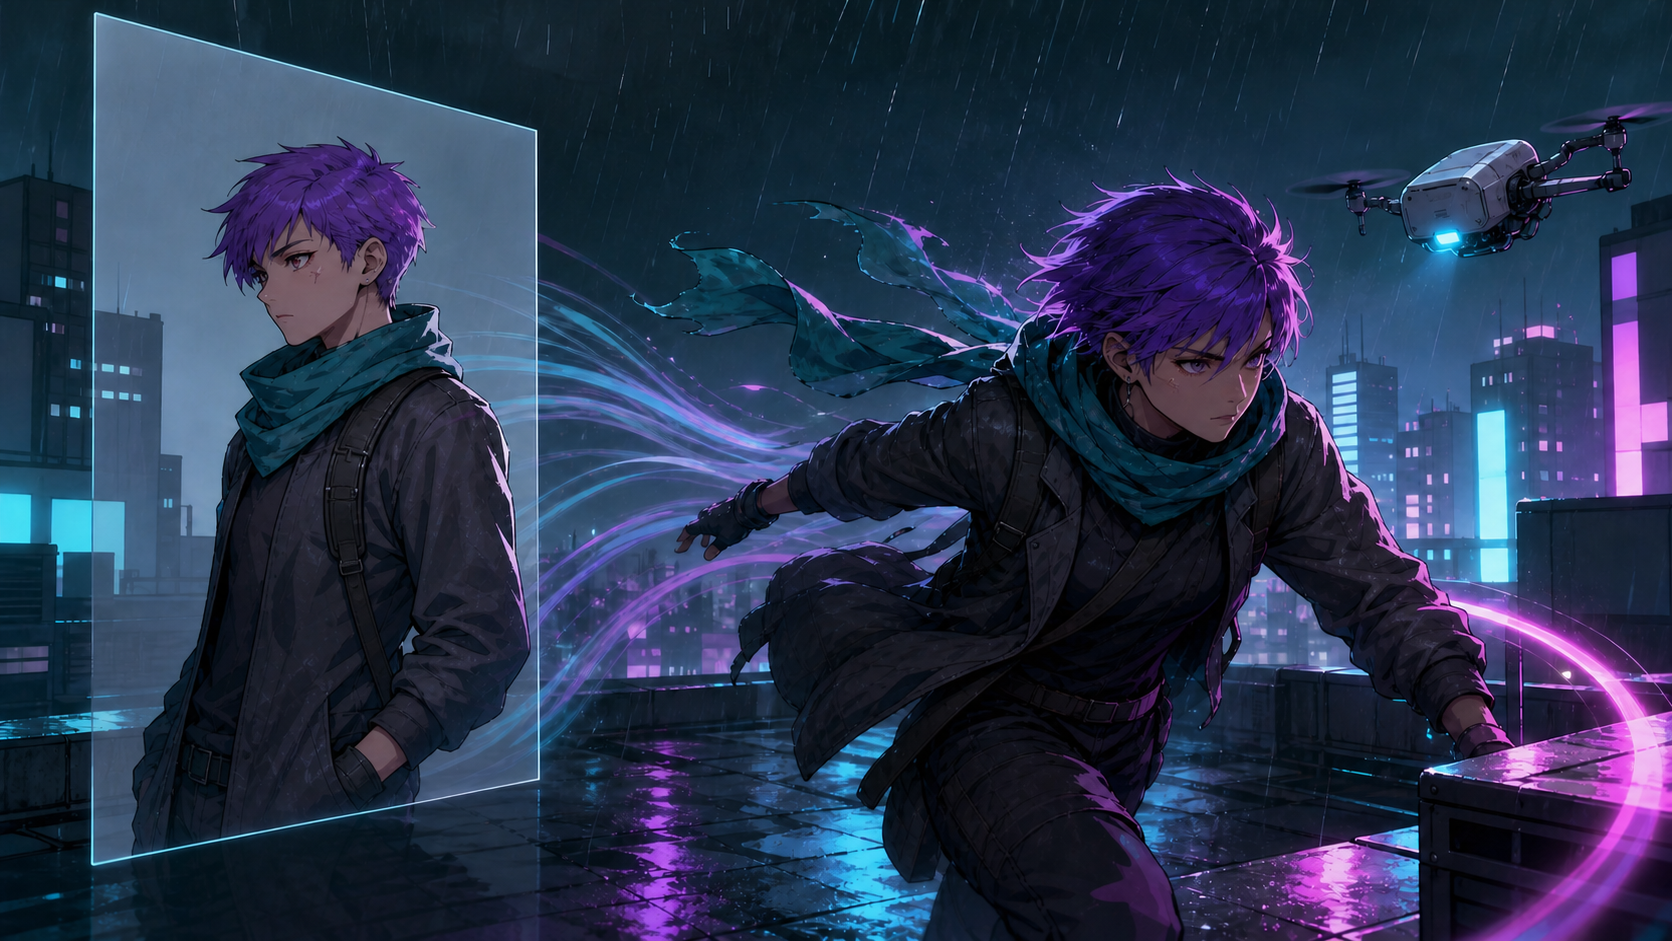
A finished illustration can already imply a world beyond its frame. Wind may be about to lift a character's hair, headlights may be approaching through the rain, or a product may be waiting for the camera to circle it. Image-to-video AI turns that implied moment into a short moving shot.
The process is more deliberate than pressing an animate button. The source image establishes composition, identity, lighting, and style. Your prompt then directs motion, while the selected model interprets both. Good results come from assigning each input a clear job and reviewing a generation as if it were raw footage—not a finished film.
This guide presents a repeatable workflow for animating portraits, anime art, product images, environments, and other still visuals with DeepFake. It also explains how to write motion-focused prompts, diagnose common failures, connect several clips, and prepare a clean export for editing.
What Image-to-Video AI Actually Does
An image-to-video model receives a starting visual and predicts how that scene might change over time. It can introduce subject movement, camera movement, environmental motion, or a combination of the three. The result is usually a compact clip intended to become one shot inside a larger edit.
The image carries most of the visual information:
- The subject's appearance, clothing, pose, and relative scale
- The camera angle, crop, depth, and overall composition
- The environment, color palette, lighting direction, and art style
- Visible objects that the model may try to keep consistent
The prompt should mainly describe what changes. This is an important distinction from text-to-image prompting. Repeating every visible detail can distract the model from the motion you actually want. A useful motion prompt specifies the primary action, the camera behavior, the pace, and the environmental response.
Think of the source image as the first frame and the prompt as a compact directing note. The model fills in the frames between that first moment and the implied end of the shot.
Before You Generate: Prepare a Strong Source Image
The quality of the input limits the quality of the animation. A model cannot reliably preserve details that are already ambiguous, and small image defects may become larger when they move.
Use the following source-image checklist:
- Choose a clear subject. A readable silhouette and an obvious focal point give the model fewer competing interpretations.
- Inspect faces and hands. Correct distortions, extra fingers, blurred eyes, or merged accessories before animation.
- Leave room for movement. If a character is cropped tightly at every edge, a turn or camera push may expose missing information.
- Simplify clutter. Busy backgrounds, tiny props, repeated patterns, and overlapping limbs increase continuity risk.
- Use sufficient resolution. A crisp input helps preserve edges and textures, although a larger file cannot repair a weak composition.
- Remove accidental text. Labels and typography often deform across frames. Add essential titles later in an editor.
- Match the final aspect ratio. Starting near the intended horizontal, vertical, or square format reduces awkward reframing.
If the original art needs cleanup, repair it first rather than hoping the video model will ignore the problem. For a sequence, also keep an untouched master image so you can start every variation from the same reference.
Step 1: Define One Story Beat
A short AI clip works best when it expresses one readable change. Before opening a generator, finish this sentence:
During this shot, the viewer sees happen.
Examples include a courier looking over her shoulder as a drone passes, a perfume bottle rotating while light travels across the glass, or clouds opening above a mountain ridge. Each is small enough to direct and easy enough to judge.
Avoid asking one clip to contain an entrance, a conversation, an action sequence, and an exit. Divide a larger idea into separate shots. This gives you more control over pacing and makes it possible to regenerate only the part that fails.
It also helps to name the shot's purpose: establishing a place, revealing a character, demonstrating a product, creating a transition, or holding attention behind narration. Purpose determines how much motion the shot actually needs.
Step 2: Upload the Image and Inspect the Frame
Open the DeepFake image-to-video workspace and add your prepared image. Before choosing settings, look at the preview as a director would:
- Is the subject still easy to identify at the displayed crop?
- Is there safe space in the direction of intended movement?
- Which background elements should move, and which should remain stable?
- Would a camera move reveal areas outside the original frame?
- Is the shot's focal point immediately obvious?
If a pan would require the model to invent half of a room, choose a gentler push-in or a mostly static camera. If the subject is already in an extreme action pose, animate the continuation of that action rather than forcing an unrelated move.
Step 3: Choose a Model for the Shot
Different image-to-video models can favor different qualities: realistic motion, stylized art, prompt adherence, speed, longer duration, camera control, or resolution. Use the model catalog to compare the options currently available instead of assuming one model is best for every image.
For a first test, prioritize a model that suits the source style and provides an economical preview. Once the motion concept works, a higher-quality setting can be used for the final candidate. Model availability and controls may change, so treat the interface as the authority for current duration, resolution, credit cost, and aspect-ratio options.
When comparing models, keep the source image and prompt unchanged. Otherwise, you will not know whether a better result came from the model or from a different instruction.
Step 4: Write a Motion-First Prompt
A dependable prompt can be built from four parts:
Subject action + camera movement + environmental motion + pacing or mood
For example:
The courier slowly turns toward the camera and tightens her grip on the parcel. The camera makes a gentle forward push. Rain falls diagonally and distant lights shimmer in puddles. Controlled, cinematic movement with a tense pause at the end.
The image already shows the courier, clothing, rooftop, palette, and time of day. The prompt focuses on change. It also separates the main motion from secondary atmosphere.
Good motion language is observable. “She raises her chin slightly” is easier to interpret than “she becomes brave.” “A narrow highlight travels from left to right across the bottle” is more direct than “make the product look premium.” Translate emotion and marketing intent into visible behavior.
A Simple Prompt Hierarchy
Put instructions in priority order:
- The subject's main action
- The camera's main action
- One or two environmental motions
- Desired speed, energy, or endpoint
- Important restraint, if the selected model supports it
Limit competing verbs. A character who walks, spins, waves, changes expression, and interacts with three props in one short shot is likely to drift. Start with one primary action and add secondary detail only after the core movement succeeds.
Motion Prompt Templates
Use these as structures rather than fixed recipes.
Portrait
The subject takes a quiet breath, blinks once, and turns their gaze toward the window. The camera remains steady with a very slow push-in. Curtains move gently in a soft breeze. Natural, restrained motion.
Anime or illustrated character
The character shifts into a ready stance as their coat and hair trail in the wind. The camera arcs slightly from left to right. Distant particles drift through the scene. Preserve the original illustrated style and controlled linework.
Product shot
The product rotates slowly by a quarter turn while a soft highlight travels across its surface. The camera makes a subtle dolly-in. The background remains stable and minimal. Smooth studio motion with a clean final hold.
Landscape
Clouds move gradually across the valley as sunlight breaks through onto the ridge. Grass ripples in the foreground. The camera glides forward slowly at a constant height. Calm, expansive pacing.
Food or still life
Steam rises naturally and curls toward the upper right while a small reflection moves across the tableware. The camera makes a gentle lateral slide. Keep every object in its original position.
Photographic action setup
The cyclist leans forward and begins accelerating as dust lifts behind the rear wheel. The camera tracks alongside at matching speed. Background motion increases gradually while the rider stays sharp and recognizable.
Step 5: Set Duration, Framing, and Motion Strength
Use the shortest duration that completes the story beat. A short, coherent shot is more valuable than a longer clip that loses identity halfway through. You can extend the scene in editing by holding a clean first or last frame, changing playback speed slightly, or combining complementary angles.
Choose the aspect ratio for the destination, not merely for convenience. Vertical framing is useful for mobile feeds, horizontal framing fits widescreen stories and many product demonstrations, and square can work for flexible social placement. Check how the original composition survives the crop before generating.
If the interface exposes motion or creativity controls, begin conservatively. More motion can produce greater spectacle, but it also asks the model to invent more unseen information. Portraits and precise product images usually benefit from restraint; wide environments can often tolerate broader movement.
Generate a low-risk test before spending more resources on a final render. The first pass should answer a creative question: Does this action and camera pairing work?
Step 6: Review the Result Frame by Frame
Do not judge a clip only by its opening thumbnail. Watch it several times at normal speed, then scrub slowly through difficult moments.
Review six areas:
- Identity: Does the face, hairstyle, clothing, product shape, or key design stay recognizable?
- Anatomy and geometry: Do hands, limbs, edges, reflections, and rigid objects behave plausibly?
- Motion: Does the main action read clearly without sudden acceleration or rubbery deformation?
- Camera: Does the camera move consistently, or does the entire scene warp instead?
- Continuity: Do background objects disappear, duplicate, or change position?
- Endpoint: Is there a useful final frame, or does the shot end in the middle of a distortion?
Also review the clip at its intended display size. A subtle face defect may be invisible in a small social post, while a large screen can expose it immediately. The acceptance standard should match the destination.
Step 7: Iterate One Variable at a Time
When a result is close, resist rewriting everything. Change one element so that the next generation teaches you something.
- If identity drifts, reduce subject movement or camera travel.
- If the clip feels static, strengthen one clear action rather than adding many details.
- If the background melts, request a steadier camera and simpler environmental motion.
- If motion is too fast, use explicit pacing such as “slowly,” “gradually,” or “with a brief final hold.”
- If the camera ignores the instruction, move the camera direction earlier in the prompt and remove conflicting actions.
- If an object changes shape, describe it as rigid or fixed and reduce rotation.
Save successful prompts and settings alongside the source image. A small production log—model, prompt, settings, generation date, and notes—turns experimentation into a reusable method.
A Practical Camera-Motion Guide
Camera movement changes the meaning of a still image, so choose it for a reason.
- Static camera: Best for facial performance, subtle atmosphere, and preserving exact composition.
- Push-in: Builds attention or intimacy. Keep it slow when the image has limited space around the subject.
- Pull-back: Reveals context, but requires the model to invent content beyond the original crop.
- Pan or lateral slide: Creates spatial interest and works well for products or layered environments.
- Arc or orbit: Adds dimension around a subject but carries higher geometry risk.
- Tracking move: Fits walking, running, vehicles, and other directional action when the image supports it.
- Handheld behavior: Adds energy or realism, but should be subtle unless instability is the intended style.
Combining a complex subject action with a complex camera move increases uncertainty. If a character must perform a precise gesture, use a static camera or gentle push. If the camera must orbit a product, keep the product's own action minimal.
Troubleshooting Common Failures
The Face Changes
Start from a sharper, more frontally readable face. Reduce head rotation, body rotation, and camera movement. Ask for a small gaze shift or breath rather than a dramatic turn. For an important character, generate several short conservative shots instead of one ambitious take.
Hands or Limbs Distort
Avoid source poses in which fingers overlap, hands are partially hidden, or limbs intersect other objects. Simplify the requested gesture. A hand resting on a stable surface is easier to maintain than a complex manipulation near the camera.
The Background Warps
Use a static or gently moving camera, remove unnecessary environmental instructions, and begin with a cleaner scene. Repeating architectural patterns and dense crowds are especially demanding. Consider separating the subject from the environment during compositing if the background must remain exact.
The Clip Feels Lifeless
Add one secondary motion that supports the subject: moving hair, fabric, steam, foliage, dust, rain, reflections, or light. Specify a camera move only if it improves the story beat. More activity is not always more life; coordinated motion matters more.
The Result Is Chaotic
Shorten the prompt to the highest-priority action. Remove style adjectives already visible in the image, eliminate simultaneous events, and reduce motion strength. A clean first pass provides a base for later variations.
Text and Logos Mutate
Whenever possible, generate the shot without essential typography and add text in post-production. If a real product label must remain exact, use masking, tracking, or compositing in an editor rather than relying on generative continuity alone.
Turning One Image into a Multi-Shot Sequence
A single source image can support several related shots: a wide atmospheric hold, a medium character action, a detail insert, and a final reaction. Generate each as a separate clip from the same master image or from carefully prepared crops.
For continuity:
- Keep the character and wardrobe description stable across prompts.
- Reuse the same color treatment and lighting direction.
- Vary only the action and camera framing needed for each shot.
- End one shot on motion that can continue naturally into the next.
- Collect several candidate clips before committing to an edit.
If an existing generated clip needs a more substantial stylistic transformation, a video-to-video workflow can be a separate stage. Preserve the approved original and compare transformations against it so that style changes do not hide continuity problems.
Editing, Sound, and Export
Generated footage becomes a story in the edit. Trim unstable opening or closing frames, arrange shots by visual logic, and let strong frames breathe. Avoid using a transition merely to disguise a bad generation; replace a failed shot when continuity matters.
Sound often provides more perceived life than additional visual motion. Add ambience that belongs to the space, such as rain, room tone, traffic, leaves, or machinery. Use effects to emphasize visible actions and music to establish pacing. Dialogue and voiceover should be mixed clearly above the background rather than competing with it.
Add captions, titles, and branding after the visual cut is stable. This keeps typography crisp and makes it easier to create platform-specific versions. Export a high-quality master first, then derive compressed horizontal, vertical, or square deliveries as needed. Watch every exported file once; framing, audio peaks, or caption placement can change during conversion.
Responsible Use and Rights
Animate material you created, licensed, or have permission to use. A public image is not automatically free for commercial transformation. Keep source records for commissioned art, stock assets, product photography, and model releases.
Obtain clear consent before animating a recognizable real person, especially for advertising, political messaging, adult material, or any scene that could misrepresent them. Do not present synthetic behavior as authentic evidence. When disclosure is relevant to the audience or platform, label AI-assisted media plainly.
Review outputs for harmful stereotypes, misleading context, private information, and unintended brand use. Technical quality does not replace editorial responsibility.
Final Pre-Publish Checklist
Before approving the animation, confirm that:
- The clip communicates one clear story beat.
- The subject remains recognizable from start to finish.
- Faces, hands, rigid objects, and background lines remain stable.
- The camera movement supports the story rather than fighting it.
- The first and last frames are usable in the edit.
- The aspect ratio matches the publication channel.
- Text, captions, logos, and sound were added cleanly in post-production.
- You have the necessary rights and consent for the source material.
- The final export has been watched with sound at its actual delivery size.
Conclusion
Animating still art is a directing problem disguised as a generation task. The strongest workflow begins with a clean source image, defines one story beat, uses a motion-focused prompt, and reviews the result with a critical eye. Small controlled clips also make iteration cheaper and editing more flexible.
Start with restrained movement: a breath, a glance, a shifting reflection, or a slow camera push. Once the model preserves the subject and composition, add energy deliberately. That progression—from stable to expressive—turns a lucky generation into a production method you can repeat.