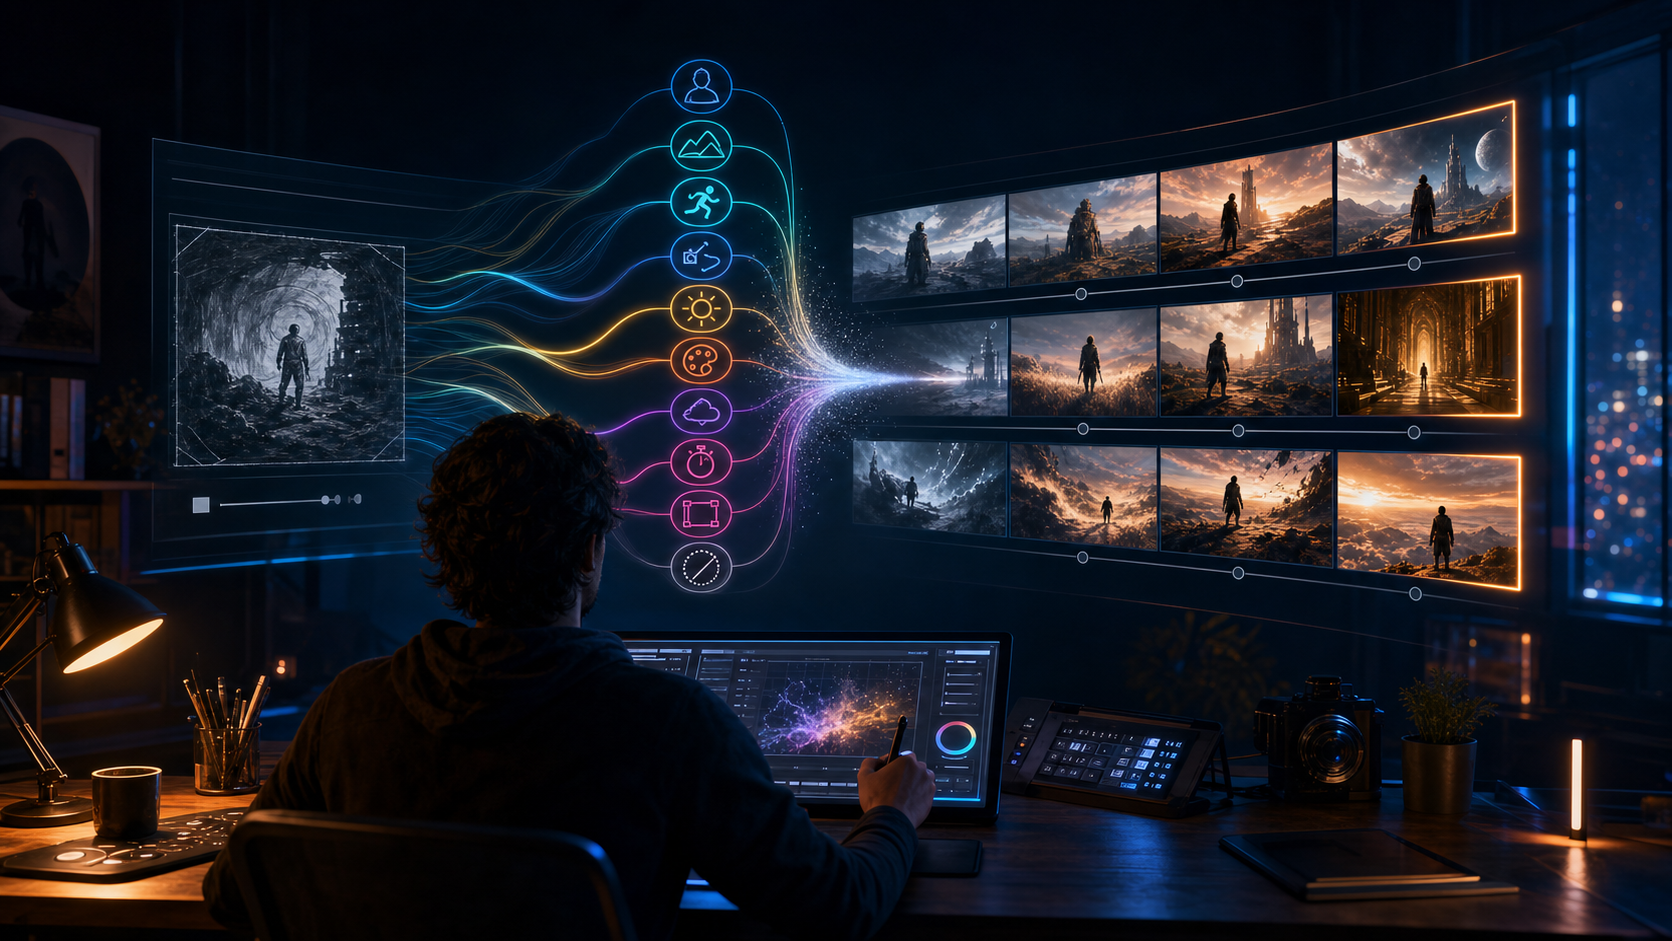
The frustrating part of generative video is rarely having no idea. It is watching a model follow the words while missing the shot in your head. The subject may be correct, but the camera moves the wrong way. The image may look cinematic, but the action has no beginning or ending. A product may appear beautifully and then change shape halfway through the clip.
Prompt engineering narrows that gap. It is not about writing the most poetic paragraph or discovering a magic phrase. It is the practical skill of turning a creative intention into a production brief the model can interpret, test, and repeat.
The following ten prompt engineering tips form a complete workflow for text-to-video generation and image-to-video creation. Each technique solves a different source of uncertainty: what is visible, what happens over time, how the camera observes it, how the result should feel, where it will be published, and how you will know the next version is better.
A reliable AI video prompt formula
Before the individual tips, it helps to use one consistent order:
Subject + environment + action sequence + camera + lighting + palette + style + emotional target + audio + technical format + exclusions
Not every shot needs every field. A reference image may already define the subject and palette. A silent background loop may not need audio direction. The formula is a checklist, not a requirement to overload the model.
For example:
A matte black perfume bottle on a wet volcanic stone at blue hour. Mist drifts slowly behind the product while droplets slide down the glass. Begin with a locked medium shot, then make a gentle five-second push-in and end on the engraved cap. Cool moonlight from behind, narrow warm rim light from the right, premium minimalist commercial style, restrained and mysterious. Six seconds, 16:9, product centered within a safe crop for vertical reuse. Preserve the bottle shape and label placement; no hands, no extra bottles, no camera shake, no text overlays.
The prompt establishes a subject, temporal change, camera plan, visual identity, duration, composition, and guardrails. That gives the generator a much smaller and more useful space to explore.
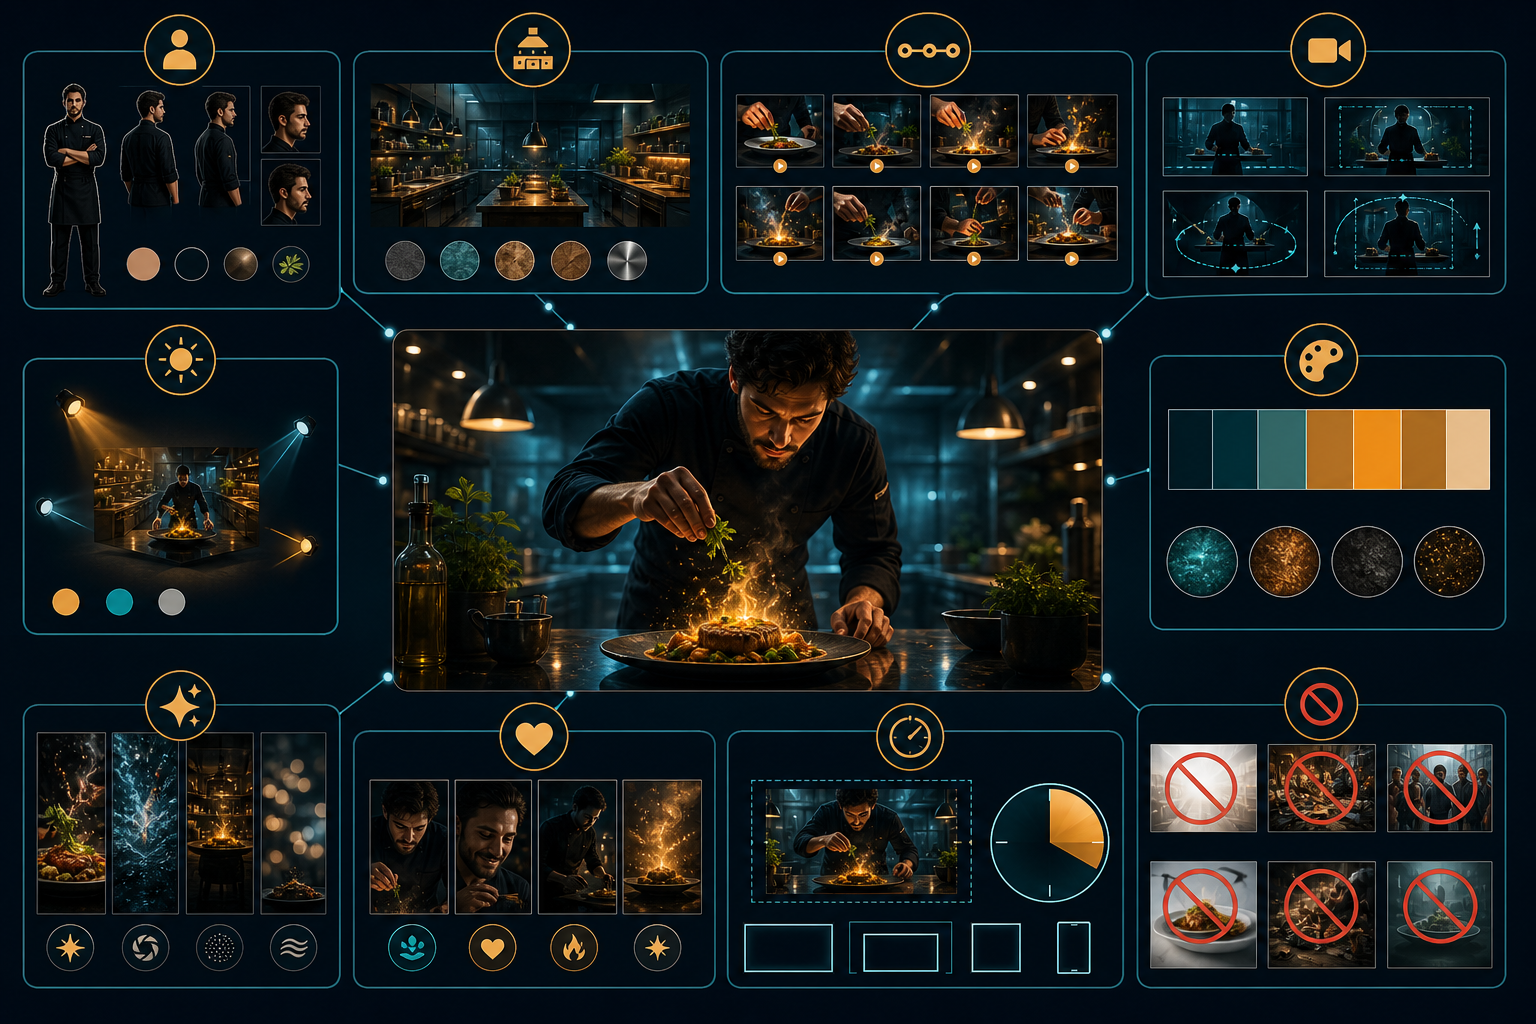
1. Be specific with visible details
Generic prompts produce generic decisions. “Make a product video” leaves the model to invent the product, setting, lighting, framing, action, and tone. Those inventions may be attractive, but they are unlikely to match a campaign.
Start with the subject, then layer the shot. Replace broad adjectives with visible evidence:
- Instead of “luxurious lighting,” specify soft warm light from the left, a narrow highlight on the glass, and deep controlled shadows.
- Instead of “energetic,” specify half-second cuts, fast lateral movement, bright cyan and magenta accents, and punchy changes in scale.
- Instead of “a beautiful café,” specify a narrow corner café at sunrise, fogged windows, walnut tables, brass fixtures, and two empty stools in the foreground.
Ask whether a camera operator, stylist, and editor could act on the description. If not, the model probably has too much room to improvise.
Specificity should focus on what matters. Describing every background object can distract from the subject and create more elements that must remain consistent. Lock the hero details first: identity, silhouette, material, location, primary action, light direction, and framing.
2. Use style keywords as a coherent system
Style terms compress many creative choices into a few words. “Documentary,” “editorial,” “minimal motion graphics,” “retro-futurist,” and “high-end commercial” imply different lenses, pacing, colors, textures, and camera behavior.
The mistake is stacking incompatible aesthetics. A prompt that asks for luxury minimalism, playful cartoon energy, gritty handheld realism, and dreamy fantasy at the same time does not provide range; it provides conflict.
Choose one primary aesthetic lane and support it with two or three concrete cues:
High-end commercial style, shallow depth of field, polished black surfaces, slow controlled camera movement, precise highlights.
For comparison, keep the subject, action, and camera fixed while changing only the style phrase. Render a clean editorial version, a darker cinematic version, and a bright social-first version. The controlled comparison reveals which style actually serves the audience rather than which prompt sounds impressive.
When a style works, save the entire combination, including palette, lighting, lens behavior, and motion. A repeatable visual identity is more valuable than a one-time attractive result.
3. Structure the action as a sequence
Video unfolds over time, so the prompt should also move through time. Describing a beautiful scene without saying what changes often produces a static composition with random motion.
Use temporal markers such as begin, then, next, and finish:
Begin on a sealed package centered on a clean table. Then two hands enter and lift the lid. Next, the product rises from the packaging as a spotlight appears. Finish with a slow half-turn of the product and a stable close-up on its primary feature.
The same structure works for a recipe:
Start with an overhead view of the ingredients. Pan to the cutting board as the vegetables are chopped. Cut to a close view of the pan as they begin to sizzle. Finish on the plated dish with steam moving upward.
Keep the number of beats realistic for the duration. A five-second clip cannot clearly perform an establishing shot, three actions, two camera moves, a transformation, and a final reveal. Split complex ideas into multiple shots and connect them in the edit.
If timing controls are available, add rough durations. Even when the generator does not follow every second precisely, the ordered beats still communicate the intended pacing.
4. Anchor the prompt with context and references
A strong visual reference gives the model a compass. It can establish character appearance, product geometry, environment, composition, or overall art direction more efficiently than a long description.
Use one strong anchor rather than five weak or contradictory comparisons. State what the reference controls:
- “Use the uploaded portrait for face, hairstyle, and costume only.”
- “Use the product photo to preserve geometry, label placement, and material.”
- “Use the storyboard frame for composition and screen direction.”
- “Use the color board for palette and contrast, not for subject design.”
Then add the desired change. In an image-to-video prompt, describe motion instead of repeatedly redescribing the still:
Preserve the character’s identity, clothing, and background layout. She slowly turns toward the window, blinks once, and exhales. Curtain fabric moves gently in the breeze. The camera makes a subtle push-in and ends on a stable three-quarter portrait.
This division reduces contradictions between the reference and the prompt. It also helps diagnose failure: if identity changes, strengthen preservation rules; if the clip is static, improve the motion instruction.
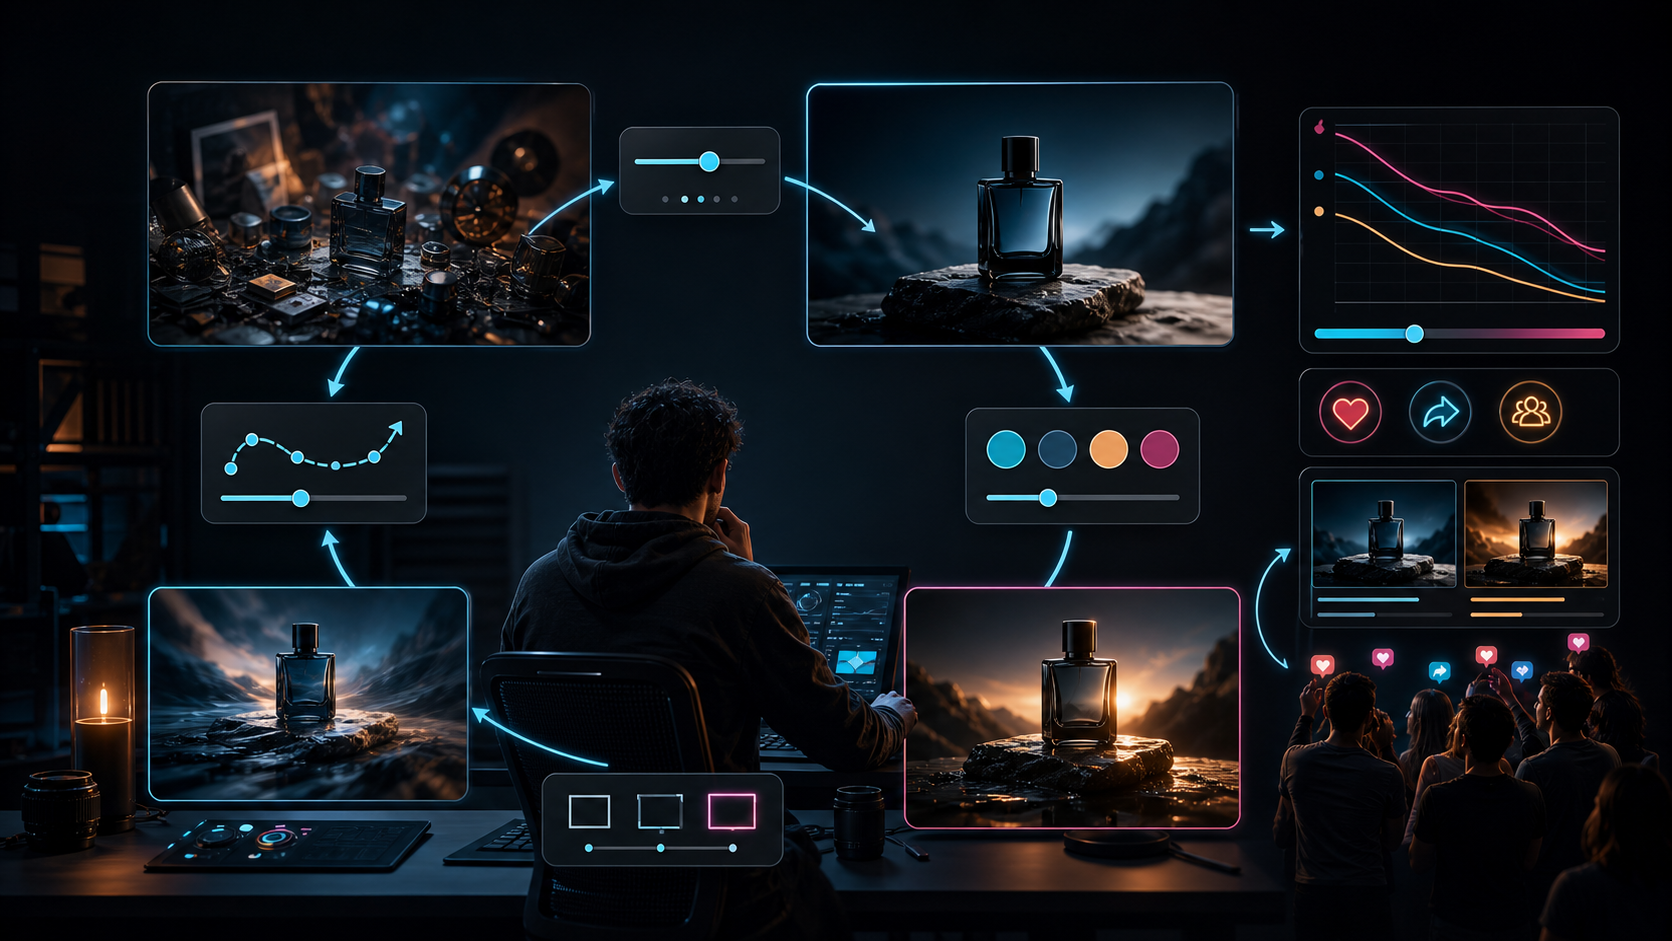
5. Refine progressively and change one variable at a time
Strong prompts rarely arrive fully formed. Iteration is the workflow. The fastest useful loop is:
- Write the simplest prompt that expresses the shot.
- Render a preview or low-cost test.
- Identify the single largest mismatch.
- Change one prompt variable.
- Render again and compare against the same criterion.
Suppose the first product shot is cluttered. Simplify the environment without also changing the camera and palette. If the second version is clear but visually flat, add a defined light direction. If the motion remains stiff, revise the action or camera path next.
Changing three variables at once may produce a better clip, but it does not teach you which change worked. Controlled iteration creates reusable knowledge.
Keep a compact version log:
| Version | Change | Intended improvement | Result | Keep? |
|---|---|---|---|---|
| V1 | Base prompt | Establish direction | Product clear, background busy | Yes, revise |
| V2 | Simplified background | Improve focus | Better silhouette | Yes |
| V3 | Added slow push-in | Increase premium feel | Motion too fast | Revise |
| V4 | Reduced camera speed | Stabilize reveal | Usable | Save |
This is especially valuable for a series. The successful prompt becomes a controlled template instead of a memory.
6. Specify the destination and technical format
A visually good clip can still fail production if it does not fit the platform. Decide the destination before generation because aspect ratio changes composition, subject scale, movement, and space for overlays.
Include the essential technical constraints:
- Duration
- Aspect ratio
- Orientation
- Target resolution, when the tool supports it
- Frame rate, only when it matters and is controllable
- Safe areas for captions, logos, or interface elements
- Whether the last frame must connect to another shot
A short-form prompt might request a 9:16 composition with the subject in the center third and clean space above the lower caption zone. A horizontal product demo may request 16:9 framing with additional negative space on the right for an edit-stage headline.
Match the written prompt to the interface settings. If the generator already has explicit duration, resolution, or camera controls, set them there and keep the prompt consistent. Conflicting instructions create avoidable drift.
Technical detail has a trade-off. More constraints reduce improvisation, but unnecessary controls can make the prompt brittle. Specify what the final delivery genuinely requires and leave incidental choices open.
7. Use negative prompts as targeted guardrails
Positive instructions describe the desired shot. Negative instructions prevent recurring failure modes. They are most effective when concrete:
No visible text, no watermarks, no extra product copies, no label deformation, no shaky handheld movement, no abrupt exposure changes.
“Bad quality” is too broad to guide a correction. “Blurry subject, flickering reflections, warped hands, duplicate objects, and unstable camera horizon” names visible problems.
Build exclusions from observed failures instead of pasting a huge universal list into every prompt. A product shot may need geometry and label protection. A portrait may need identity, hand, and facial-motion guardrails. A tutorial may need clean composition and no distracting movement.
Too many negatives can flatten the shot or compete with the positive direction. Start with the smallest set that blocks the most expensive problems, then add a rule only when the output shows a repeated issue.
8. Design for an emotional outcome
Video is not only a record of objects and actions. It guides how viewers feel. Many weak briefs describe the scene but never define the intended response.
Connect emotion to visible choices:
- Luxury: slow controlled movement, warm highlights, deep shadows, restrained composition, quiet detail
- Trust: steady camera, cool balanced palette, natural light, clear pacing, uncluttered framing
- Excitement: faster changes in scale, bright contrast, active camera paths, rhythmic cuts
- Calm comprehension: smooth movement, longer holds, low visual density, consistent color and framing
- Playful joy: buoyant action, saturated accents, surprising reveals, quick but readable timing
The emotion, audience, and purpose must agree. A learning clip designed for calm comprehension should not use frantic movement because it happens to look trendy. A conversion-focused social hook may need energy, but it still needs enough stability for the product or message to register.
Choose one primary emotional target. “Premium, playful, urgent, and serene” is not nuance; it is four competing directions.
9. Build modular prompt templates
Templates make good prompting repeatable. They also make A/B tests cleaner because each variable has a defined place.
A general video template:
[SUBJECT] in [ENVIRONMENT]. Begin with [OPENING], then [ACTION], and finish on [ENDING]. [FRAMING] with [CAMERA MOVEMENT]. [LIGHTING], [PALETTE], [STYLE], creating [EMOTION]. [DURATION], [ASPECT RATIO], composed for [PLATFORM]. Preserve [CONTINUITY ANCHORS]. Exclude [NEGATIVE ELEMENTS].
A reference-image motion template:
Use the uploaded image to preserve [IDENTITY/OBJECT/COMPOSITION]. Animate [PRIMARY ACTION] and [SECONDARY MOTION]. The camera [CAMERA BEHAVIOR]. End with [STABLE END STATE]. Do not change [LOCKED FEATURES].
Start with the three to five formats you create most often: product reveal, character dialogue, tutorial step, music visual, social hook, or cinematic establishing shot. Save successful modules for camera movement, lighting, emotion, and formatting. Version the library as models and audience needs change.
A template is not a shortcut around creative decisions. It prevents good decisions from being forgotten.
10. Feed audience results back into the prompt
The final prompt test happens after publishing. Define success before the video goes live:
- Social content: first-second hold, completion rate, rewatches, saves, or shares
- Marketing: click-through, qualified visits, conversions, or brand recall
- Education: completion, comprehension, reduced drop-off, or fewer support questions
- Client production: approval speed, revision count, consistency, or cost per usable shot
Record which prompt variables differ between comparable videos. Did a stronger opening action improve retention? Did tighter framing make the product easier to recognize? Did slower pacing increase completion for a tutorial? Did a negative prompt reduce the number of unusable clips?
Performance does not prove that one phrase caused the result; distribution, topic, audio, and timing also matter. Treat analytics as a signal for the next controlled test, not as a universal rule.
Review the prompt library regularly. Promote the templates that repeatedly create usable footage and audience response. Retire weak versions. Add qualitative feedback from comments, editors, clients, and accessibility reviews because dashboards do not capture every production problem.
Put the ten tips into one working loop
A dependable weekly process looks like this:
- Define the audience, purpose, platform, and success metric.
- Choose or create one reference frame.
- Write the prompt in the standard order.
- Keep the action sequence realistic for the duration.
- Add only essential technical constraints and exclusions.
- Generate one representative test through the AI video models available to you.
- Review subject fidelity, motion, camera, continuity, composition, emotion, and editability.
- Change one variable and compare.
- Save the strongest prompt, settings, reference, and result together.
- Feed publishing or client results into the next version.
Prompt engineering works best as production design, not creative gambling. Be specific about what can be seen, order what should happen, keep the style coherent, anchor the shot, control the format, and improve through evidence. The goal is not a longer prompt. It is a clearer agreement between the creator, the model, and the final edit.
FAQ
Do longer prompts always create better AI videos?
No. Longer prompts can introduce conflicts and dilute the primary action. Include the details that control the shot and remove decorative language that does not change a visible production decision.
Should I describe the image again in an image-to-video prompt?
Usually, the reference already carries subject and composition information. Focus on what should move, how the camera behaves, what must stay consistent, and where the action should end.
How many actions should one generated clip contain?
Use the fewest actions needed for a readable beat. Short clips usually perform better with one primary action, subtle secondary motion, and one controlled camera behavior.
What should I change first when a result is wrong?
Fix the largest mismatch. If the subject is wrong, clarify or strengthen the reference. If the subject is correct but the clip feels static, revise the action. If the action is correct but unusable in the edit, fix framing, duration, or the ending state.
Are negative prompts required?
Not always. Use them when a generator repeatedly adds an unwanted element or breaks a locked feature. Concrete, targeted exclusions are more useful than a long generic quality list.