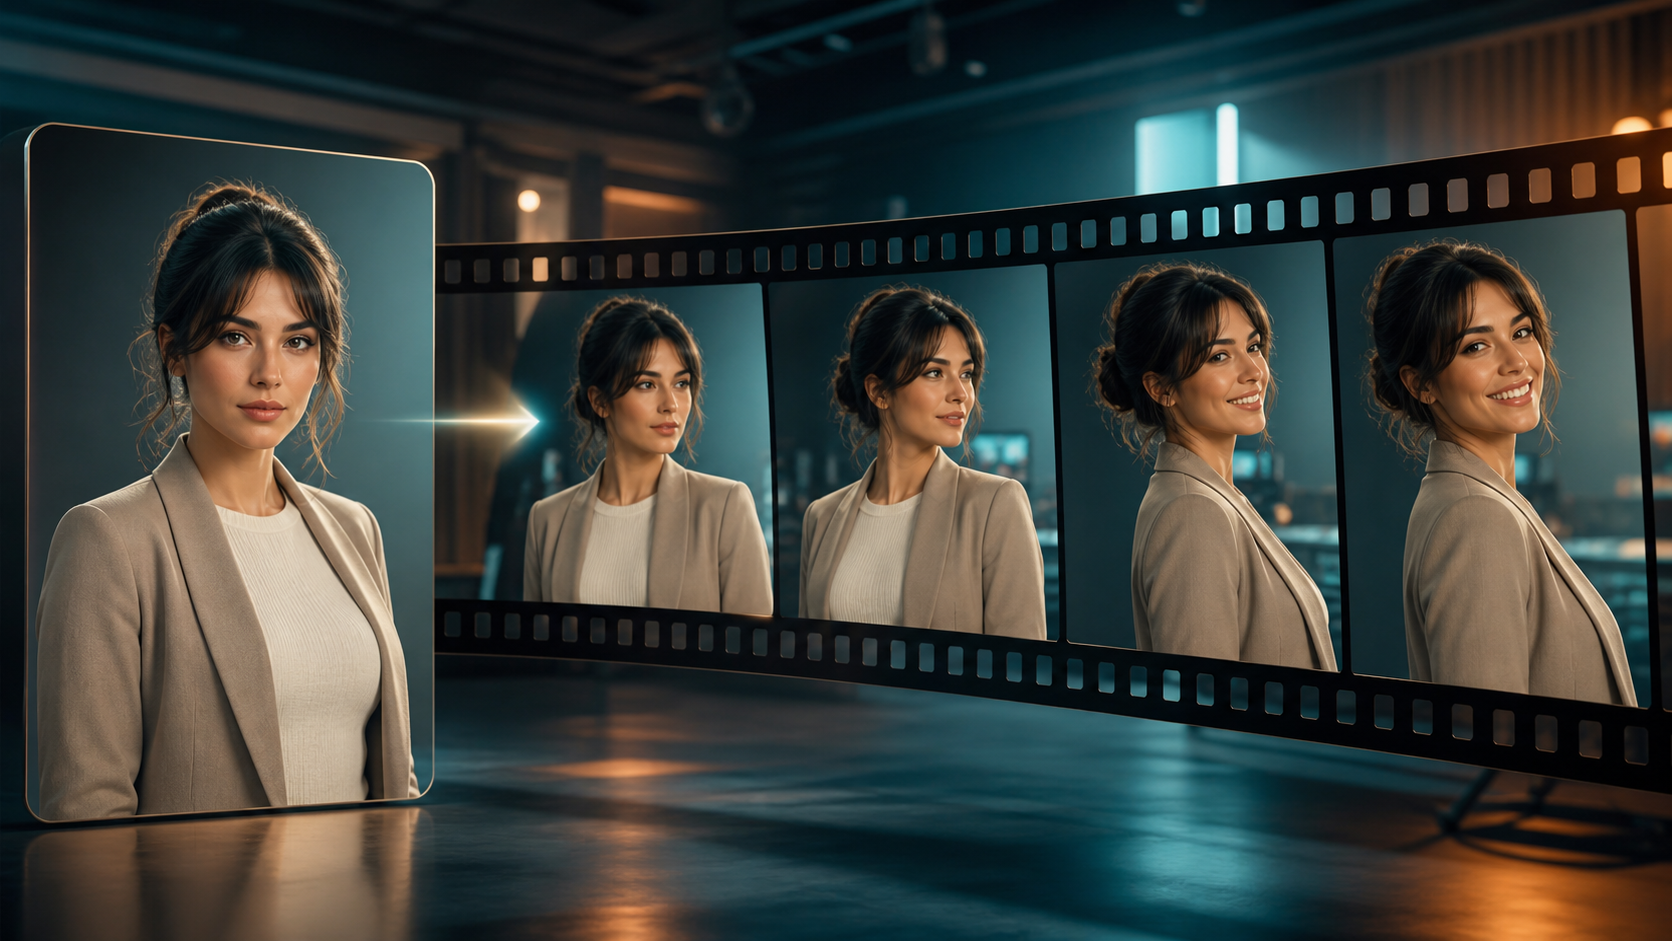
Turning one AI character image into a video sounds simple: upload the portrait, describe an action, and generate. The difficult part is not making a frame move. It is keeping the character recognizable while the head turns, the expression changes, the camera moves, and light travels across the face.
That problem is usually called identity drift. A still image asks a model to resolve one pose once. A video asks it to resolve the same facial structure across dozens or hundreds of related frames. If the reference is ambiguous or the shot demands too many changes, the character can slowly become a different person.
The most reliable solution is a controlled production workflow. Start with a strong master image, choose a reference-aware image-to-video method, ask for one clear action, and build a longer scene from short approved takes. This guide explains that process step by step, including how to diagnose a drifting face and how to add speech without losing continuity.
What You Need Before Animating the Character
Prepare these four inputs before generating a clip:
- A master portrait. Use a sharp, unfiltered image in which the face is large enough to read clearly. Neutral or softly directional lighting makes facial structure easier to preserve.
- A character definition. Decide the character's age, hairstyle, wardrobe, color palette, and distinguishing features. For an original fictional character, a small reference sheet with front, three-quarter, and profile views is useful.
- A shot objective. Write one sentence describing what changes during the clip. “She looks from the window to the camera and smiles” is easier to control than a paragraph containing five actions.
- A delivery format. Know whether the result is a 9:16 social clip, a 16:9 story scene, or a square avatar post. Framing the source image for the final ratio reduces unnecessary reframing later.
If you still need the master portrait, create and refine it first with a text-to-image workflow. Do not animate a face you are only “almost” happy with. Motion magnifies unresolved asymmetry, unclear accessories, and inconsistent hair.
Why a Reference Image Matters More Than a Longer Prompt
A written description can define a type of person, but it rarely locks one exact identity. “Adult woman with dark wavy hair, green eyes, and a red jacket” leaves the model many valid faces to choose from. Repeating that description in every prompt may create a similar character, not necessarily the same character.
A visual reference gives the video model direct evidence about facial proportions, hairline, skin detail, wardrobe, and color. Depending on the tool, this may appear as image-to-video, character reference, subject reference, or a saved-character feature. The interface differs, but the production principle is the same: identity should come from the image, while the prompt should mainly direct motion, camera, lighting, and mood.
First-frame and first/last-frame methods are useful, but they solve a slightly different problem. A first frame anchors the opening composition. A last frame also gives the model a destination. Neither automatically guarantees that every intermediate frame will preserve fine facial detail, so motion still needs to be constrained.
Step-by-Step: Turn the Still Character Into Video
Step 1: Clean and Lock the Master Image
Inspect the portrait at full size. Look for mismatched pupils, fused jewelry, broken fingers near the face, stray hair merging into clothing, and overly smooth skin. Correct these defects before animation because a video model may reinterpret them differently from frame to frame.
Crop with enough space for the intended movement. A tight headshot is excellent for testing facial identity, but it cannot naturally support a full-body walk. Conversely, a distant full-body image makes the face a small part of the frame and gives the model fewer facial pixels to preserve.
For a first identity test, use a chest-up composition with the subject facing near the camera. Save the original file rather than a screenshot or heavily compressed social-media copy.
Step 2: Choose the Right Animation Route
Use a tool or model that accepts the character image as a genuine visual input. A general image-to-video generator is a practical starting point for a single short shot. If your chosen system offers a dedicated subject-reference or character-reference control, use it for a series in which the same person appears repeatedly.
Select the model based on the shot, not on a generic leaderboard. Test whether it handles the things your scene actually needs: subtle facial motion, fast body movement, camera travel, stylized anime lines, realistic skin, or dialogue. Model capabilities, duration limits, and resolution options change, so confirm them in the interface you are using rather than relying on an old comparison table.
Step 3: Prompt the Motion, Not a New Identity
Write a prompt that preserves what should stay fixed and clearly describes what should move. A useful pattern is:
Subject continuity + one action + camera behavior + environmental motion + lighting continuity + quality constraint
For example:
The same adult fictional character remains recognizable. She slowly turns from the window toward the camera and gives a restrained smile. Locked medium close-up, natural blinking, hair moving slightly in a soft breeze, warm window light remains consistent, realistic motion, no scene change.
The phrase “the same character” can reinforce your intention, but it cannot replace a good reference. Avoid redescribing the face with new or conflicting attributes. If the master image has short black hair, adding “long auburn hair” asks the model to redesign the subject while animating it.
Negative instructions can help when the tool supports them. Keep them specific: no face morphing, no sudden wardrobe change, no extra limbs, no abrupt camera cut. A huge generic negative-prompt list can dilute the controls that matter.
Step 4: Start With One Short, Gentle Take
Begin with a short clip and one modest action: a blink, a small head turn, a breath, or a subtle smile. Keep the camera locked. This is a diagnostic take, not the final scene.
Why start small? It separates reference quality from motion difficulty. If the face drifts during a nearly static close-up, the master image or reference strength is probably the issue. If the close-up holds but a running shot fails, the reference is viable and the motion demand is the variable to reduce.
Generate several variations using the same inputs. Video generation is probabilistic, so one failed result does not prove that the workflow is wrong. Compare the variants at the same points: opening frame, first major movement, midpoint, and final frame.
Step 5: Review Frame by Frame Before Scaling Up
Do not judge identity only from playback at normal speed. Pause on turns, blinks, hand-to-face contact, and moments of motion blur. Check:
- eye spacing, nose shape, jawline, and hairline;
- age and skin texture;
- hairstyle length and parting;
- clothing seams, jewelry, glasses, or signature props;
- finger count and hand shape near the face;
- background objects that appear to merge with the subject.
Approve a take only when both motion and identity are usable. A beautiful camera move with a different face is not a successful character shot.
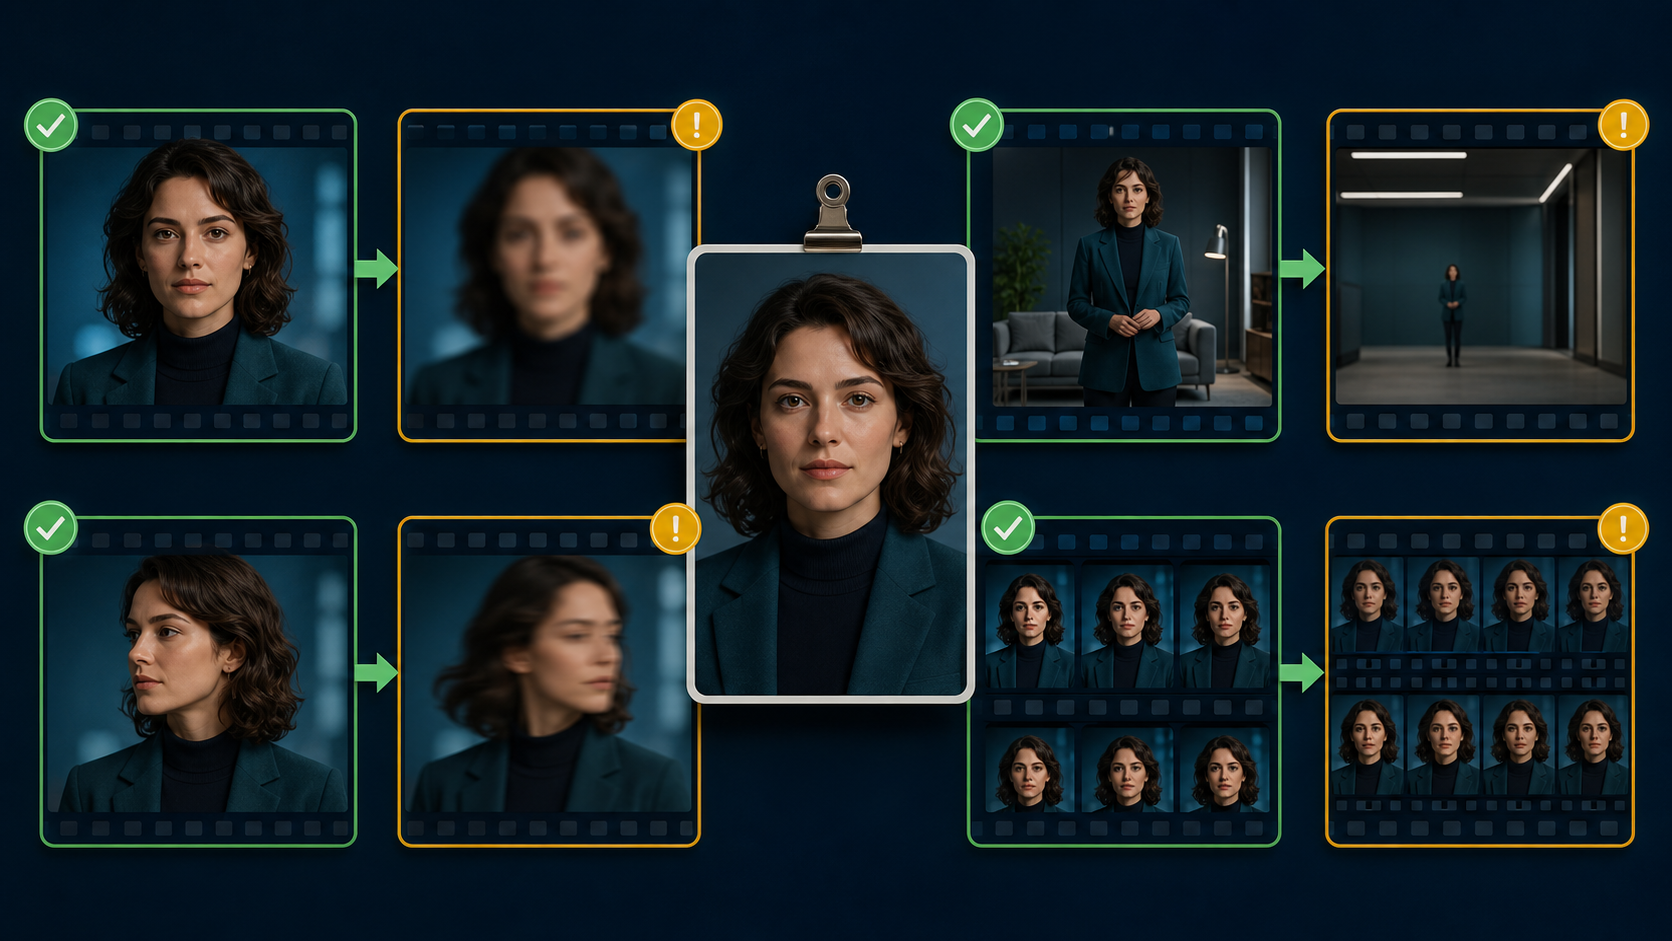
How to Fix Identity Drift
When a face changes, isolate the cause instead of adding more adjectives at random.
| Symptom | Likely cause | Practical fix |
|---|---|---|
| The face is wrong from the opening frame | Weak, blurry, filtered, or poorly cropped reference | Replace it with a sharp master portrait and keep the face larger in frame |
| Identity holds at first, then changes | Clip is too long or action is too complex | Shorten the take and split the action into separate shots |
| The face changes during a head turn | Angle is not represented in the reference | Use a three-quarter master or a character-reference system with multiple views |
| Skin becomes waxy | Excessive smoothing or aggressive enhancement | Reduce beauty processing and preserve natural texture in the source |
| Hair or accessories mutate | Fine details are occluded or moving too quickly | Simplify the design for the shot or reduce head and camera speed |
| The character changes after a hand crosses the face | Temporary occlusion forces the model to reconstruct identity | Re-block the gesture so the face stays visible, then add the gesture in a separate take |
| A wide shot loses facial detail | The face occupies too few pixels | Establish identity in a closer shot and reserve wide shots for brief motion beats |
Change one variable per retry. For example, shorten the duration while keeping the reference, prompt, framing, and model unchanged. If the result improves, duration was part of the problem. Changing model, prompt, image, duration, and camera at once leaves you with no reliable lesson for the next shot.
Build a Longer Scene From Short Character-Safe Clips
A consistent thirty-second scene does not need to be generated as one thirty-second take. In most cases, it is safer to create several short shots:
- an establishing view with limited facial detail;
- a medium shot for the primary action;
- a close-up for expression or dialogue;
- a reaction or insert shot that helps the edit breathe.
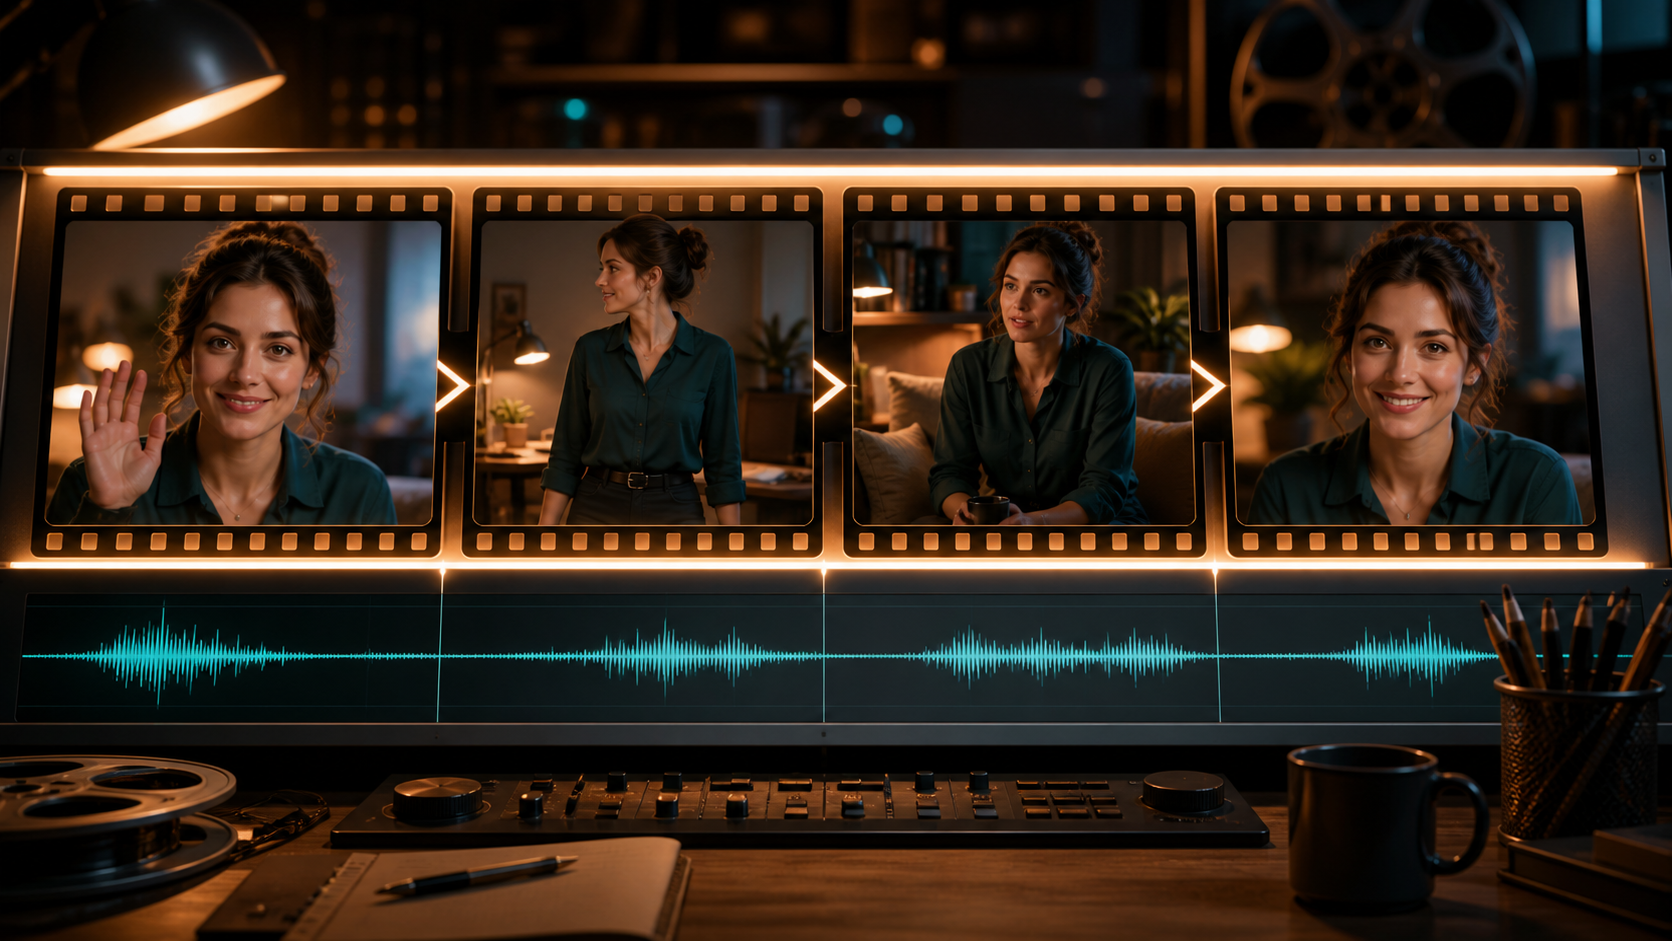
Use the same master reference, wardrobe wording, environment description, and color direction across the set. Save prompts and settings in a shot log. When one clip works, duplicate its stable ingredients before introducing a new action.
Cut on natural movement—a glance, hand motion, step, or camera pass—to hide small differences between generations. Ambient sound can also make separate clips feel like one continuous place. A stable room tone, wind bed, or music track bridges visual cuts more effectively than trying to force every shot into a single generation.
Add Voice After the Visual Identity Holds
Dialogue adds mouth deformation and is therefore harder than a silent portrait. Establish a clean non-speaking animation first. Then create or record the audio, trim pauses, and apply it to an approved close or medium shot with a lip-sync workflow.
Use clean speech without music baked into the file. Keep the mouth visible, avoid extreme profile angles, and match the emotional intensity of the voice to the performance in the image. A calm portrait paired with shouting audio forces large facial motion that the source frame did not anticipate.
Review lip shape, teeth, cheeks, chin, and eye identity—not only whether words appear synchronized. If the face changes during a long sentence, divide the dialogue into shorter lines and cover the joins with reaction shots or cutaways.
For a recurring character, treat voice continuity as a separate asset-management problem. Keep the same approved voice, recording chain, loudness target, and pronunciation notes. Visual consistency alone will not make a series feel continuous if the voice changes dramatically between episodes.
What About Two Characters in One Shot?
Two-character scenes multiply the risk because the model must preserve two identities while also managing interaction and occlusion. Start with separate single-character shots and edit them into a conversation. Over-the-shoulder framing, alternating close-ups, and reaction shots are easier to control than a wide shot in which both people talk and gesture simultaneously.
If the tool supports multiple subject references, label each character's position and action unambiguously. Keep wardrobe colors distinct. Avoid crossing paths on the first attempt, and do not let one character's hand cover the other's face. Test a silent two-shot before adding dialogue.
A Repeatable Character-Video Workflow
Use this compact production loop for each scene:
- Lock: approve the master portrait and character design.
- Test: run a short, close, low-motion identity test.
- Diagnose: inspect drift and change one variable.
- Expand: move to a larger gesture or wider frame only after the test holds.
- Select: keep the strongest generation rather than repairing every weak take.
- Stack: combine short clips into a storyboarded sequence.
- Sound: add dialogue, ambience, effects, and music after picture selection.
- Quality check: review identity, anatomy, continuity, captions, rights, and platform format.
This staged approach may feel slower than writing one ambitious prompt, but it saves generations because every successful test becomes evidence for the next decision.
Safety, Consent, and Disclosure
Use characters you created or material you have permission to animate. Do not impersonate a real person, clone a private individual's likeness or voice, or create deceptive footage without consent. For client or collaborative work, document who owns the source portrait, character design, audio, and final exports.
When realistic synthetic media could be mistaken for an actual event or endorsement, label it clearly. Keep original files, prompts, and edit records so you can explain how the video was made. Platforms and jurisdictions may impose additional disclosure, advertising, privacy, or publicity-right requirements, so check the rules that apply to your intended use.
Frequently Asked Questions
Can I turn one photo into a video with the same face?
Yes, but “the same face” is a quality target rather than a guarantee. A sharp, well-framed portrait and a reference-aware image-to-video model give the best starting point. Keep the first take short and the motion modest, then inspect the entire clip for drift.
Do I need to train a custom model or LoRA?
Not for every project. A strong visual-reference workflow can be sufficient for short clips. Training may help a recurring character that must appear across many outfits, angles, and environments, but it adds preparation and does not eliminate the need for shot-level review.
Why does the face change halfway through the video?
The model may be losing reference information as motion, angle, occlusion, or duration becomes more demanding. Shorten the clip, reduce the action, keep the face larger, use a clearer reference, and test one change at a time.
Should I begin with a close-up or a full-body shot?
Begin with a medium close-up to validate identity. Once that works, test a medium or full-body shot. In a wide frame, judge overall body motion first and avoid expecting close-up facial detail from a small face.
How do I keep an anime character consistent?
The same principles apply: use a clean master reference, preserve line style and color palette, limit simultaneous changes, and build scenes from short shots. Pay extra attention to eye design, hair silhouette, costume markings, and line thickness.
Can I create the video without a powerful computer?
Browser-based generation normally runs on remote infrastructure, so local GPU power is not the main constraint. Upload speed, service availability, credits, and export handling may still affect the workflow.
Final Takeaway
The dependable way to turn an AI character into video is to protect identity before adding complexity. Lock a clean portrait, give the model a visual reference, prompt one action, test a short shot, and review the face through the full motion. Once that foundation holds, expand through editing: add wider angles, dialogue, secondary characters, and sound as separate controlled layers.
A character does not become consistent because a prompt says so. Consistency comes from repeatable inputs, deliberately limited shots, careful selection, and a production record you can reuse.