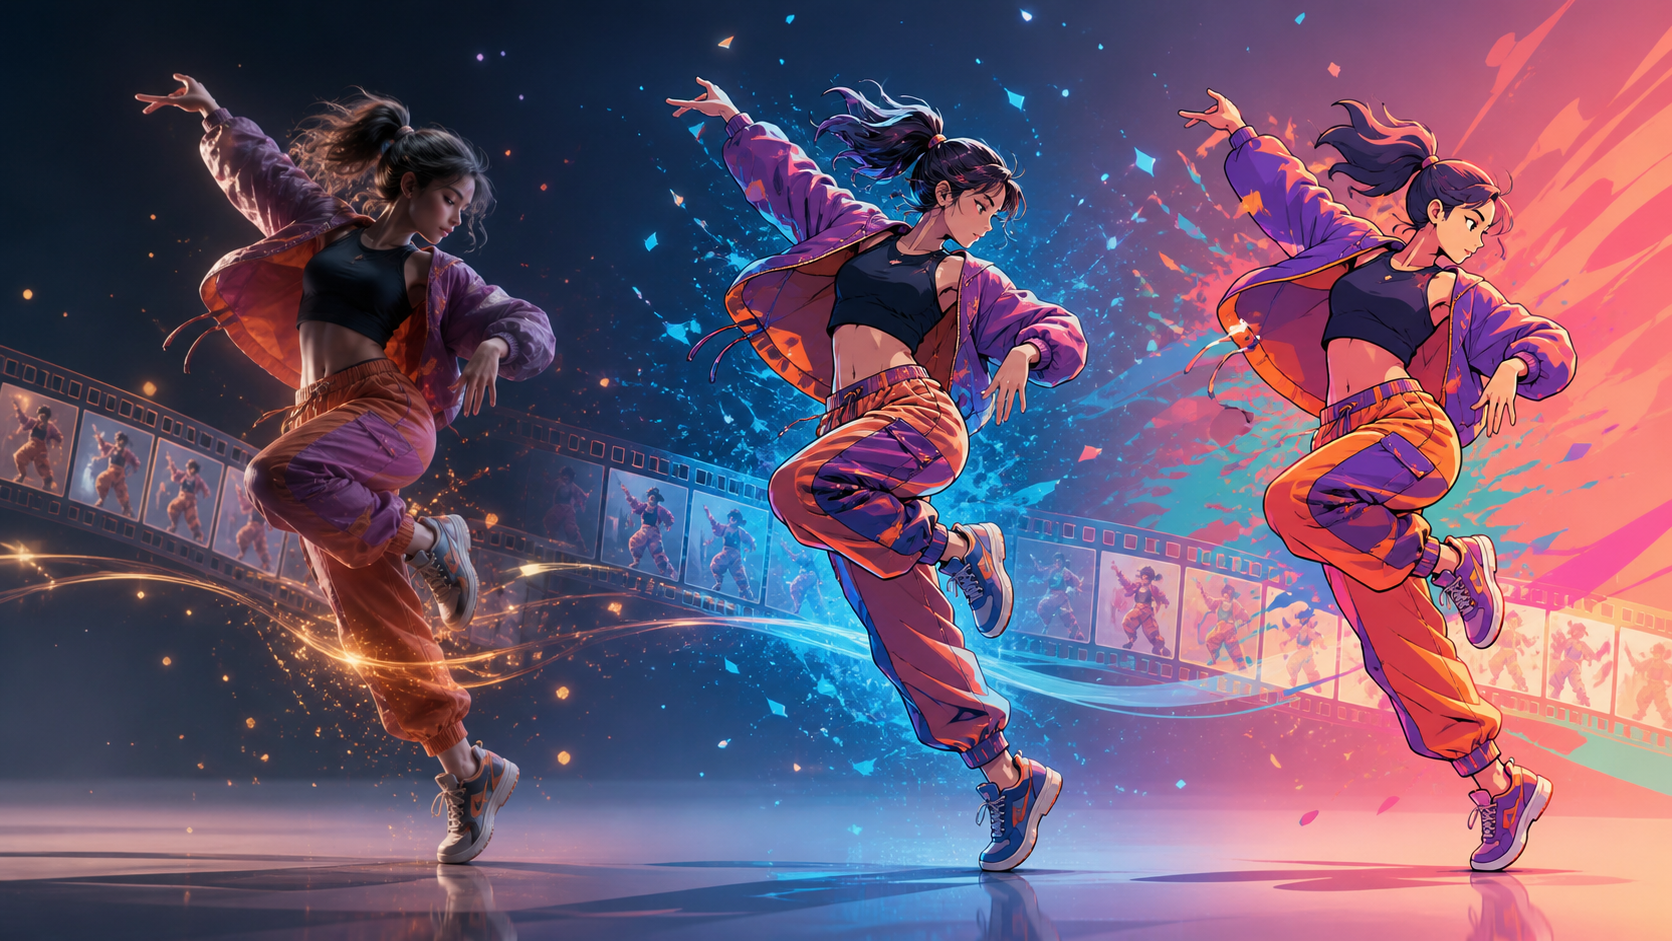
Turning a video into anime or a cartoon with AI is easy to describe and surprisingly difficult to finish. A single frame can look beautiful while the moving result flickers, redraws the character, changes the costume, or turns the background into visual noise.
The strongest results rarely come from choosing a style preset and processing an entire clip. They come from editing the source first, choosing the right transformation strategy, testing a short shot, and giving the model a clear visual system to preserve.
This guide shows three practical routes: direct video-to-video stylization, rebuilding a hero frame before animation, and a hybrid keyframe workflow. It also explains how anime and cartoon direction differ, how to write prompts, what commonly breaks, and how to review the final result like an editor rather than a demo collector.
The short version
For the cleanest first test:
- Choose a three-to-five-second clip with one subject and one clear action.
- Trim away camera shakes, occlusions, and weak frames.
- Decide whether you want transformation or reinterpretation.
- Define a specific anime or cartoon visual language.
- Generate one short pass at moderate stylization strength.
- Review identity, motion, silhouette, line stability, and background flicker.
- Fix one failure at a time before processing more footage.
- Edit the strongest shots together and finish sound, color, and captions afterward.
The key is to make the input easy to understand. Stylization can amplify a clean idea, but it also amplifies confusion.
Transformation versus reinterpretation
Before choosing a model, decide what relationship the result should have to the source.
Direct transformation
A direct transformation keeps the source timing, camera, motion, and performance while changing the surface appearance. This is what most people imagine when they say “turn this video into anime.”
It works best when:
- The edit and shot length are already good.
- The subject remains visible throughout.
- The camera motion is controlled.
- The silhouette is clear.
- The background is not crowded.
- You need recognizable correspondence with the source performance.
Use DeepFake's video-to-video workflow when the original motion is valuable and the shot is already editorially useful.
Reinterpretation
A reinterpretation uses the source as visual or motion reference, then rebuilds the scene in a new style. You may extract the best frame, redesign it as anime or cartoon art, and animate the new image rather than transforming every original frame.
It works best when:
- The source is noisy, low quality, or poorly lit.
- The requested style is very different from reality.
- You need tighter character or environment design.
- The original camera movement is distracting.
- The final scene only needs the same idea, not the same pixels.
This route gives up exact motion fidelity in exchange for visual control. It is often the better choice for story clips, music visuals, advertisements, and projects where the stylized world matters more than preserving every gesture.
Hybrid keyframe workflow
The hybrid approach extracts several important frames, redesigns them consistently, and uses them to guide a new animation or to stabilize a video transformation. It requires more preparation but can preserve both performance and art direction.
Choose keyframes at meaningful beats: the starting pose, the action peak, a major camera change, and the ending pose. Do not select many nearly identical frames. Each reference should clarify a new state.
Anime and cartoon are different art-direction problems
“Anime” and “cartoon” are broad categories, not complete prompts. A model needs to know the drawing language, motion logic, tone, and level of detail.
Anime direction
Anime-style conversion often benefits from:
- Clean linework with controlled line weight.
- Cel shading with a small number of tonal steps.
- Intentional facial proportions and expressive eyes.
- Strong pose silhouettes.
- Cinematic framing and dramatic light.
- Selective rather than uniformly detailed backgrounds.
- Held poses followed by decisive motion accents.
Different anime looks can be radically different. A soft watercolor drama, graphic action sequence, retro limited-animation scene, and polished modern fantasy need separate descriptions. Avoid requesting the exact style of a living artist or protected franchise. Describe visual properties instead.
Cartoon direction
Cartoon conversion often works better with:
- Simplified geometry.
- Bold shape language.
- Clear color blocks.
- Exaggerated but readable expressions.
- Flexible proportions.
- Graphic shadows or none at all.
- Playful timing and strong gestures.
A cartoon prompt can specify whether the result should feel like clean vector animation, hand-painted children's television, clay-like 3D, inked editorial art, or a textured Saturday-morning cel look. “Cartoon style” alone leaves too much unresolved.
Choose a style that fits the source action
A dramatic turn, emotional close-up, or sword-like movement can support sharp anime staging. A bounce, reaction, walk cycle, product reveal, or comic mishap may suit simplified cartoon treatment. Style is not only surface texture; it changes how motion should read.
How to choose source footage
Good source selection improves the result more than another round of aggressive prompting.
Keep one main visual beat
A short clip should have one idea: a glance, jump, turn, reveal, gesture, or camera push. If the shot contains a conversation, a fast pan, a costume change, and a crowded background, split it before stylizing.
Protect the silhouette
The model needs to see where the subject begins and ends. Avoid clothing that merges with the background, deep shadow that hides limbs, or multiple people overlapping. Side lighting or separation from the background often helps.
Prefer stable exposure
Rapid changes in brightness can cause the visual style to pulse. Correct exposure and white balance before generation. A clean, moderately contrasted source is usually easier to reinterpret than crushed shadows or blown highlights.
Reduce occlusion
Hands across the face, foreground objects, motion blur, and hair covering key features can trigger identity drift. Occlusion is not always avoidable, but test those frames first rather than discovering the failure after a long render.
Use a manageable camera
Locked shots, smooth pans, gentle handheld movement, and simple pushes are easier than whip pans, rolling shutter, rapid zooms, or cuts inside the uploaded clip. Apply stabilization when it helps, but avoid making the image unnaturally rigid.
Start short
Three to five seconds is enough to evaluate style stability. If the shot passes, process the next segment using the same model, prompt structure, references, and strength. Long clips multiply the chance of drift and make regeneration expensive.
Prepare the source before AI processing
Stylization should begin after a basic editorial pass.
- Trim the shot to its strongest action and ending beat.
- Remove duplicate or corrupted frames that may confuse motion.
- Stabilize carefully if shake is accidental.
- Correct exposure and color without applying a heavy final grade.
- Denoise lightly while preserving edges and facial detail.
- Crop to the publishing ratio or provide extra border if the target model needs room.
- Export at a supported frame rate and format with enough quality to avoid compression blocks.
Do not over-sharpen. Halos around hair and clothing can turn into thick animated outlines. Avoid baked-in captions, watermarks, or graphics unless you want the model to reinterpret them. Add typography after stylization whenever possible.
Workflow 1: direct video-to-video stylization
This is the fastest route and the best first test for clean footage.
Step 1: define fixed traits
Write a small style sheet before the prompt:
- Character or subject identity.
- Hair, outfit, and core color blocks.
- Line quality.
- Shading method.
- Background treatment.
- Lighting and palette.
- Camera behavior to preserve.
- Elements that must not appear.
Keep this sheet stable across shots. If you change the vocabulary every time, the visual identity will change too.
Step 2: write a structured prompt
Use this formula:
Transform the source into [specific medium and visual era]. Preserve [identity, action, camera, framing, and timing]. Draw [line treatment], use [shading], [palette], and [background detail]. Keep [fixed outfit and features] consistent in every frame. Avoid [flicker, redesign, extra limbs, texture crawling, unwanted camera movement, text, and logos].
Example:
Transform the source into a polished hand-drawn action-anime scene with crisp dark-blue linework, two-step cel shading, saturated sunset rim light, and simplified painted backgrounds. Preserve the dancer's exact timing, body proportions, purple jacket, orange trousers, ponytail, camera angle, and framing. Keep facial identity and clothing details stable across every frame. Avoid photorealistic skin, 3D plastic texture, costume changes, background crawling, added characters, extra limbs, text, and logos.
Step 3: begin with moderate style strength
Low strength may look like a filter; high strength may redraw the scene. Start in the middle. If the subject remains too realistic, raise stylization slightly. If identity, anatomy, or motion breaks, reduce it or strengthen references.
Model names for this setting differ, so focus on the concept: how much freedom the model has to depart from the source. Change one control at a time and label the result.
Step 4: generate variations
Produce at least two short passes. Compare frame-to-frame behavior at normal speed before pausing. One result may have stronger individual frames while another has better temporal stability; for video, the stable version is often more usable.
Step 5: scale by shot, not by project
Once the test works, divide the edit into shots and process each separately. Preserve the same art direction while adapting prompts to the content. A face close-up and a wide running shot require different priorities even if they belong to the same sequence.
Workflow 2: rebuild one frame, then animate
Use this route when direct conversion looks unstable or the source needs a stronger redesign.
Step 1: extract a hero frame
Choose a sharp moment with a clear silhouette, useful composition, and an expression or pose that represents the scene. Avoid transition frames with motion blur or half-completed gestures.
Step 2: redesign the still
Use an image model from DeepFake's model library to create the anime or cartoon version. Preserve the subject and composition, but deliberately solve outfit, linework, palette, background, and lighting.
Generate a small set and choose the version that will animate well, not merely the most detailed one. Fine jewelry, busy fabric patterns, loose strands, and tiny background objects can be fragile in motion.
Step 3: create an animation-friendly image
Clean hands, face, edges, and important props. Make the subject large enough to read. Extend the canvas if the camera will move. Remove accidental text and ambiguous objects.
Step 4: animate the approved image
Bring the still into an image-to-video workflow. Describe one controlled action and one camera behavior. For example: “She completes a half-turn and settles into the ending pose; jacket and ponytail follow naturally; slow camera push; preserve face, outfit, and background design.”
Step 5: match the source rhythm in editing
The rebuilt motion does not need to copy every source frame. Align the action peak and ending beat to the original reference or soundtrack. This produces a convincing reinterpretation with cleaner art direction.
Workflow 3: hybrid keyframes
Use a hybrid approach when you need recognizable source choreography with stronger continuity than direct conversion provides.
- Extract two to four key poses from the source.
- Redesign the first frame and establish the visual style.
- Transform later keyframes using the first as a reference.
- Check character identity, proportions, outfit, lighting, and camera geometry across all keyframes.
- Use the keyframes as endpoints or references in a supported animation workflow.
- Compare motion against the source, then edit or regenerate only the unstable segment.
The time investment is higher, but keyframes act as visual anchors. They are especially useful when a character crosses the frame, turns away and back, or changes scale significantly.
Keep characters consistent
Temporal consistency begins with design simplicity.
Use identity anchors
Choose three to five traits that define the subject: hairstyle silhouette, jacket color blocking, a distinctive collar, eye shape, or one prop. Repeat them consistently in prompts and references.
Simplify fragile details
Dense plaid, small lettering, complex jewelry, tattoos, and dozens of loose accessories tend to redraw. Replace them with larger, readable shapes when the creative brief allows.
Keep the model and settings stable
Do not switch models, aspect ratios, style strength, and reference sets between adjacent shots without a deliberate reason. Record successful settings as part of the project's style bible.
Design entrances and exits
Identity often drifts when a subject leaves frame, becomes tiny, turns fully away, or passes behind an object. Cut before the difficult transition, use a new shot, or anchor the next segment with a strong reference.
Favor editorial continuity over mathematical continuity
Two shots can feel consistent even when individual details differ slightly, provided the palette, silhouette, costume, line language, and emotional beat remain coherent. A purposeful cut is often better than forcing one unstable continuous take.
Common problems and fixes
The image flickers every frame
Reduce stylization strength, shorten the shot, simplify the prompt, stabilize exposure, or use stronger reference conditioning. Look for source noise or compression blocks that the model may redraw as texture.
The face changes
Use a closer or sharper source, provide a clean identity reference, reduce head rotation, and split the shot around occlusion. Keep expressions appropriate to the source rather than asking for a radical emotional change simultaneously.
Clothing changes color or shape
Describe the outfit as construction, not only color: “cropped purple windbreaker with orange lining, black fitted top, loose orange cargo trousers.” Remove small patterns and repeat the fixed traits in every shot prompt.
Lines crawl around edges
Choose simpler linework, reduce source grain, and avoid excessive sharpening. A subtle post-process deflicker may help, but aggressive temporal smoothing can smear intentional motion.
The background boils
Simplify it, lower depth and texture demands, mask or replace it, or rebuild the scene from a still. Backgrounds with leaves, crowds, water, brick, or signage offer many details for the model to reinterpret.
Hands and props merge
Use a clearer source moment, choose a larger crop, simplify the object, or cut away during the difficult interaction. Hand-object contact is a demanding test because anatomy, occlusion, and identity change together.
Motion becomes slow or floaty
Direct conversion may preserve appearance better than timing, while image animation may invent its own motion. Specify speed and action milestones, shorten the prompt, and align the strongest generated beat in the edit. If exact choreography matters, prefer a workflow that conditions more directly on the source video.
The result looks like a filter
Increase style specificity before increasing strength. Define line weight, shape language, shading, palette, background treatment, and texture. “Anime” or “cartoon” alone usually produces a generic surface effect.
The result is stylish but unreadable
Return to the source edit. Simplify the shot, emphasize the subject, and choose one focal action. A stronger style cannot rescue weak visual hierarchy.
Shot-specific direction
Close-ups
Prioritize identity, eyes, mouth, and stable linework. Keep camera motion gentle and avoid asking for large costume or background changes.
Full-body action
Prioritize silhouette, limb anatomy, ground contact, and timing. A less detailed face is acceptable if the body reads clearly.
Group scenes
Assign each character an unmistakable palette and silhouette. Begin with two subjects before attempting a crowd. Watch for identity swapping and merged limbs.
Product shots
Protect geometry, labels, and material behavior. If the exact product must remain accurate, stylize the environment or compositing layers rather than letting the model freely redraw the object.
Landscapes and travel footage
Preserve horizon, camera path, and large shapes. Simplify foliage, crowds, water texture, and signs. Painterly backgrounds may remain more stable than dense inked detail.
Edit and finish the stylized video
AI output still needs postproduction.
Cut for consistency
Remove frames where identity collapses or composition breaks. Cut on action, music, or camera movement so the edit feels intentional. Use reaction shots, details, or environmental inserts to bridge difficult transformations.
Match shots with color
Apply a restrained final grade after generation. Normalize black level, saturation, and highlight color across shots. Do not push the grade so far that it destroys clean color blocks or creates banding.
Add typography afterward
Captions, titles, logos, and product copy are more reliable when added in an editor. This keeps text sharp and prevents it from changing frame to frame.
Rebuild sound
Stylization changes the perceived world, so the original sound may no longer fit. Clean dialogue, replace noisy ambience, add motivated movement effects, and choose music that supports the new timing. Even a simple sound pass can make the transformation feel authored.
Export and review on the target screen
Fine lines may shimmer after social-media compression, while dark anime-style scenes may lose detail on a phone. Test the actual platform format and bitrate. Keep a high-quality master before creating delivery versions.
A three-version exercise
To learn which workflow suits your footage, take one clean four-second clip and make three versions:
- A direct anime transformation.
- A rebuilt anime still animated from scratch.
- A simplified cartoon reinterpretation.
Score each on:
- Subject recognition.
- Motion readability.
- Style coherence.
- Frame-to-frame stability.
- Cleanup time.
- Fit with the larger edit.
The most beautiful paused frame may not win. Choose the version that works at normal speed and can be reproduced for the next shot.
Rights, consent, and style responsibility
Use footage you own or are authorized to transform. Get meaningful permission before stylizing or redistributing a real person's likeness, especially in commercial, political, sexual, deceptive, or reputational contexts.
Do not request an exact imitation of a protected character, franchise, or living artist's style and assume the transformation becomes original. Build the look from general visual properties—line quality, palette, shading, era, camera, and mood—and keep records of source rights, references, prompts, models, and edits.
If a stylized clip could mislead viewers about a real event or person's actions, disclose the synthetic transformation. The fact that a video looks like animation does not remove the need for honest context.
Final checklist
Before export, ask:
- Is the main subject clearer after stylization?
- Does the visual language stay consistent at normal speed?
- Are face, silhouette, outfit, and props recognizable?
- Does the motion still communicate the original beat?
- Do linework and textures remain stable?
- Are difficult occlusions or transitions handled cleanly?
- Does the background support rather than compete?
- Are captions and logos added as stable postproduction layers?
- Does sound belong to the new visual world?
- Do you have the rights and consent required to publish?
If several answers are no, do not simply raise the style strength. Shorten the shot, simplify the source, or switch from transformation to reinterpretation.
Frequently asked questions
What is the easiest video to turn into anime?
A short, well-lit clip with one clearly separated subject, controlled camera movement, a readable pose, and a simple background. Start with three to five seconds and one action.
Is video-to-video better than image-to-video?
Video-to-video is better when preserving the source performance and timing matters. Image-to-video is better when you need stronger control over the stylized design and can accept reinterpreted motion.
How do I stop flicker in an AI cartoon video?
Shorten the clip, stabilize exposure, reduce visual noise, use consistent references and settings, lower excessive stylization, simplify textures, and generate by shot. Temporal cleanup can help, but it cannot repair major identity drift.
Can I convert a long video all at once?
You may be able to, but processing shot by shot is usually more controllable. It lets you tailor prompts, regenerate only failures, and preserve a deliberate style across different framing conditions.
What should an anime video prompt include?
Describe the drawing medium, linework, cel-shading steps, palette, lighting, background treatment, character anchors, motion and camera elements to preserve, and failure modes to avoid.
Can I use copyrighted footage or characters?
Only when your use is authorized or otherwise legally permitted. Transformation with AI does not automatically grant rights to the source, character, music, logo, or person's likeness.
Why does my conversion look like a cheap filter?
The direction is probably too generic. Replace “anime style” or “cartoon style” with a complete visual system: line weight, shape language, shading, color, texture, background detail, and motion character.