For a short product introduction or a welcome clip, a single portrait and a clean voice recording are enough to start. A photo of a fictional adult presenter can introduce a pottery studio in one sentence. The goal of the first test is simple: the mouth should follow that sentence while the original portrait stays recognizable.
Open AI Avatar for a workflow built around a photo and a voice track. You can upload a recording you have permission to use or record yourself directly in the tool. Use an original fictional portrait or a consenting adult's portrait, and keep the portrait and voice permissions clear when they come from different people.
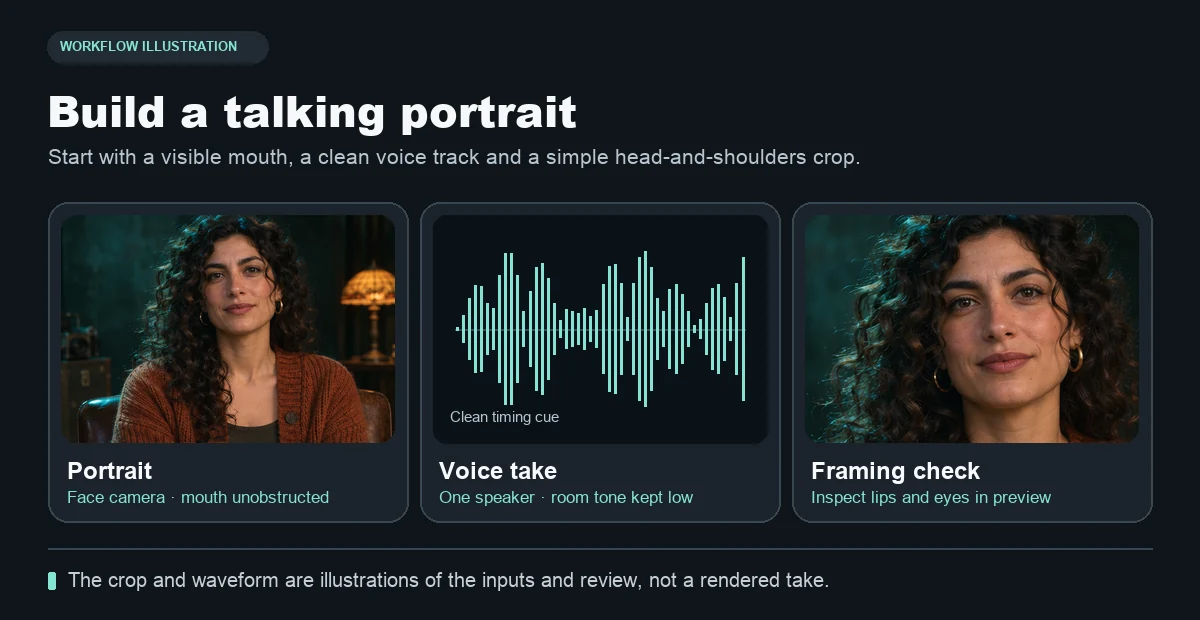
The illustration shows the inputs and the face area to inspect.
1. Pick a portrait with room to move
A front-facing or slightly turned head-and-shoulders portrait is an easy first input. Look for a clear mouth, visible eyes, and even light. Leave room around the head and shoulders so small movements fit inside the frame. If a hand, microphone, or strand of hair crosses the lips, try a cleaner frame before changing any audio settings.
Crop for where the clip will appear. For a vertical introduction, keep the face in the center and leave a little space for a caption. If you're editing a full horizontal video, keep enough space on one side for a product name or title that you add later.
2. Record one short sentence
Start with something you can say in one breath. For example, “Welcome to our studio. Today I'll show you how we glaze the blue mugs.” Record in a quiet room at a steady speaking volume. Keep a small pause between sentences, and trim a long stretch of silence at the beginning so you can tell when the first mouth movement should happen.
The current AI Avatar interface accepts 2–60 seconds of audio and lists MP3, WAV, OGG, and M4A for upload, or an in-browser recording. Preview the recording before generating. If you hear room echo or the start of a word is cut off, make a cleaner recording first. Save that file so you can reuse the same track in a second test.
3. Generate a short talking clip
Add the portrait and upload or record your voice track. Wait until the audio preview is ready, then check the quality mode and displayed credit estimate. Start with the short test before recording a full script. For a different model and photo-to-speech setup, Lip Sync also accepts an image and audio.
Choose one thing to change if you want a second test. Keep the portrait and record with slower delivery, or keep the exact recording and try a better-lit portrait. Changing both makes it difficult to explain a better result.
4. Review the mouth, then listen
Play the result normally first. Check whether the mouth moves on the first syllable and settles at the end. Then look closely at words with visible lip closure, such as “mugs,” and check that the teeth and mouth edges stay steady. Blink and head movement should suit the pace of the voice.
Listen once without looking. The sentence should make sense by itself, with no clipped beginning, doubled words, or sudden change in volume. After you download the result, check it again in the player or editor where you will use it. Add music and captions in the edit after the spoken line is settled.
For longer scenes, dialogue, or a clip with several audio layers, use the Lip Sync and Audio-to-Video workflow guide.