A convincing live performance video can start with one photo of a performer, a short recording and one cutaway. Imagine an adult fictional musician in a muted teal jacket under a small stage lamp. They introduce the song, then the shot cuts briefly to the guitar beside them. The room, outfit and sound stay recognizable through the cut. That continuity matters more than adding a moving camera or a cheering crowd.
Use AI Lip Sync to create the shot where the mouth needs to follow the audio. If you want additional shots, make them separately with Image to Video and assemble the takes in your editor.
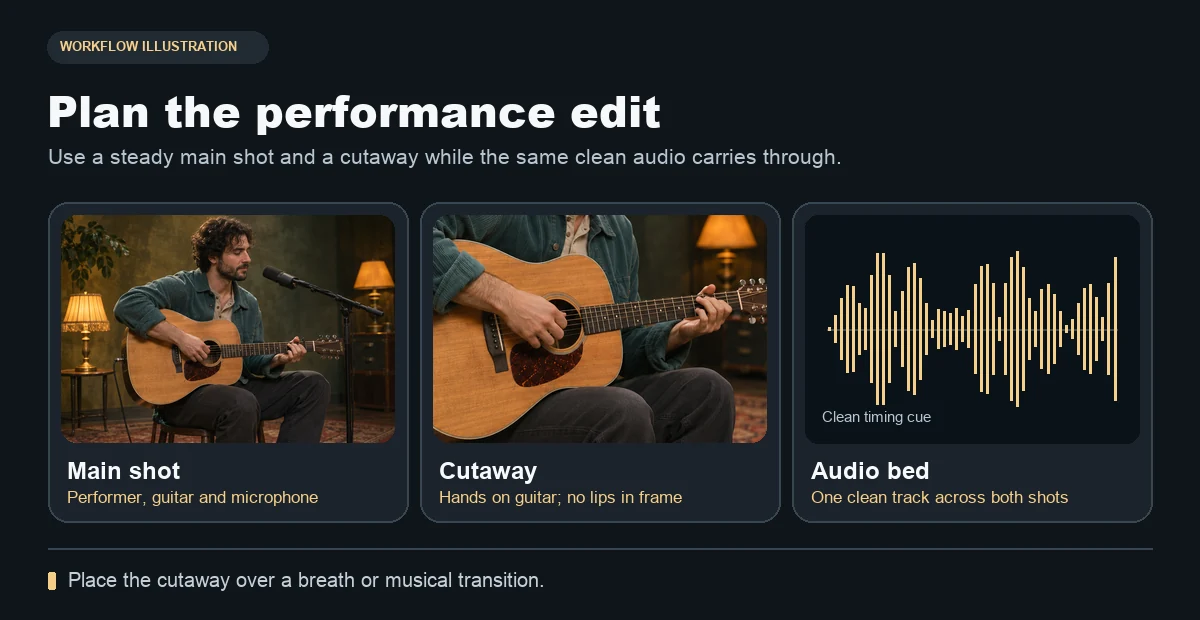
Storyboard for a small-room performance. The face shot carries the recording and the instrument detail adds context.
1. Plan one beat before choosing a photo
Decide what the viewer should hear first. A spoken opening such as “I wrote this one on the night train” is a manageable first pass. If you have a clean original vocal recording, try a short section with obvious starts and pauses. Singing contains sustained notes, breaths and rapid changes in mouth shape, so give it a separate trial before building the edit around it.
For our example, the performer looks slightly off-center with their shoulders still. The opening line lasts about four seconds, followed by a short pause. The optional insert starts at that pause. This gives the editor a place to cut without interrupting the line or asking a close-up to carry the whole video.
2. Match your portrait to the performance
Choose a sharp, eye-level medium close-up. Leave the mouth clear of the microphone, hair and hands. Keep the nearest lamp far enough to one side that its light shapes the face without hiding half of it. When framing for a vertical result, leave a little space for subtitles and confirm the microphone and shoulders still fit.
If the portrait is generated, keep a copy of the final reference and reuse it when making related stills. If it shows a real performer, use their likeness and recording with permission. Use audio you own or are authorized to use. The recording should be dry enough to hear consonants and breathing. Keep the music bed and room ambience on separate tracks for now.
3. Generate the main performance shot
Open AI Lip Sync, add the performer image and supply the clean voice or vocal audio. Choose from the models and output settings shown for that input. Review the audio length and the displayed estimate before starting. Where the selected model offers a motion prompt, ask for a restrained performance:
The seated performer keeps their face toward the camera with gentle eye movement and a small breath before the line. Hold the framing and keep the amber room light steady.
After generation, listen and watch at normal speed before looking frame by frame. Compare the first visible mouth movement with the first audible syllable. Then check a distinct consonant near the middle and the final sound. If the start is late, inspect the audio for long leading silence. If the teeth or jaw flicker, try a clearer reference or a shorter line. Use the same audio on your next attempt so the changed input is easy to evaluate.
4. Make one cutaway and edit around the audio
Start the cutaway with a still of the guitar, hands on the edge of a stool or the stage lamp. Give it the same lighting direction, color temperature and room palette as the hero shot. If animating it, ask for a small camera move, a gentle focus shift or another detail you can easily inspect. A still held briefly may fit better if generated movement causes the instrument or hands to change shape.
In your video editor, put the final audio on a continuous track. Align the hero shot first. Place the cutaway on a breath or on the pause after the opening line. Remove any duplicate copy of the vocal track from the imported video so the line does not sound doubled. Add room tone softly and bring in music at a level that preserves the performance. If you use captions, check that they leave the mouth and microphone visible.
Final playback check
- Watch once with the sound off. The performer, setting and transition should still make visual sense.
- Listen once without looking. The cutaway should not interrupt the voice or change the sound of the room abruptly.
- Review the first syllable and the return from the cutaway with sound and picture together.
- Keep the approved portrait and audio stem so you can reproduce the edit later.
For a simple face-to-camera clip, use the talking photo guide. For a performance with more dialogue, scene timing and sound layers, see the lip sync and audio-to-video workflow.