If you want to preview a specific jacket on a person in a photo, start with two clear images. One image gives the editor a person and a scene to preserve. The other shows the garment itself. A jacket on a hanger or flat surface can give the editor more useful information about the lapel, color, and closures than a few words of description.
Open AI Clothes Changer to make a static styling preview. The workflow supports a person in the first image and an optional second image as a garment reference. Use a fictional adult or a consenting person, and choose a garment photo you own or have permission to edit.
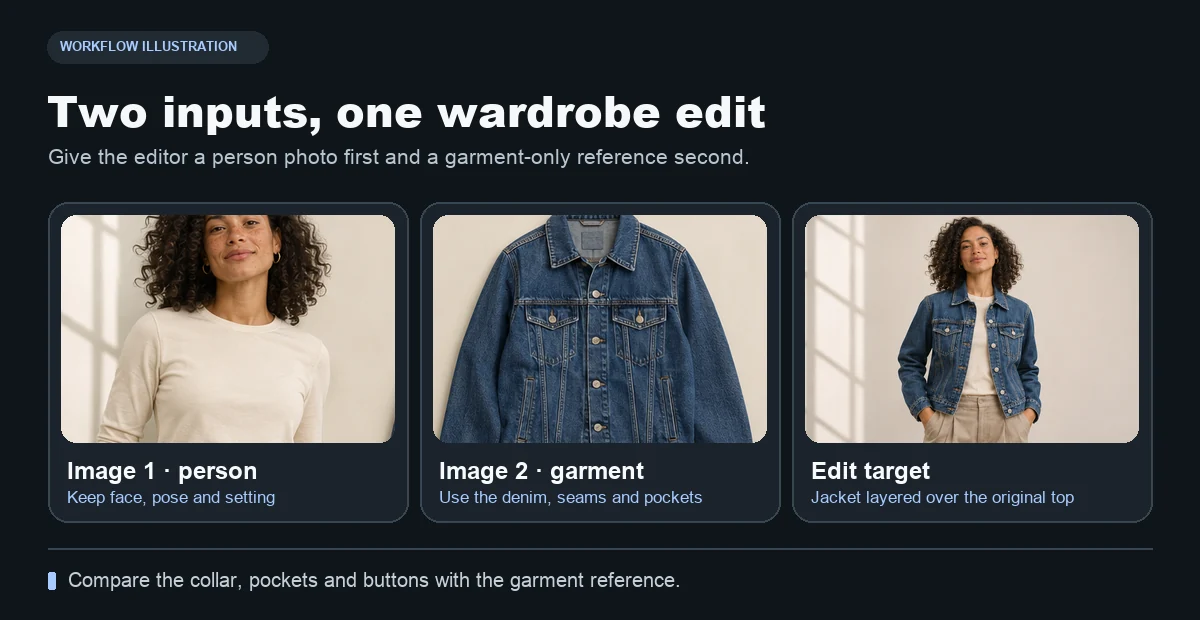
The illustrated pair uses a cream top in the person photo and a separate blue denim jacket as the garment reference.
1. Choose a photo that shows the area you want to style
For a jacket, a chest-up photo can work if both shoulders and the front opening are visible. For a full look, use a wider photo with hands, legs, and the relevant hemline in frame. Keep the camera angle and pose simple for the first attempt. Crossed arms and bags over the shoulder can hide parts of a garment and make the comparison harder.
Save the first photo as your identity and scene reference. The face, pose, body proportions, existing coverage, and lighting should stay consistent. An intact original also gives you a clear comparison if the edit changes part of the background.
2. Photograph the garment on its own
Choose a clear flat-lay or hanger photo with the garment centered and its edges visible. If a jacket has a specific lapel or visible seams, shoot the front so those details can be read. Use neutral lighting so the color remains recognizable. A busy rack or a collage of several pieces can pull the styling in different directions.
If the sleeve, lining, or back matters, decide whether the angle of the person photo can show that part. A second garment view may be useful as part of a new controlled test, but the first pair should make the requested style obvious.
3. Upload the images in order and direct the edit
Add the person as the first image and the garment as the second. Choose a model available in the tool and confirm both reference previews are present. Start with a prompt like this.
Restyle the fully clothed adult in the first image with the jacket from the second image. Use the second image only as a garment reference. Preserve the face, hairstyle, expression, pose, lighting, and background. Keep the outfit fully covering and retain the jacket's color, lapel shape, and front buttons where visible.
For a second look, change only the garment photo. Keep the person, settings, and wording consistent. Review both outputs at the same size so differences in framing do not drive the comparison.
4. Inspect the garment and the person separately
Check the shoulders, collar, buttons, and fabric pattern against the garment photo. Look around the wrists and neck for odd overlaps. Then compare the face, pose, and background with the first image. If the editor shifted the head or changed the room, make the reference roles clearer and simplify the prompt.
Use the image as a styling or lookbook preview. Confirm size, fabric, and fit with the physical garment when those details matter to a purchase. Once the still is approved, the fashion photo-to-video guide can help you plan an animation around the finished look.