If you searched for a Clothoff alternative to change an outfit or tidy up a product photo, start with the file you need to deliver. A covered outfit change needs a new garment that sits naturally on the same person. A catalog image needs the actual product to remain accurate. A background correction needs the product cutout, color, and framing to stay consistent. Each job gives you a more useful way to choose a tool than a list of brand names.
This guide covers garment replacement on authorized, fully clothed portraits and retouching on product images you own. Its choices are based on the controls each workflow offers and the details you can verify on your source photo.
I want to change what a person is wearing
Use the AI Clothes Changer when you need a new, fully covering outfit while keeping the framing and person recognizable. Start with a sharp portrait of a consenting adult or a synthetic adult. Choose a source with the shoulder line, neckline, and hands in view so you can compare the finished clothing to the existing pose.
Upload the portrait as the first image. If you have a rights-cleared garment photo, upload it as the second image. A flat garment reference with visible seams and neutral light is useful. Avoid including a second model in this reference, since another face and pose add information the edit does not need.
Use image 1 as the portrait. Put the navy chore jacket from image 2 over the same fully covering oatmeal sweater. Keep the face, hair, hands, posture, framing, and room lighting from image 1. Keep the jacket's three pockets, matte fabric, and straight collar.
Look closely at the lapels, hands, and sleeve ends when the result is ready. The reference can guide color and cut, but you still need an actual garment photo to verify a listing or sales claim. If the finish is for a lookbook concept, make that use clear and keep the original product images on hand.
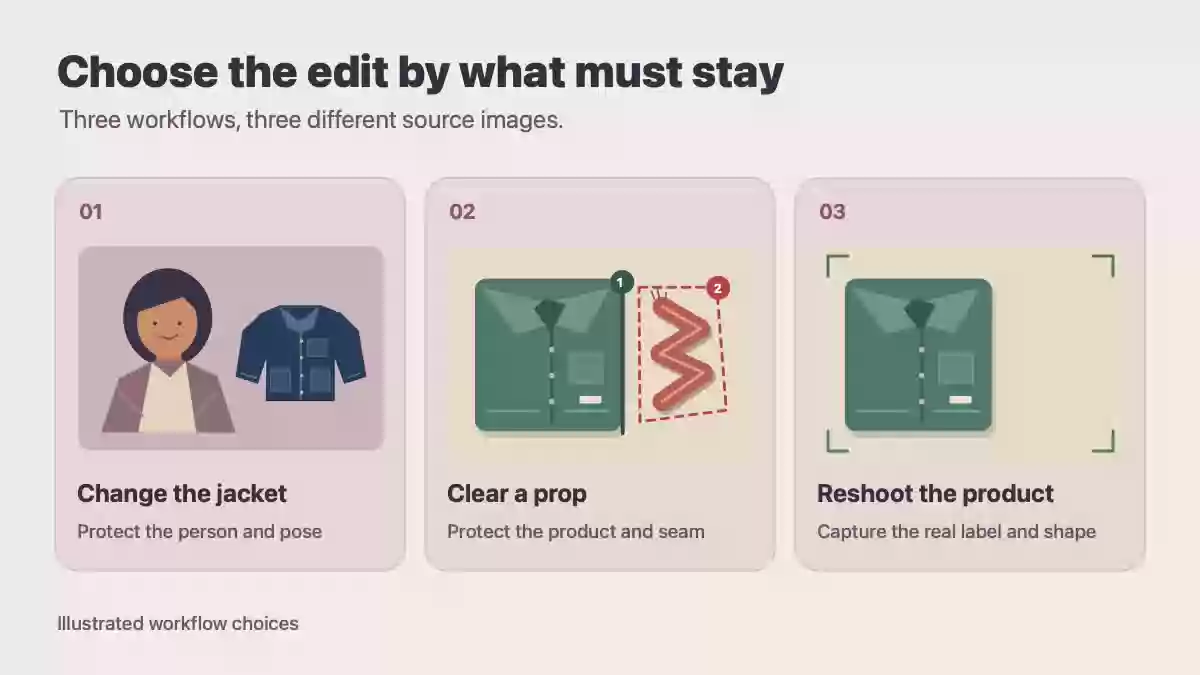
Illustrated workflow choices. Use a garment reference for styling, a small selection for product cleanup, and a fresh photo when a prop hides important product details.
I want to remove an accessory from a flat lay
Use a local editing tool for an unwanted item beside the product. For example, a cord on plain paper can be selected along with its shadow. Photoshop's Remove tool accepts a brush or loop around the object, which helps you keep the change separate from the product. See the official Remove tool instructions.
If an accessory touches a fabric seam, start with a small selection and sample nearby pixels manually where possible. This makes it easier to preserve the edge and texture. Use the product cleanup and outfit editing comparison for a side-by-side checklist.
I need an accurate product listing
Rephotograph the item when the prop hides an important feature such as a label, closure, pattern, or logo. Keep the original camera height and lighting position, take out the prop, then compare the crop with your other listing images. A new frame of the actual product gives you verifiable details across the entire image.
For an image with the whole item already visible, the white background tool is a narrower way to prepare a clean listing background. Check the outline against the source, confirm the material and color still match, and inspect labels at full size.
Choose an alternative with these three checks
- Input permission: Use photos you own, synthetic references, or portraits with permission for the edit and its intended use.
- Edit boundary: Decide where the work starts and stops. A collar change should leave the face, pose, and base layer intact. A prop removal should leave the product untouched.
- Proof: Check the download at full size against the original. If a meaningful product detail cannot be verified, use an actual photograph before publishing.
For a covered outfit mockup, open the AI Clothes Changer with one portrait and one reference. For a product-only cleanup, select the smallest useful area or reshoot while the setup is still in place.