A loose scarf next to a product, an extra accessory on a flat lay, and an unwanted jacket in a team portrait look like similar editing requests. Each has a different finish line. The first two need a believable background where the object sat. The portrait needs replacement fabric with natural seams, folds, and full coverage. Decide which pixels should change before you choose a tool.
Pick the workflow by what you need to preserve
| Job | Useful starting point | Main thing to check |
|---|---|---|
| Clean up a scarf on the paper beside an item you sell | Photoshop Remove tool on a tight area around the prop and its shadow | The original product shape and lettering should survive |
| Remove a pin or lint from a garment in a flat lay | GIMP Heal for a small patch with clean neighboring texture | Weave and lighting should still match |
| Repair a fabric edge beside a removed accessory | GIMP Clone with a source at a matching angle | The new edge should follow the fabric's original direction |
| Replace a jacket on a fully clothed, authorized portrait | DeepFake AI Clothes Changer with a clear source and optional garment reference | Face, hands, base layer, pose, and framing should remain consistent |
This comparison uses documented workflow controls. The source images and tools you choose will determine the result. Photoshop Remove tool · GIMP Clone · GIMP Heal
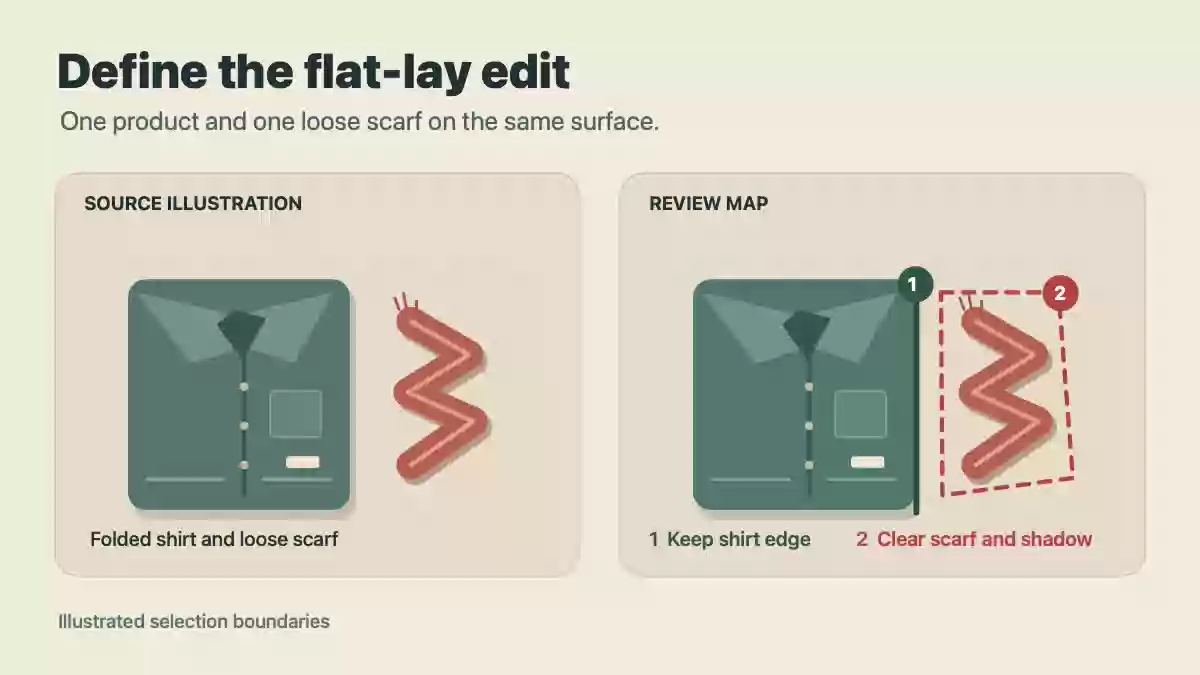
Illustration of the selection and review areas. The folded shirt remains the product reference.
1. Mark the area you can change
For a product-only flat lay, choose a photo you own and work from a copy. Draw a small outline around the unwanted item and its contact shadow. Include a short stretch of surrounding background so the repair can blend naturally. If the scarf touches the shirt, identify where the shirt starts before drawing the outline. Keep the seam, tag, and product edges outside the edit whenever possible.
In Photoshop, choose Remove and work on the scarf and shadow together. If your repair changes the edge of the product, undo it and split the edit into two passes. First clear the open area, then repair the few pixels next to the product. For a seam on a straight line, Clone in GIMP offers control over the sampled area. Heal is useful for blending a small mark into nearby fabric when the pattern and light already match.
2. Use garment replacement for a portrait
For a fully clothed portrait you are authorized to edit, write down the old layer, the new layer, and what has to remain. Use the AI Clothes Changer and upload the portrait first. An optional second image can show the garment you want to reference. A clear garment-only reference is easier to interpret than a reference photo with a second face or multiple garments.
Replace the brown jacket with a dark green canvas overshirt, worn over the same fully covering white crewneck. Keep the face, hair, hands, pose, white base layer, trousers, camera angle, and room lighting unchanged. Match the original shoulder line and cuff position.
Start with one portrait and one instruction. If the new sleeve covers a hand or the original shirt changes, keep the original as your comparison and adjust just the failing area in your instructions.
3. Review one image at a time
- At full size: Inspect the garment boundary, weave direction, stitching, hands, and printed details. Check the repaired patch for repeating marks or a leftover shadow.
- At listing size: Look for a visible halo around the product or an abrupt color break on the background. Zoom back in when you see one.
- Before export: Compare the edited image with the original. If you sell the photographed garment, use the actual item photo to verify color, closures, and shape.
If the prop covers a significant part of the product, reshoot the scene without it when possible. A clean source preserves details the edit would otherwise have to infer. For a backdrop-only correction, use the white background workflow. If you need to choose a workflow after a Clothoff search, see the alternatives guide.