When a video face swap is not working, start by locating the failure. A file that never uploads calls for a different fix from a finished clip that flickers during a head turn. Before trying again, write down the visible symptom and the first timestamp where it occurs. Change one input, then compare the same moment.
| Symptom | First check | Useful next attempt |
|---|---|---|
| The file is rejected or Generate stays disabled | Verify both uploads finished, the files meet the displayed limits, and you are signed in | Export a fresh short MP4 and use an ordinary JPG, PNG, or WebP portrait |
| The job seems stuck | Check whether the clip was submitted for background processing | Open Projects and refresh the processing item |
| The wrong person changes | Compare face sizes through the whole shot | Try the appropriate Target Face rank on a short, stable section |
| The face flashes or slips during motion | Find the first affected turn, crossing, or frame after a cut | Try a cleaner target segment with the same source image |
| Edges look soft throughout | Compare the source photo at normal size with the original file | Try a sharper portrait with better light and framing |
Fix upload and processing problems first
In Video Face Swap, the portrait picker lists JPG, PNG, and WebP up to 10 MB. The target picker lists MP4, WebM, MOV, and GIF up to 50 MB. Confirm the target file plays on its own and the portrait opens in an image viewer. Renaming a file extension does not change the actual format. If a file came from a recorder or messaging app and will not preview, re-export a short MP4 from your editor and recheck its size.
If both previews appear but you cannot submit, read the on-screen message. Check the sign-in state, upload progress, and displayed credits before changing the clip. For a background job, return to the existing record in Projects and use its refresh action. This separates a slow job from a new failure without starting a duplicate generation.
Diagnose flicker with three frames
Mark one clear frame just before the problem, one frame where the artifact is strongest, and one immediately after. Check whether the target face turned to profile, passed behind a prop, left the frame, or moved into a different light. At a hard cut, compare both sides as separate shots. A source portrait that works in the first camera angle may provide weaker evidence for the second.
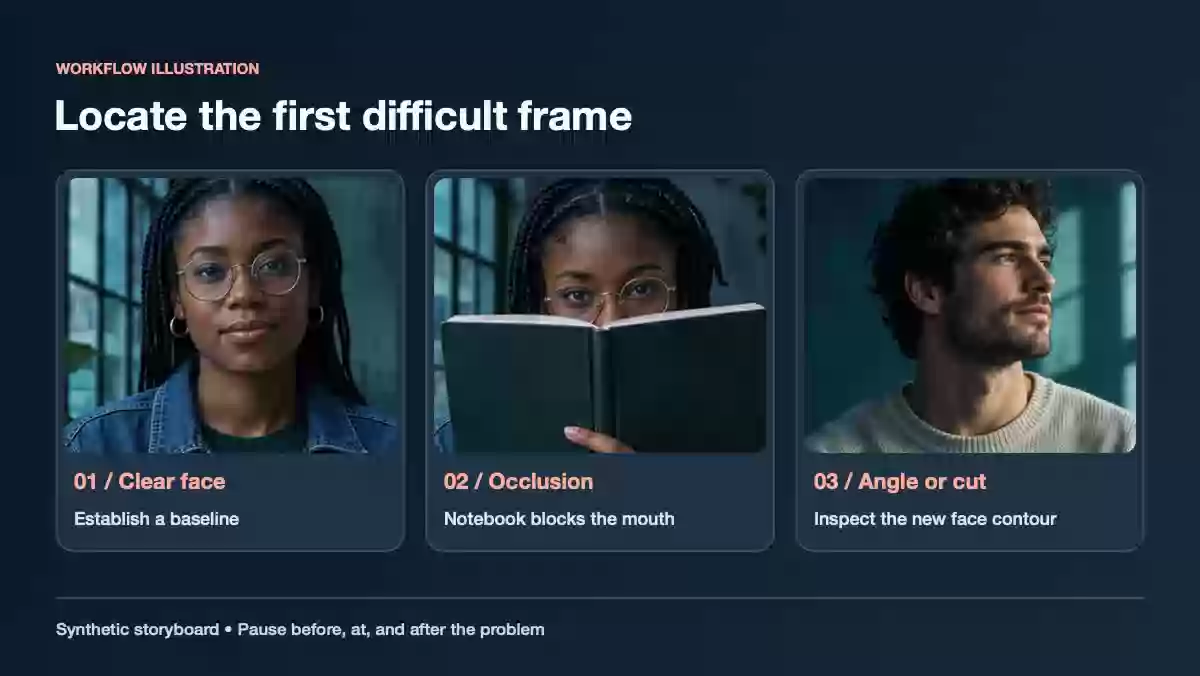
Use a three-frame strip to record where a result starts to drift, then replay that moment at normal speed.
Flicker usually shows up as rapid changes in the edge or brightness of the face. Drift appears when features seem to slip away from the head position or change identity over several frames. If the problem starts at an obstruction, try an alternate section with fewer blocked frames. If it occurs across the whole shot, use the source photo checklist before editing the target clip.
Check wrong-face changes and the downloaded file
With two or more people in the shot, look for changes in camera distance. The rank that fit the opening frame can become ambiguous when someone steps forward. Use the group video guide to decide whether to choose a different rank or isolate a separate shot. Keep the source portrait unchanged for that test.
Finally, open the saved output in your intended editor. Compare duration, playback, and sound with the original. If it looks good in the browser but fails in the editor, the file format or editor import settings are a better place to look than another generation. Keep the original and the generated clip side by side until the final export is approved.