Start with two files. The source face image supplies the face you want to add. The target video supplies the shot, including the movement and expression you want to keep. In Video Face Swap, add both files, choose the target face, and generate a short test. Watch the whole result before using it in an edit.
A short, ordinary shot tells you more than an elaborate montage. Choose one adult performer who has agreed to the edit, or use synthetic adult characters. Keep the original files. For a first pass, use one continuous shot with an unobstructed face and a small head movement.
Prepare the portrait and the clip
| File | What it supplies | Good first choice |
|---|---|---|
| Source face image | The replacement face | One sharp portrait with visible eyes and jaw, saved as JPG, PNG, or WebP, up to 10 MB |
| Target video | The scene, pose, movement, and timing | One short shot in MP4, WebM, or MOV, up to 50 MB. The video tool also accepts GIF targets. |
Open both files at their normal viewing size. If the portrait contains several people, make a separate crop of the intended face and leave enough space around the forehead and chin to preserve their outlines. For more examples of lighting and pose, use the source photo guide.
Choose a target clip that is easy to review. A slow turn toward a window works well as a first test because you can check a front view, a changing angle, and the final expression in one shot. A hard cut halfway through introduces a second variable. Trim at the cut and process the shots separately when you need to diagnose a problem.
Run a first video face swap
- Open Video Face Swap and upload the clip under Target Video or GIF.
- Upload the portrait under Source Face Image. Double-check the two previews before generating.
- In Target Face, leave Largest face (default) selected if the intended performer is the only face or clearly the largest. A group clip may require the single-target selection workflow.
- Wait for the uploads to finish, check the credit estimate, and choose Generate Video Face Swap. If the job moves to background processing, use Projects to check the existing item before starting another run.
- Play the result with sound. Use Open result to open the output file, save it from the browser, and check the saved copy in the player or editor you plan to use.
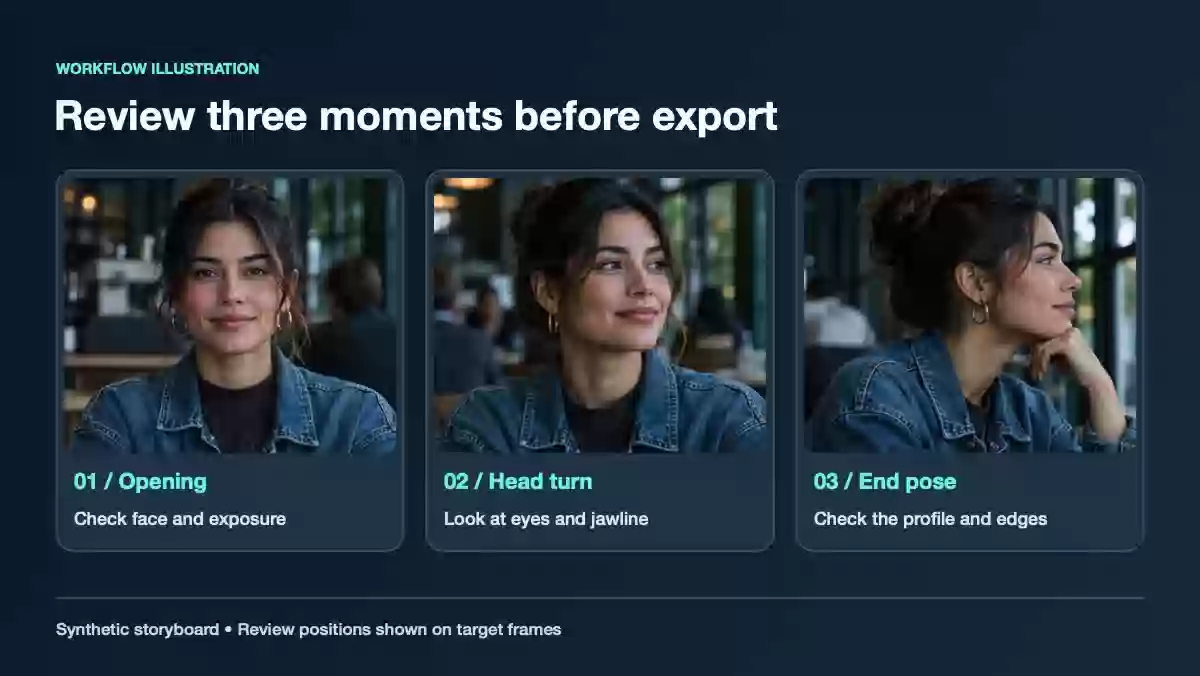
The storyboard illustrates how to review one clip at three points. It shows the intended workflow and inspection points.
Animated storyboard made from synthetic stills. It walks through the same checks as the illustration above.
Review the opening, the turn, and the ending
At the opening frame, check the jawline, the near eye, and the match with the target's lighting. During the turn, look for changes around the nose, ear, or hairline that appear for only a few frames. At the end, confirm that the same face is still selected and that the cut point works for your edit. Play the audio as well, especially if the clip contains a line of dialogue. Compare timing and sound with the original before relying on the exported file.
If the first frame looks good but the turn breaks, keep the source portrait and try a shorter portion that still includes the difficult movement. If the entire clip has an odd color or soft facial detail, change the source portrait first. Make one change per attempt so you can tell what helped. See the video face swap troubleshooting guide for an ordered set of checks.
When to choose a different input
For a single still, use Photo Face Swap. For a short reaction loop, see the photo, video, and GIF comparison before choosing a format. If a video has several distinct angles, use the shot-by-shot workflow and save each version with its shot name and source portrait. This makes a later correction much easier to reproduce.