A long face-swap project gets easier when you treat it as a set of shots. A 40-second studio introduction might have a steady opening, a close-up with a head turn, and a cut to a product demonstration. Each part makes different demands on the face tracker. Start with the difficult moment, then spend time on the rest once you know how that source portrait behaves.
This workflow uses an original fictional adult or a consenting performer whose permission covers the edit and where you plan to share it. Keep the original footage, the source portrait, and the final timeline together so you can reproduce the project later.
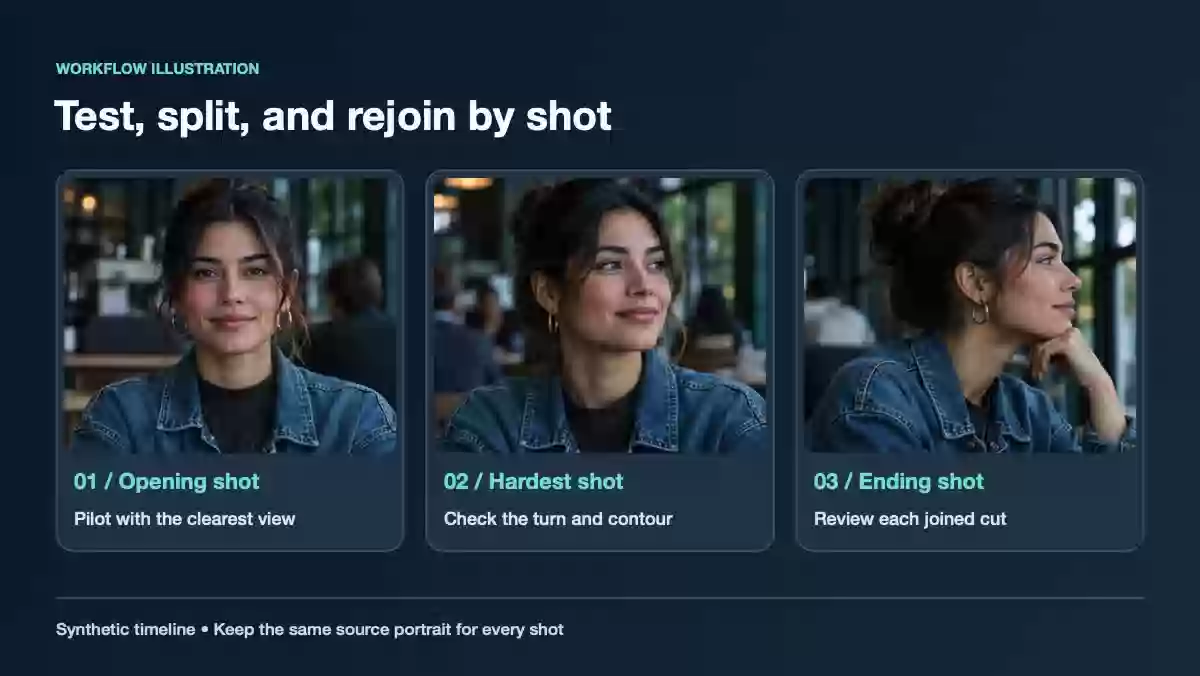
This illustrated timeline shows how to plan and review the shots.
1. Mark edits on the original timeline
Open the original in your video editor and place a marker at each camera cut. Within each shot, mark the first frame where the performer turns, the point where a hand or prop hides the face, and the first clear frame after the obstruction. These markers are your inspection list.
Prefer existing cuts over arbitrarily dividing the file every few seconds. A visible change in camera angle gives you a clean boundary. If a continuous shot must be split, choose a calm moment with the face clear and the camera steady. Leave enough footage around the cut to compare both sides, then trim the overlap in the edit.
2. Run the test that can change your plan
Select a short piece containing the most demanding head turn or obstruction. Use the same source portrait that you intend to reuse throughout the sequence. A frontal clip alone can look clean while telling you very little about the problem shot.
Open Video Face Swap, add the short extract as the target video, and add the source portrait. The current tool accepts a target file up to 50 MB and a source image up to 10 MB. Check the current upload instructions when exporting your segments. Set the target face where necessary. For scenes with more than one person, follow the group video guide and confirm the selected person through the whole test.
Compare the test at normal speed and frame by frame. If the swap works before the turn and jumps after it, try a tighter excerpt, a source photo with clearer facial features, or an edit that uses the original cutaway. The face-swap troubleshooting guide explains how to isolate a failure before processing a full sequence.
3. Keep the job inputs consistent
Name each exported segment after its position in the original timeline. For example, use 01 opening, 02 head turn, and 03 product cutaway. Record the source portrait and target face selection beside each file. A late retry then has the same input context as the earlier run.
Use the same source portrait for the performer across accepted shots. Where possible, keep the target clip's aspect ratio and framing consistent. If a test suggests a different source is required, review the old and new results side by side before mixing them in the same scene. A change in source angle can become a change in apparent identity at the cut.
4. Assemble the accepted shots and check sound
Put the results above the original footage in your editor and align them to the original shot markers. Check the runtime of each downloaded result before replacing a timeline section. Review the video and original soundtrack separately, and restore the authorized original audio on its own track if you need to preserve the edit's timing.
Play the joins from a few seconds before each cut. Watch the eyes and jaw for sudden changes, then watch the full sequence at normal size and listen once without looking. Dialogue, music cues, and room tone reveal gaps or overlaps you can miss in a frame comparison.
When a shot needs another pass
Reopen only the segment that failed and keep its position on the edit. If the face becomes too small or stays covered through the action, choose a usable cutaway or a reshoot. For an easier first test, start with the single-clip face-swap workflow, then apply the same review to every shot you plan to keep.