The best video face swap tool for a straight-on talking shot may be a poor fit for someone who turns toward a second camera or lifts a hand across their face. One clean preview can hide both problems. Before committing to a platform, use the same clip and the same source portrait in each tool and check what happens when the face becomes harder to see.
This guide compares the documented workflows for DeepFake AI, Magic Hour and HeyGen. It includes a repeatable test and a worksheet for reviewing results. The comparison covers controls and export conditions. Output quality, processing time and costs depend on your own runs.
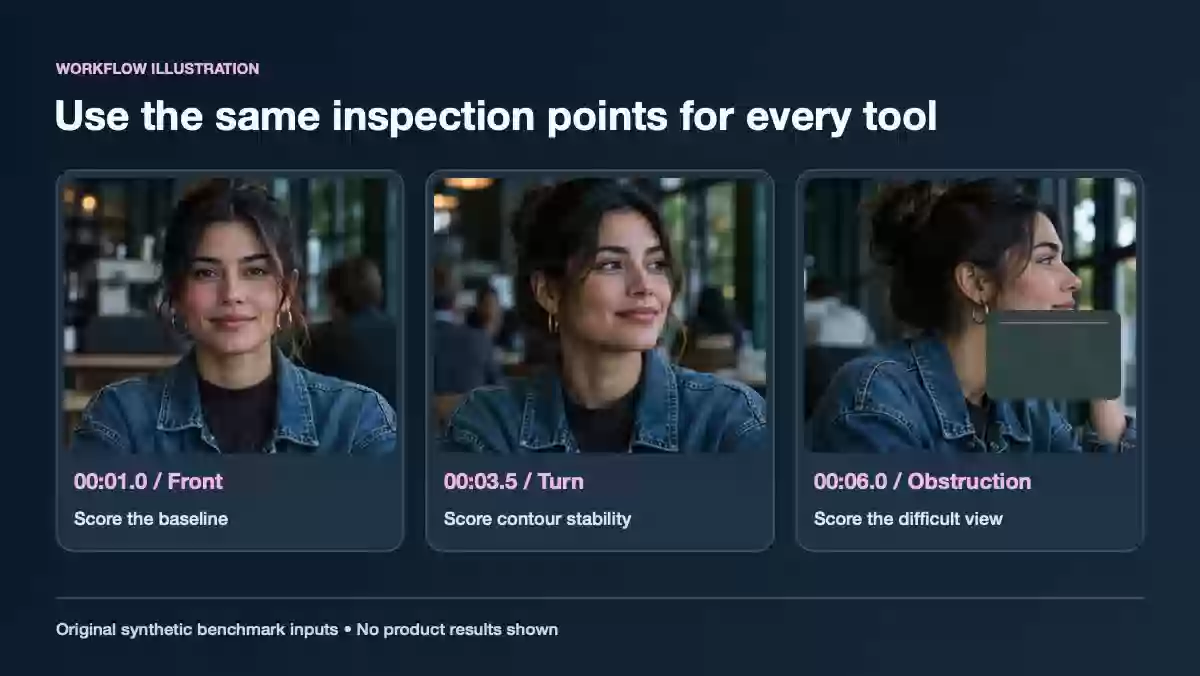
Test plan showing three target poses. The images illustrate inputs and inspection points.
Shortlist by the job you need to do
| Tool | Documented workflow | What to check before choosing |
|---|---|---|
| DeepFake AI | Upload the target clip and a still source portrait. The Video Face Swap tool selects one target face by visible size rank. | Check that the subject remains easy to distinguish from anyone else in the frame, then review the on-screen credits and open the actual download. Video Face Swap |
| Magic Hour | Its public Video Face Swap route and signed-in Create editor offer different limits. The Create editor supports mapping replacements to detected faces. | Its help center documents a watermarked 480p result on the free video route. Check the selected route, clip duration, format and cost estimate before comparing it with a paid export. Magic Hour help |
| HeyGen | Its Face Swap app takes a photo or video as the target. You can choose an existing HeyGen avatar or upload a replacement portrait. | Pick the upload path if you are using identical portraits across tools. Record the account's displayed credit and export terms. HeyGen help |
Start with DeepFake AI if you have a regular clip and one face to replace. Try Magic Hour when the question is whether you can assign distinct source portraits to multiple detected people. Look at HeyGen when your team already manages avatar identities there. Each tool's export rules can matter more than its editor layout if your clip is headed for a client review.
Use three checkpoints in the same clip
Start with the synthetic source portrait and 7.5-second target fixture. This silent storyboard holds three target views for 2.5 seconds each. Check a frontal face at 1 second, a turned face at 3.5 seconds and partial occlusion at 6 seconds. Use it to compare pose handling and what happens at cuts. To evaluate tracking through natural movement, also run a continuous take.
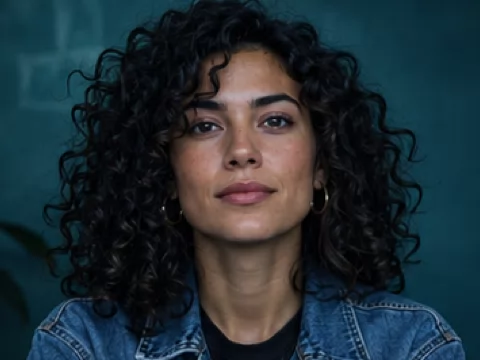
Make a six- to eight-second shot with two distinct identities whose likenesses you can use, or use clearly fictional adults. Keep the camera locked and the lighting steady. Start with the target facing forward, move through a mild turn, then pass a hand or a plain prop briefly in front of part of the face. A clear, front-facing replacement portrait is a good baseline. Check each tool's current input limits before preparing the files and use a single file that all of them accept.
Write down the exact frames or times to inspect before running anything. On the straight-on section, compare the eyes, jawline and skin tone around the ears. Through the turn, watch whether the replacement keeps its identity or changes shape over adjacent frames. As the hand crosses the face, make sure the hand stays in front and check the first clear frames after it moves away. Read the source photo guide if the baseline already looks uneven.
For a separate group-video test, repeat the process with a clearly identifiable second person in the background. Check that the background face stays unchanged. Keep those results in a separate row so a one-face shot and a group shot do not get treated as equivalent. The group-video guide covers the size-rank selector in DeepFake AI.
Log quality, cost and export separately
| Check | What to write down |
|---|---|
| Face match | Mark forward, turning and partly obscured checkpoints as usable, needs an edit or unusable. Add the timestamp and the visible issue. |
| Tracking | Check whether the replacement stays on the selected subject through motion, a cut and the end of the clip. |
| Export | Download the file and log its dimensions, format, watermark and whether the original soundtrack is present. |
| Time | Log the upload and queue time separately from the time it takes you to inspect, export and repair the result. |
| Cost | Record the credits actually charged on all attempts, the plan used and the number of exports you could publish. |
Pick a retry budget ahead of time and apply it equally. If a platform spends 60 credits over three attempts and you can use one output, record 60 credits per usable result in that platform. This is an example calculation. Convert to currency only when you know the package price and credits purchased. If no output passes the checklist, record that outcome directly. A zero in the cost column would hide the failed spend.
Check the finished clip at normal speed and then inspect the timestamps. If all outputs fail at the same frame, try a second test with a clearer target shot before changing your shortlist. If only one tool exports at the size you need, test the other tools again in comparable export tiers before attributing the difference to tracking quality.
Frequently asked questions
Can I compare a free tool with a paid one?
Yes, if the comparison is about which route you can actually use. Record the tier, watermark, export size and any daily allowance. If you are comparing rendering quality alone, use similar output dimensions so differences in compression are easier to separate from differences in tracking.
What if I only need one result today?
Run a short excerpt of your actual footage that includes its hardest moment. Use the video face swap tutorial to prepare the two inputs and the troubleshooting guide if the result fails the check. One representative clip can answer more than several polished preset previews.